|
|
|||
|
|
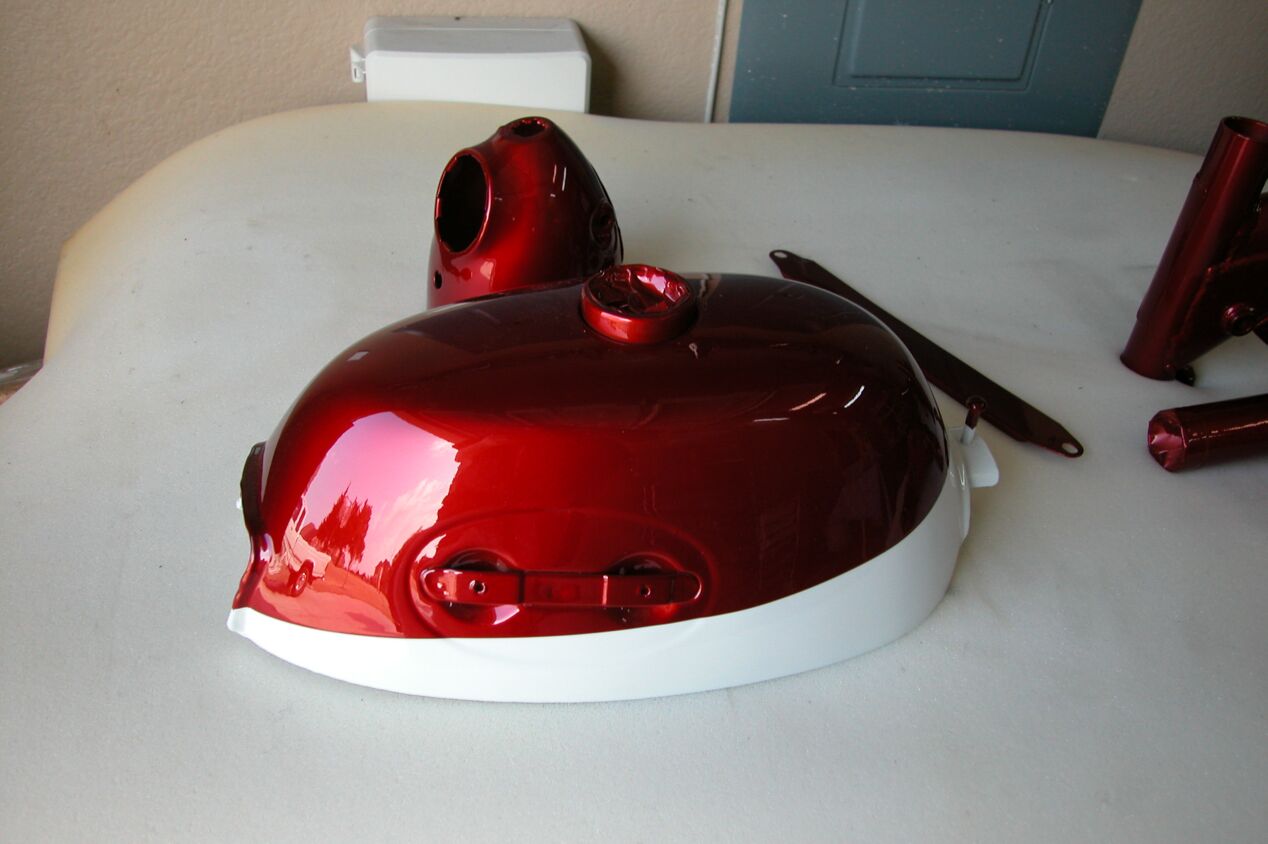
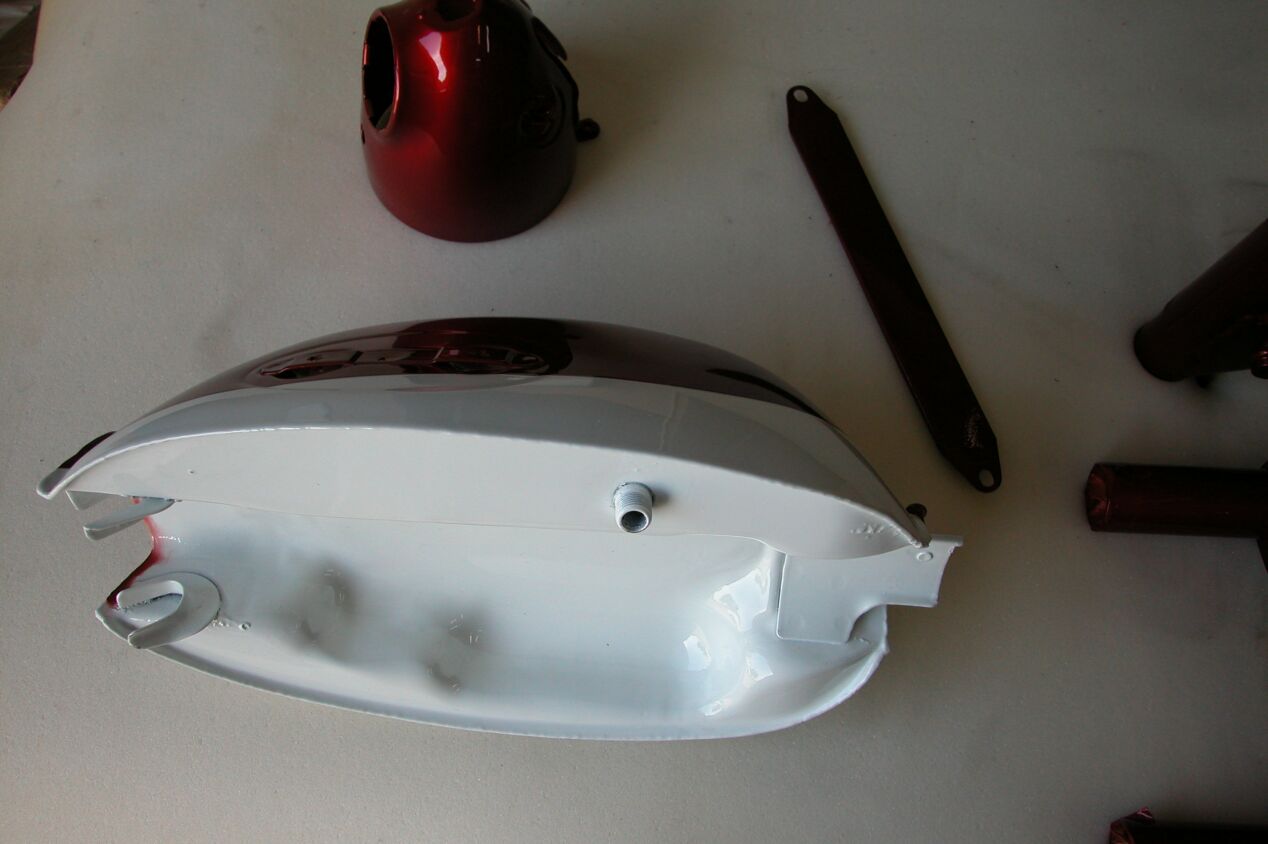
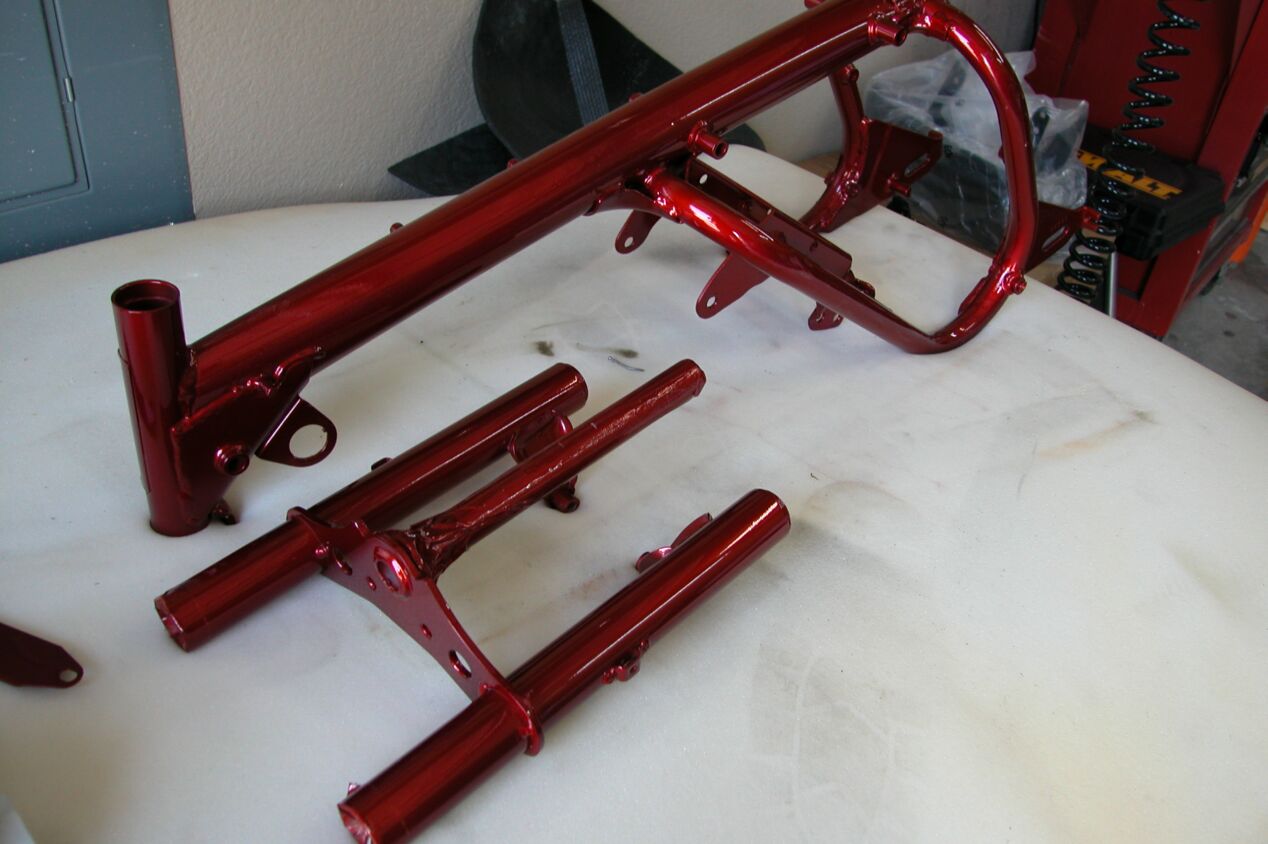
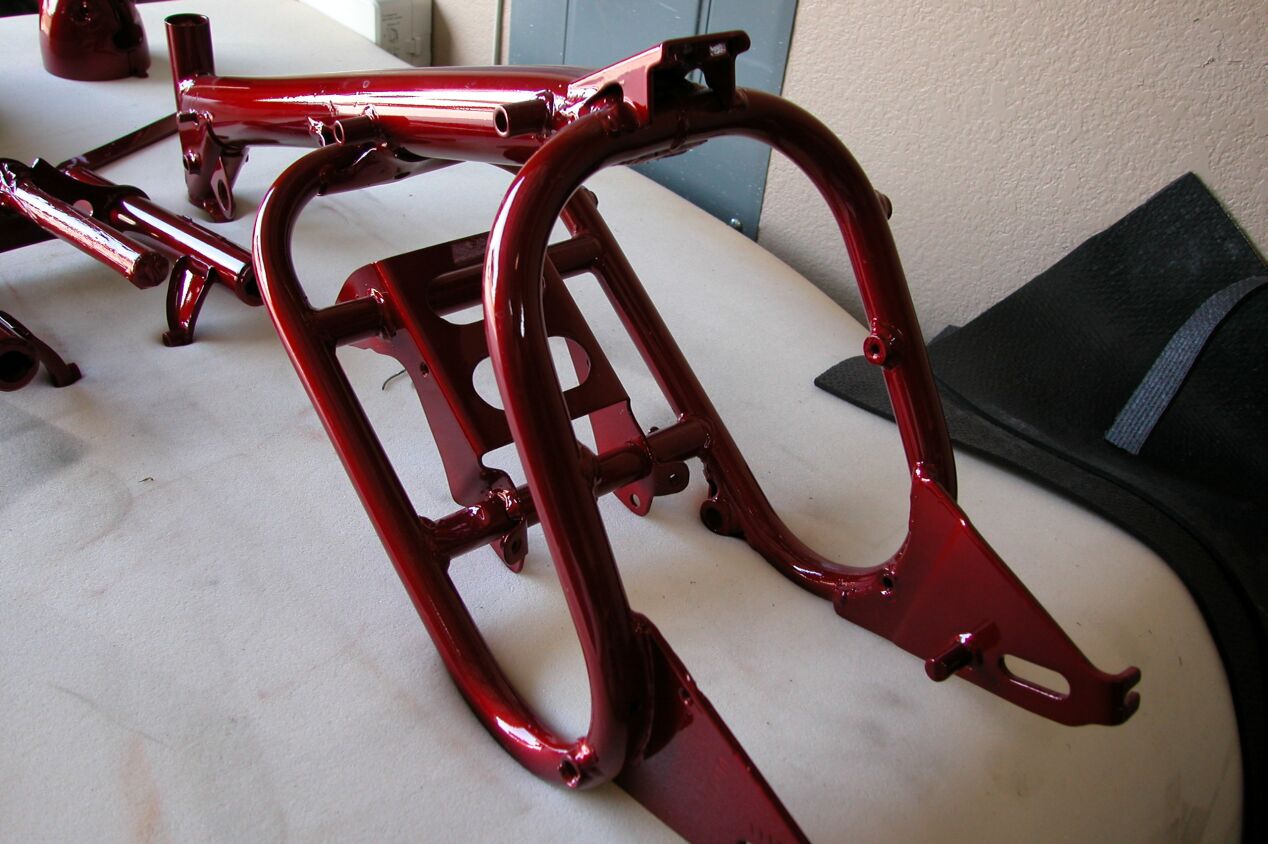
Mike Agolia - Z50 K21971 Honda Z50 VIN# Z50A386110 Candy Ruby Red Click on the images to enlarge Mike.......Scroll Down! Done Thanks 3/6/2006 Parts back from the painter. Not the best photographer, but they turned out excellent.
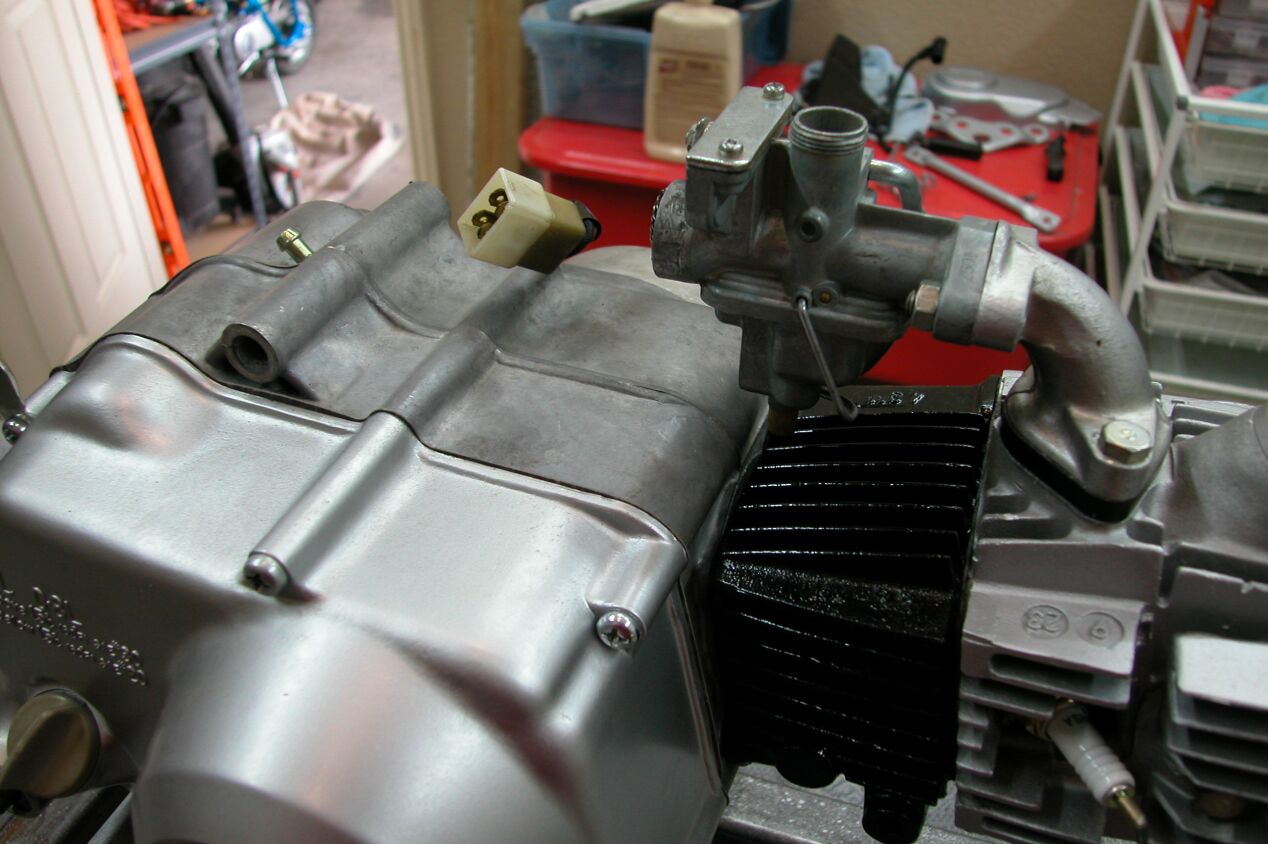
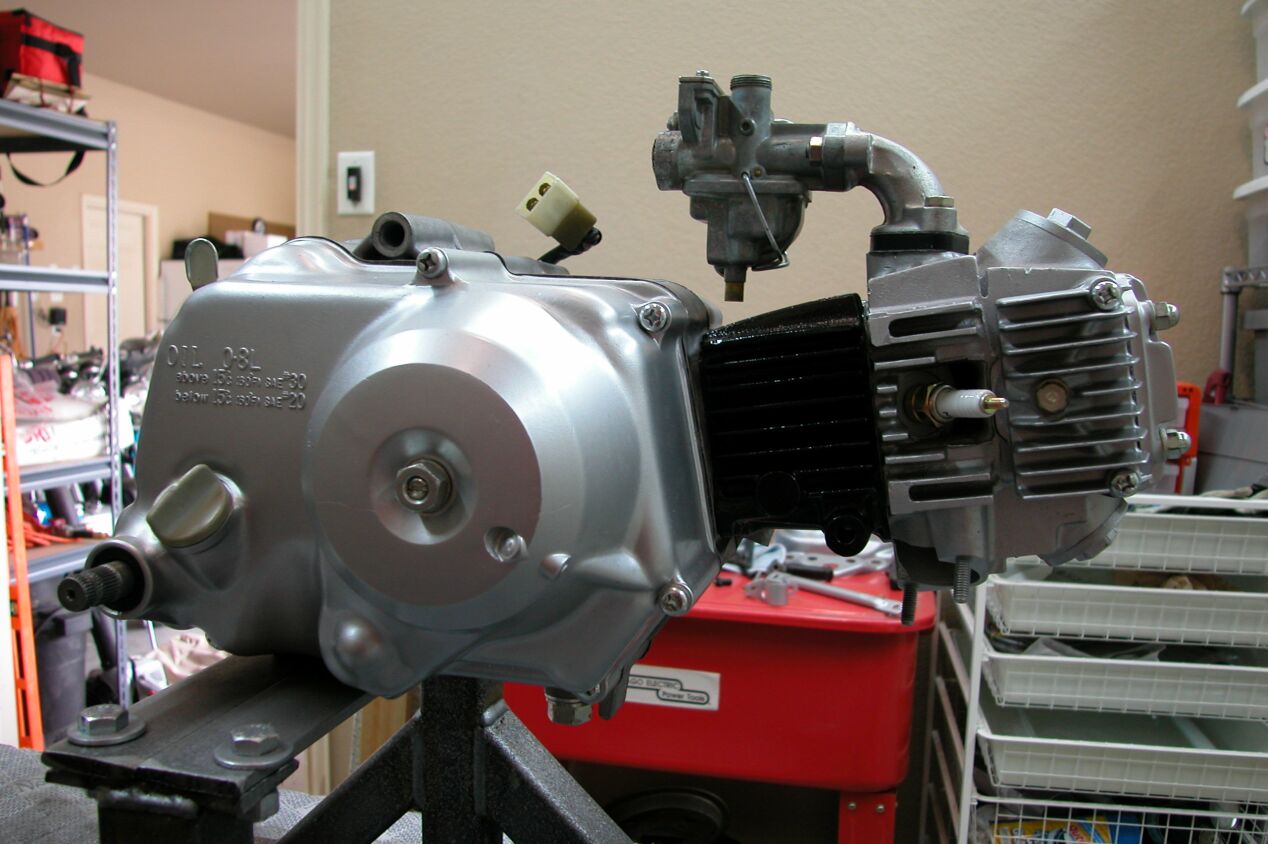
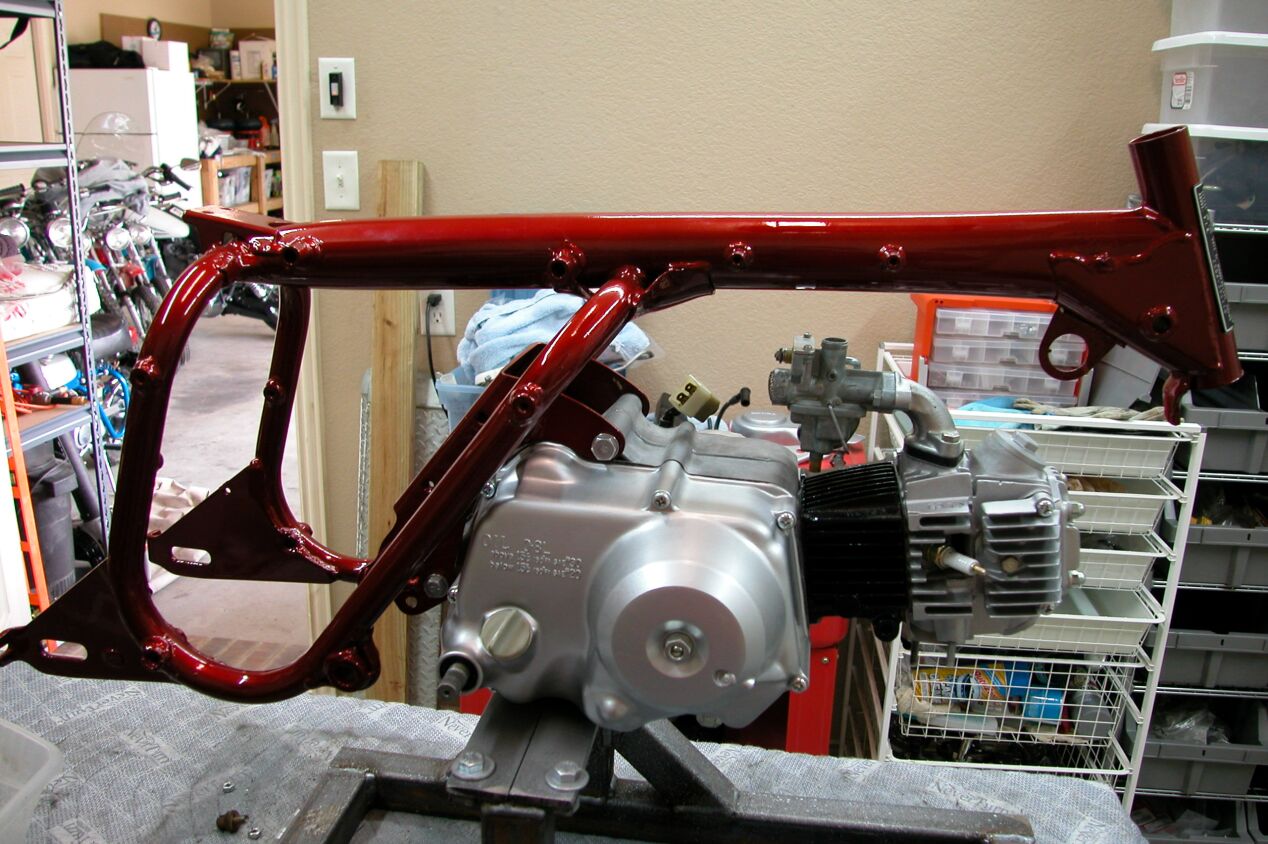
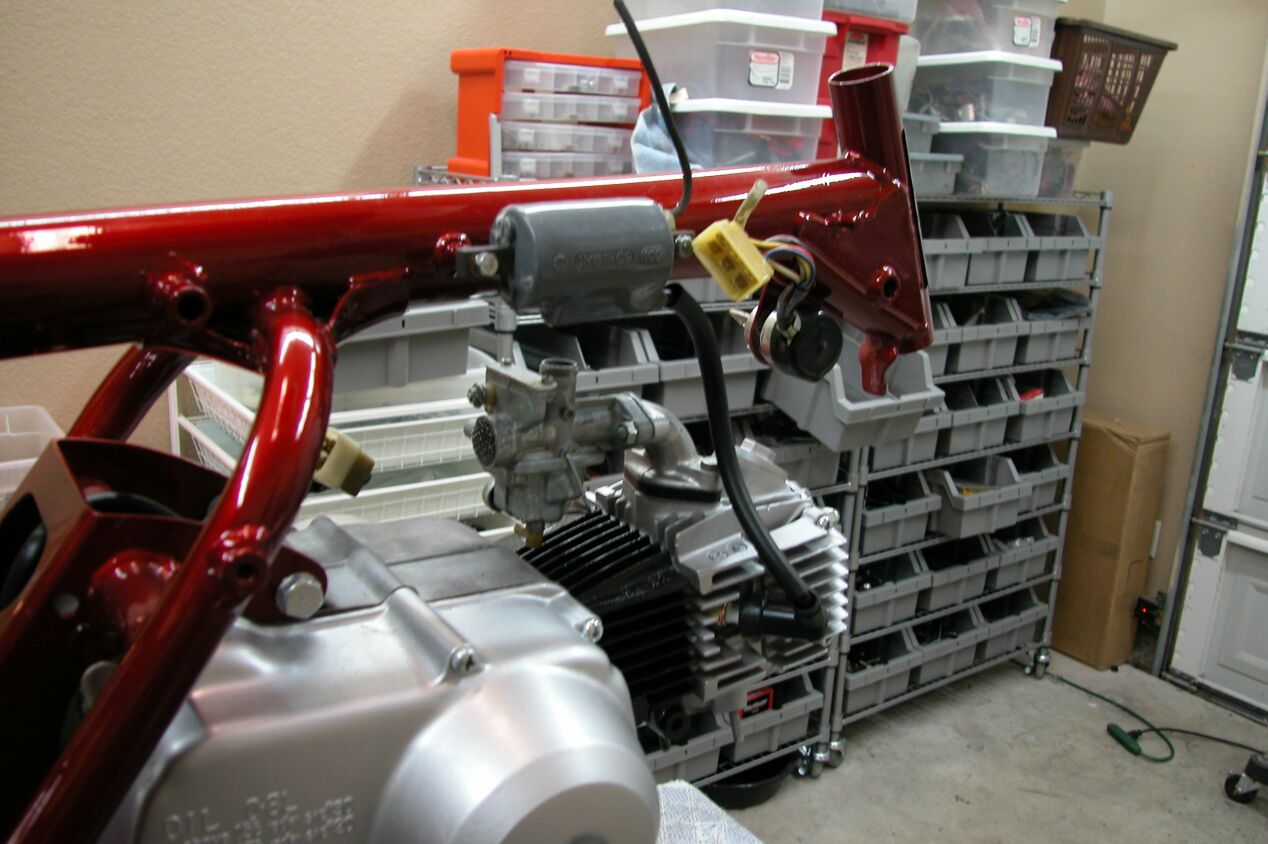
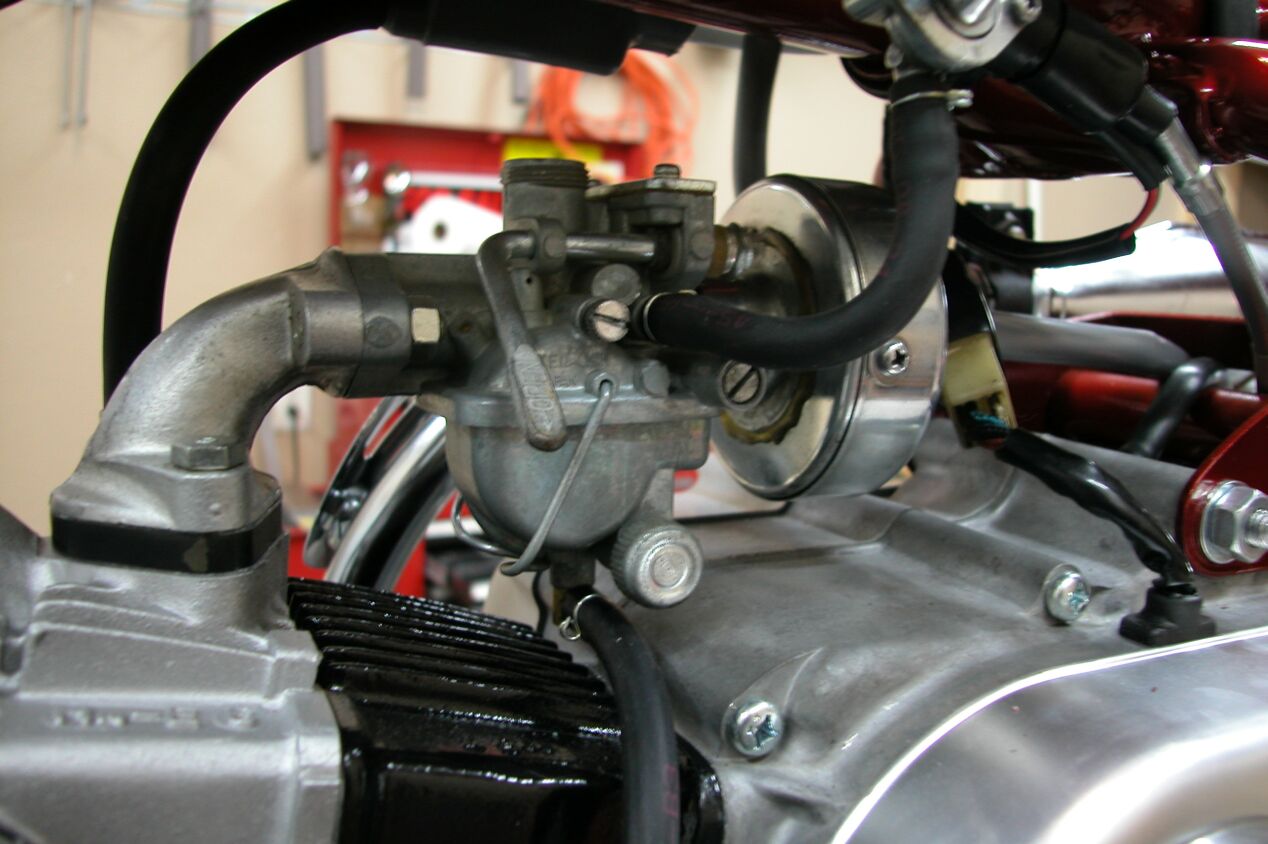
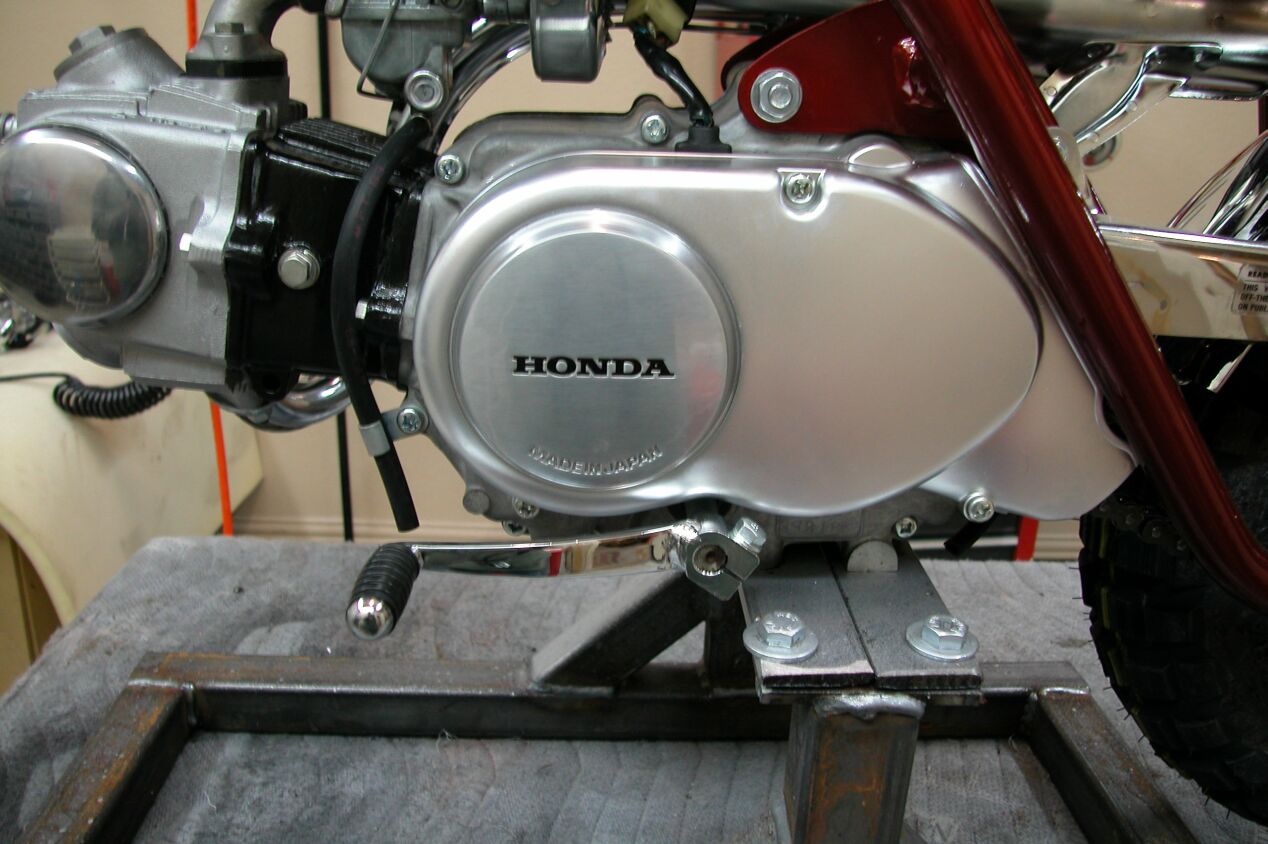
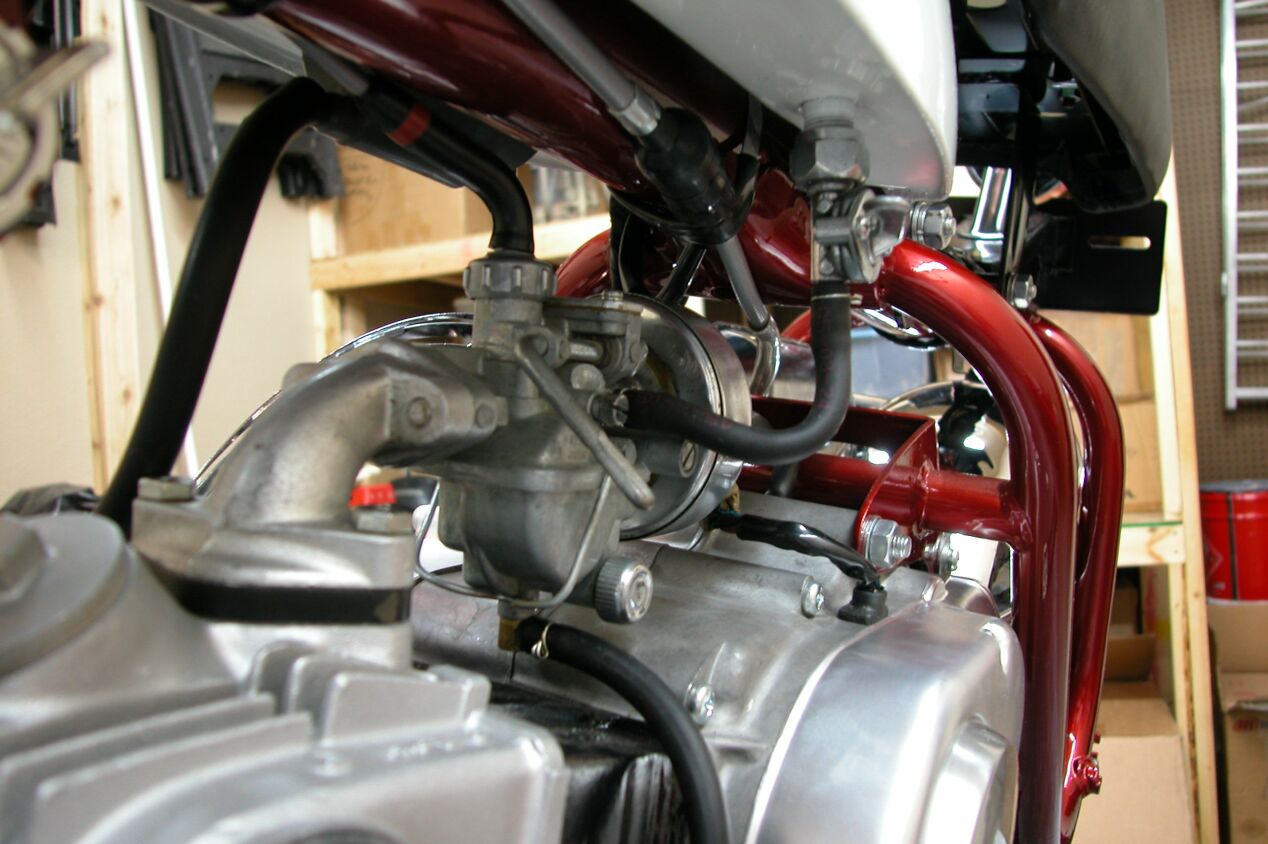
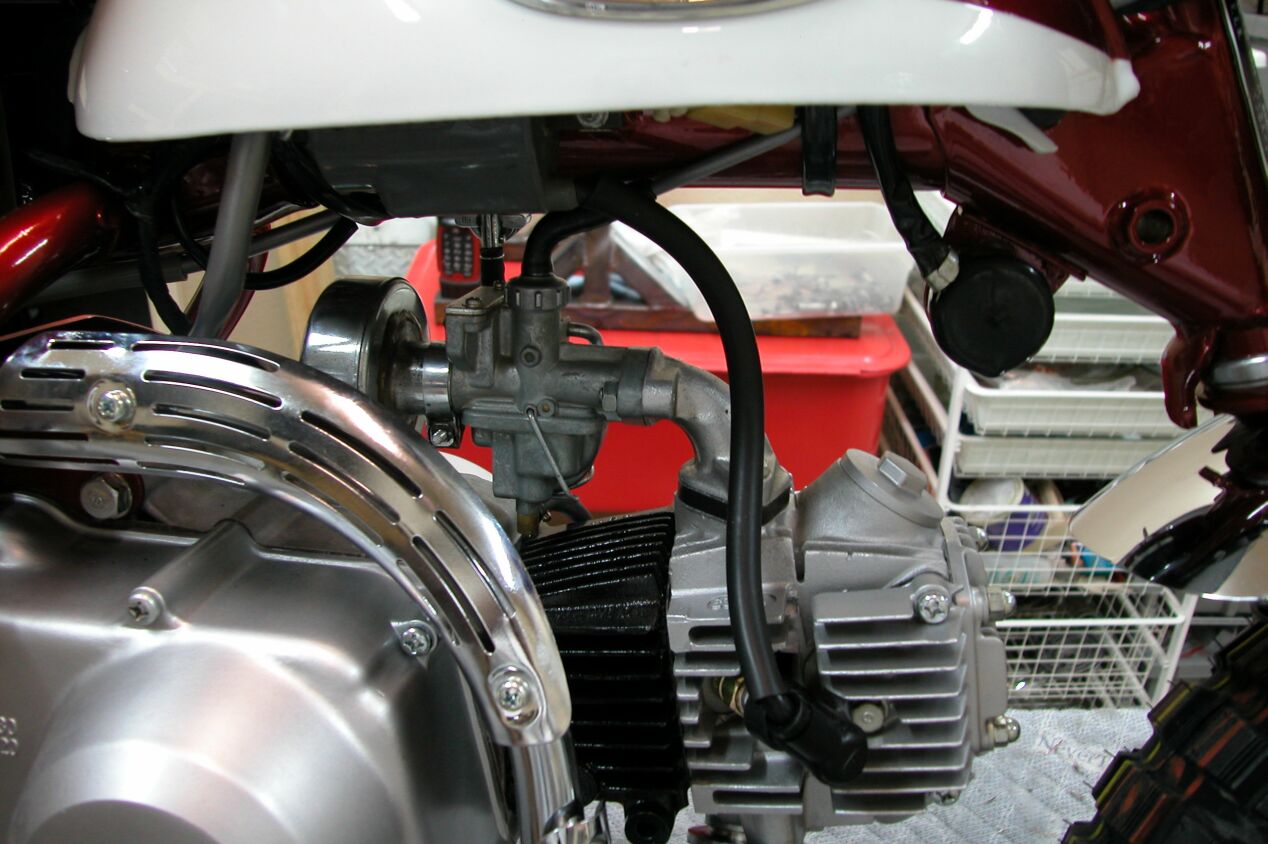
3/10/2006 Engine all rebuilt and ready to go along with the carburetor. Hand made jig to hold the engine lets me build the bike around it.
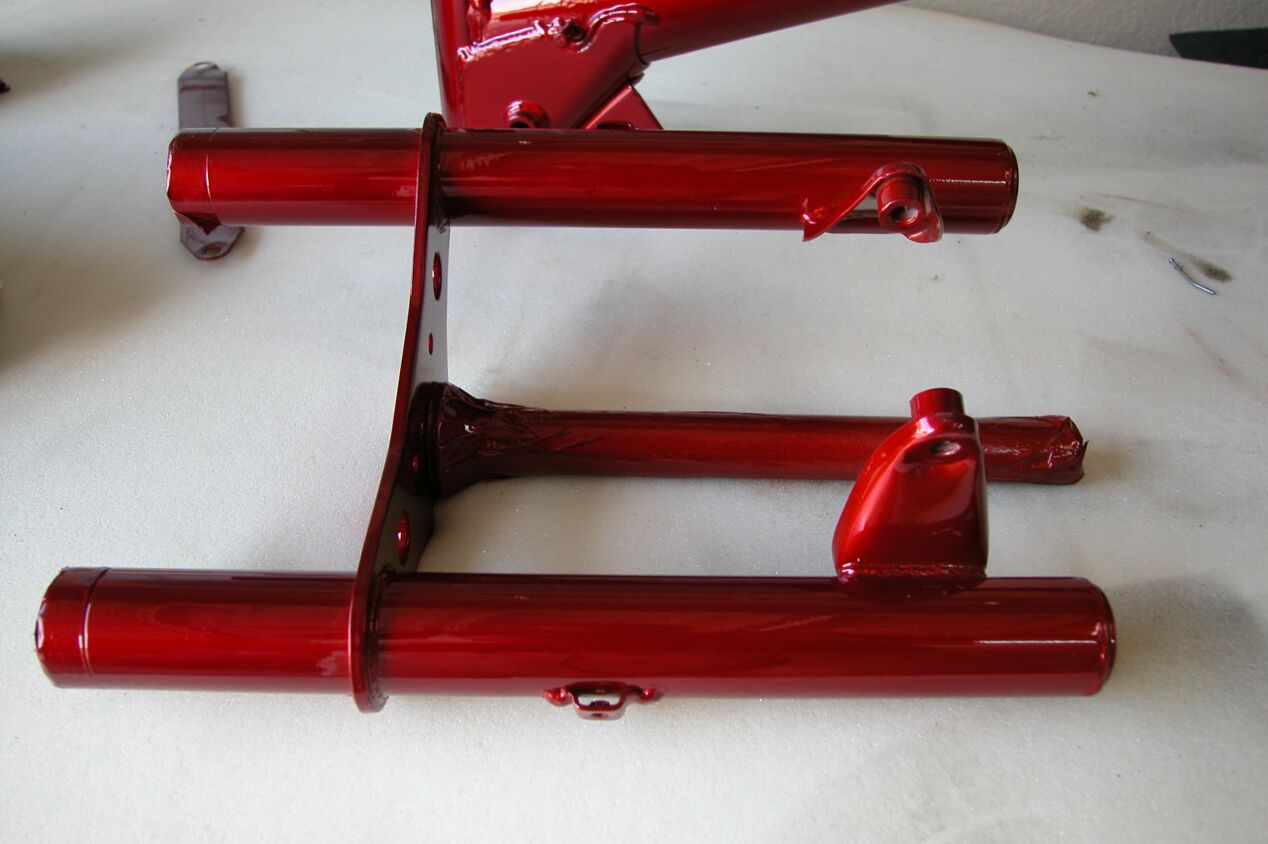
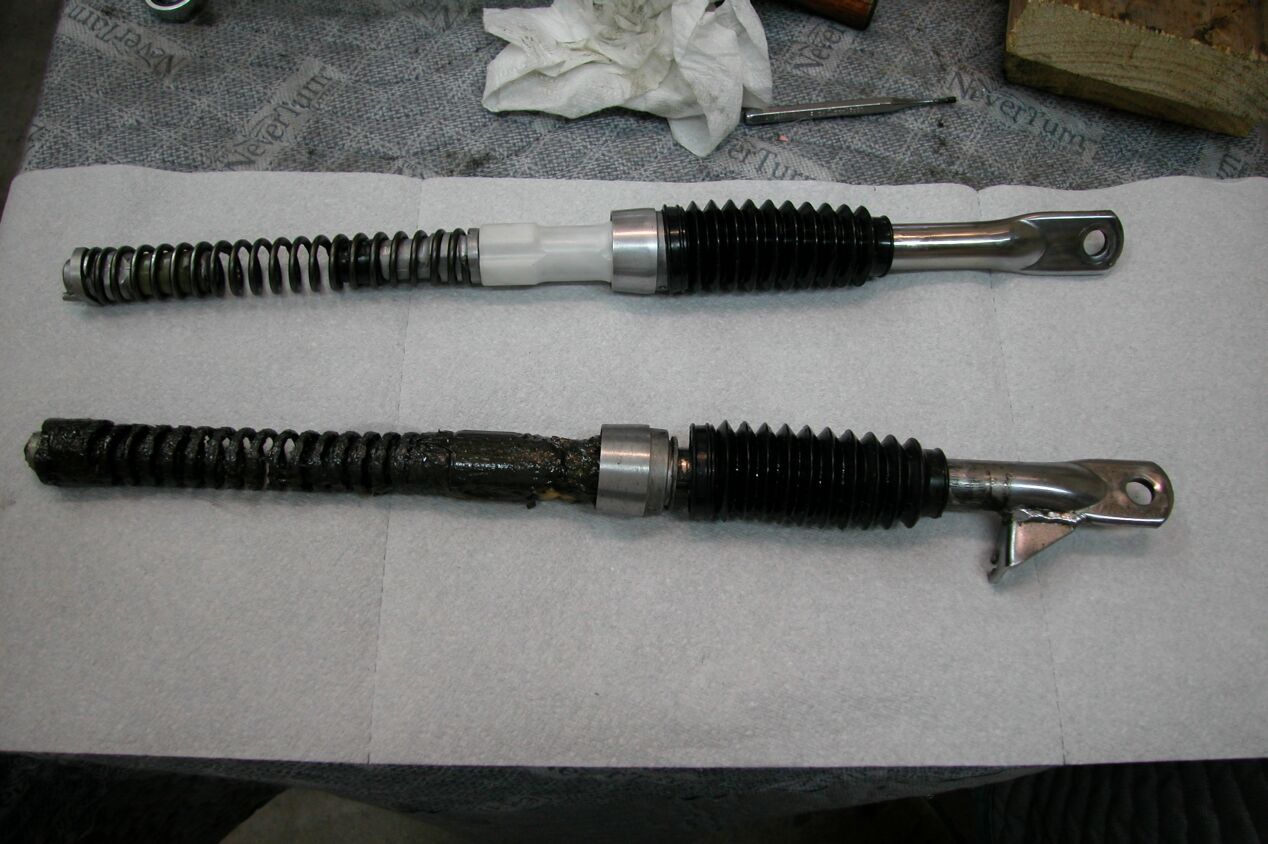
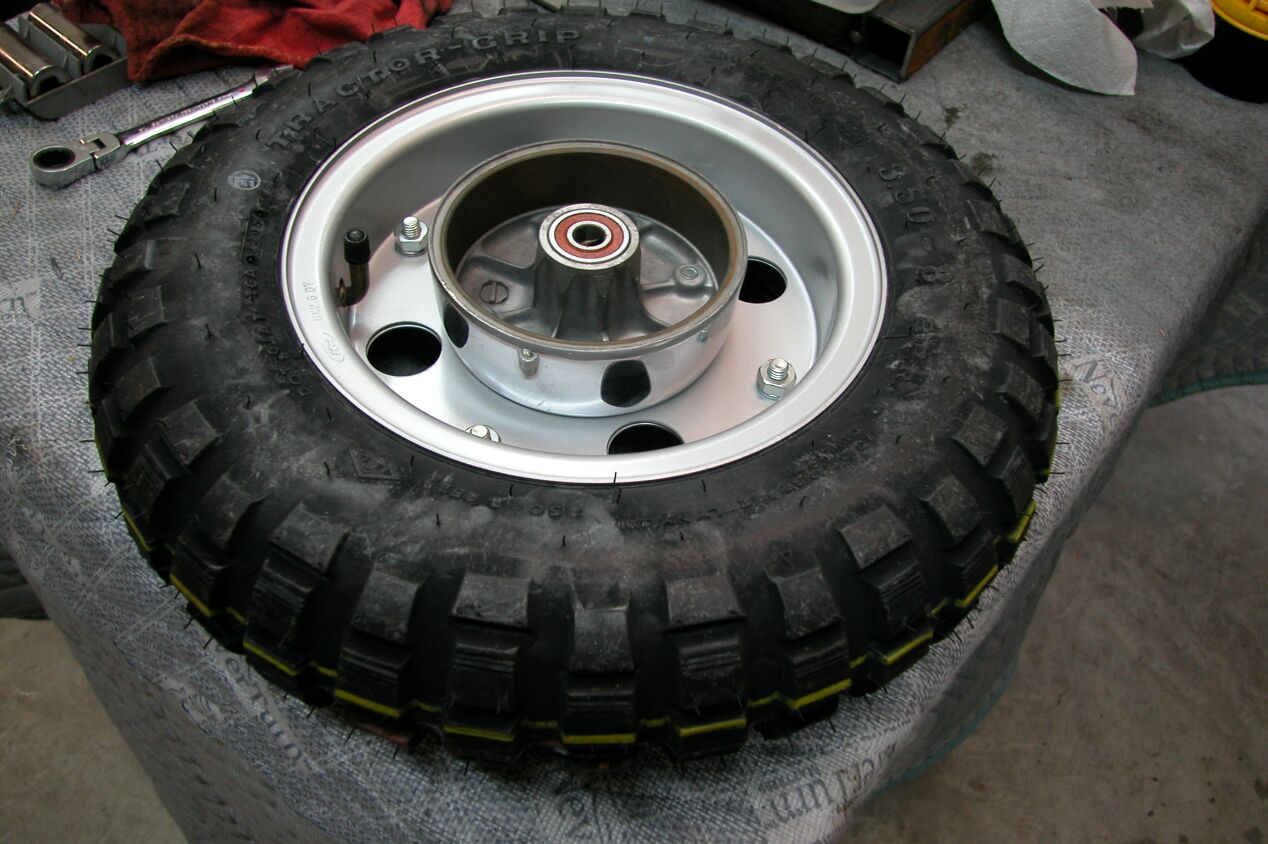
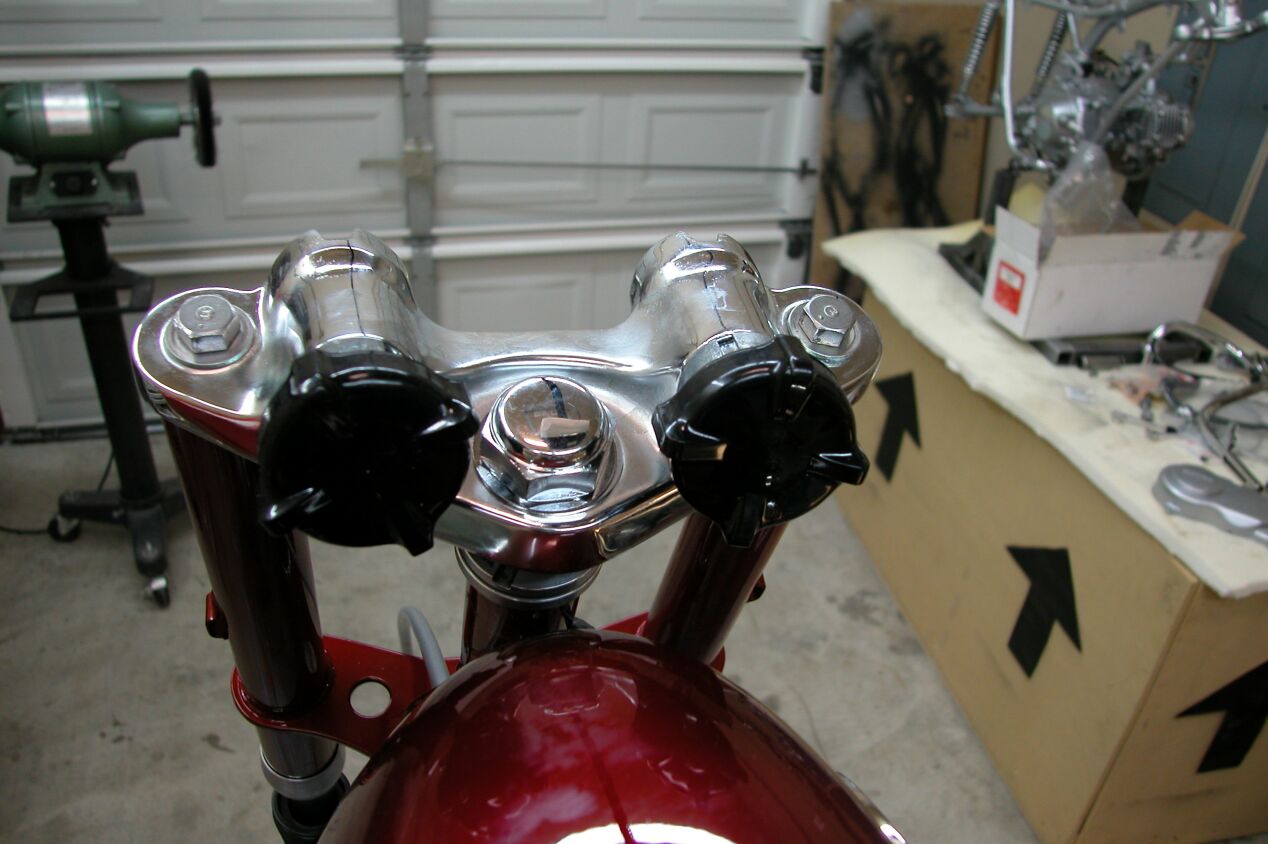
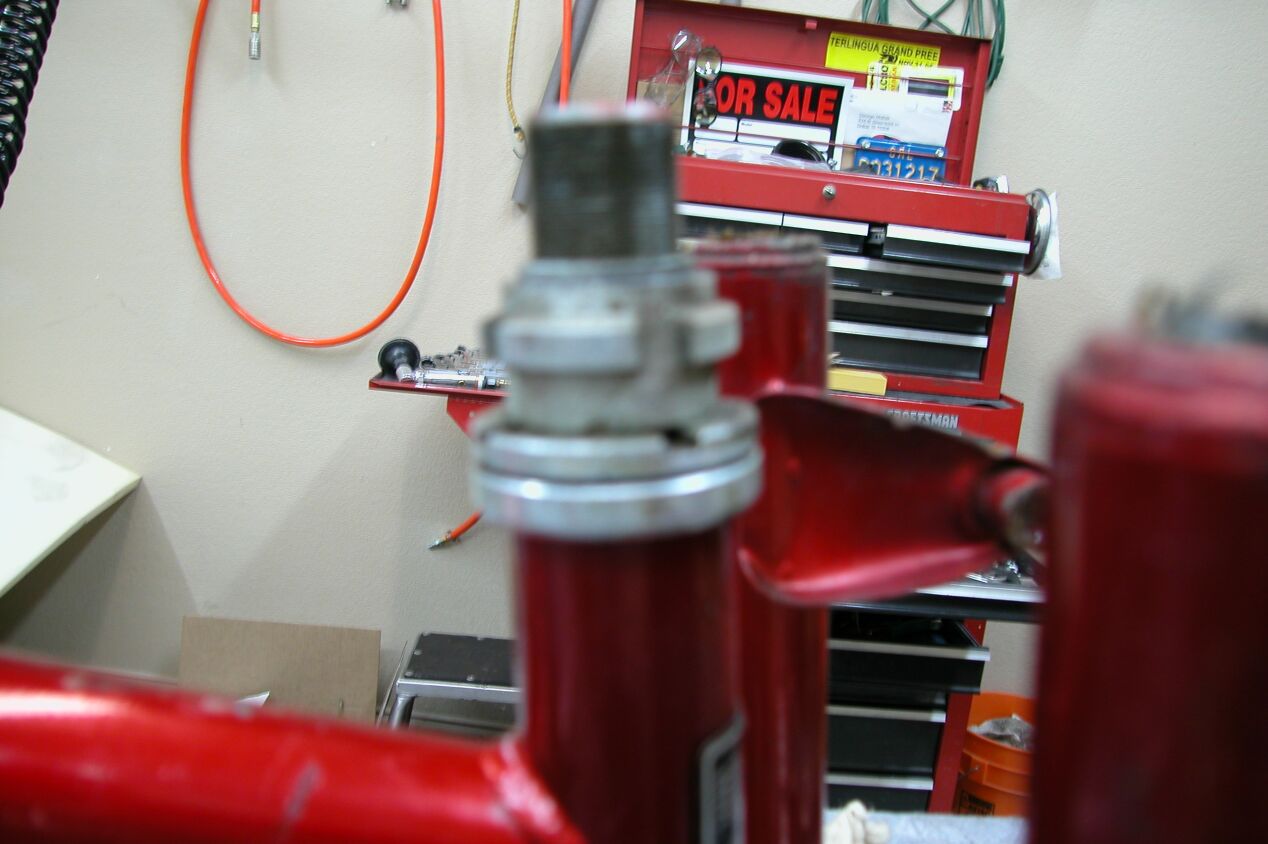
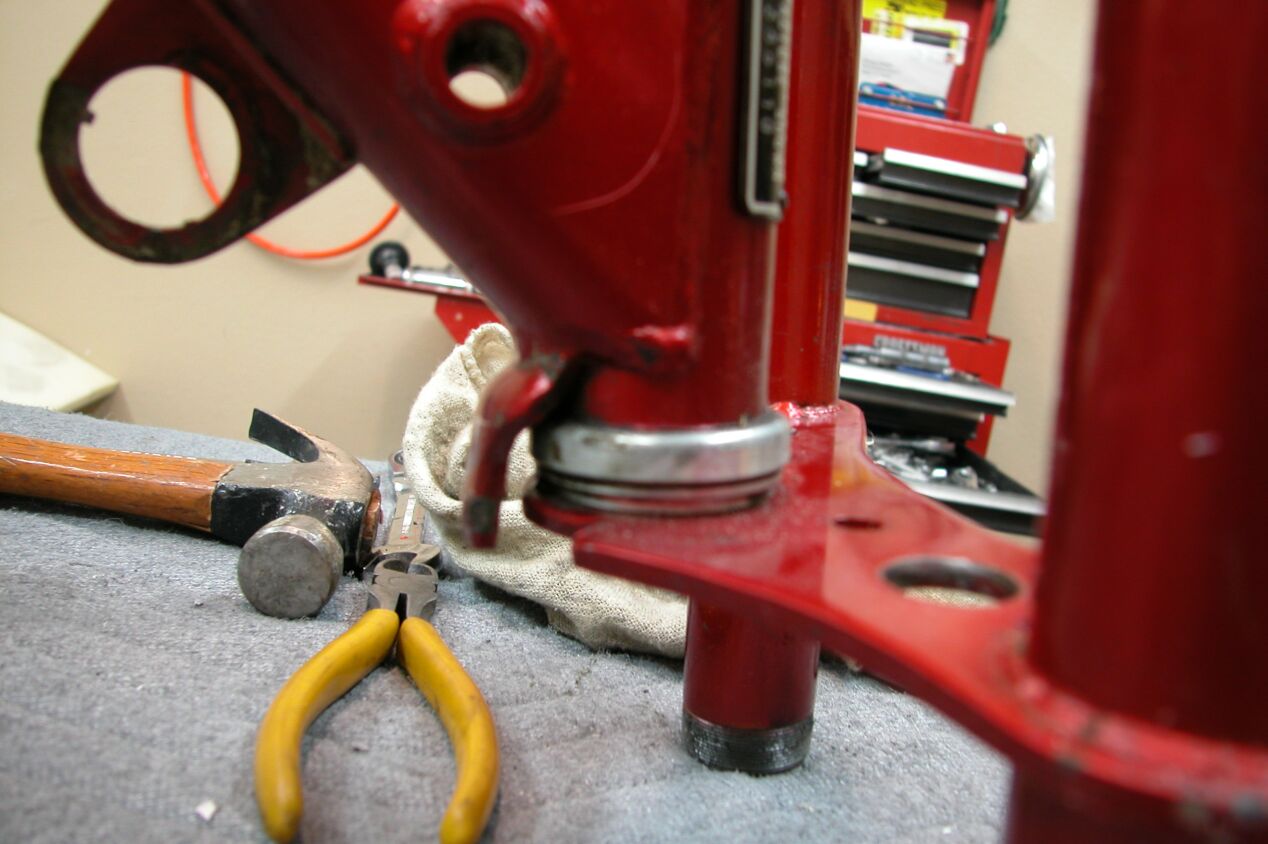
3/17/2006 - Fork assemblies rebuilt. Wheel sets assembled including new bearings, seals, tubes tires, etc. Here is a picture of the two front forks. Guess which one has been taken apart, cleaned, rebuilt, polished and put back together?
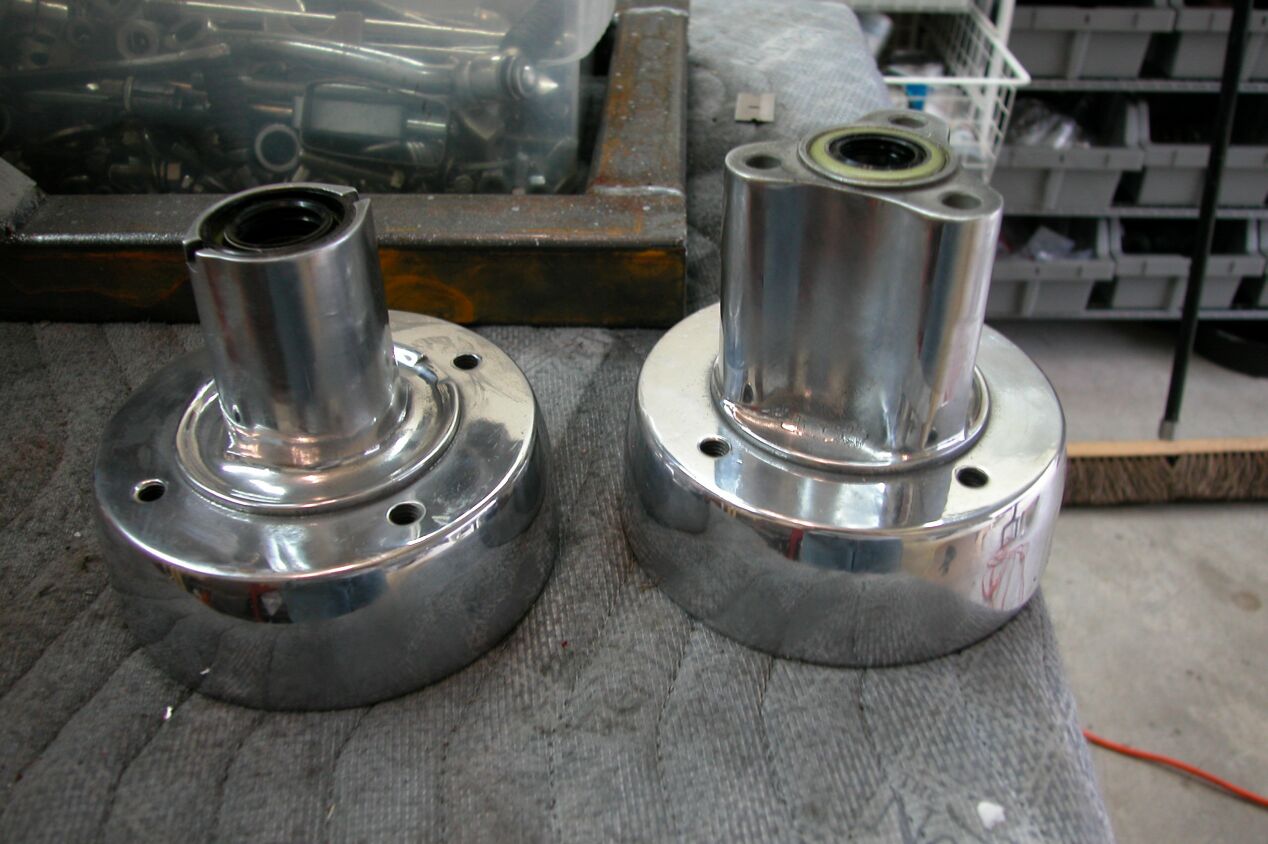
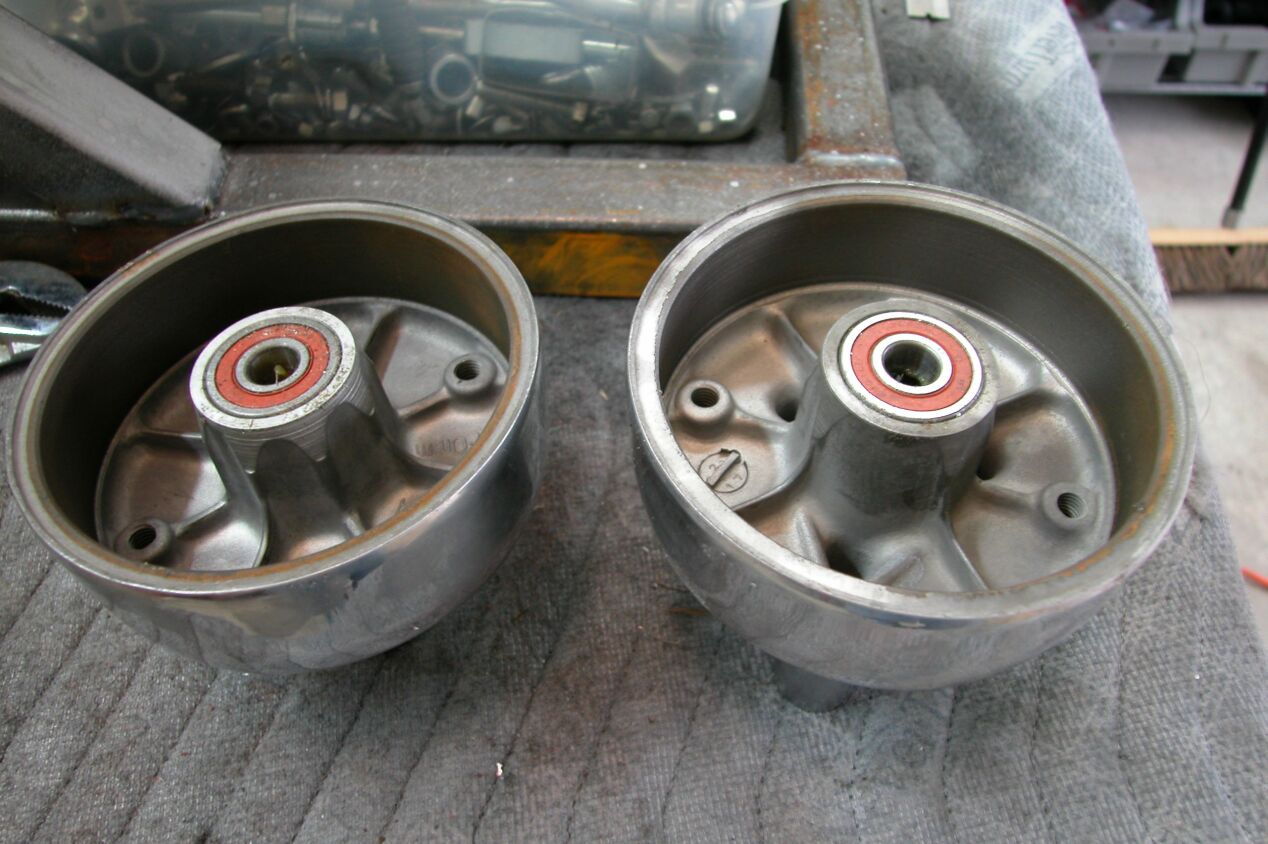
Front and rear hubs all polished and new bearings and seals installed.
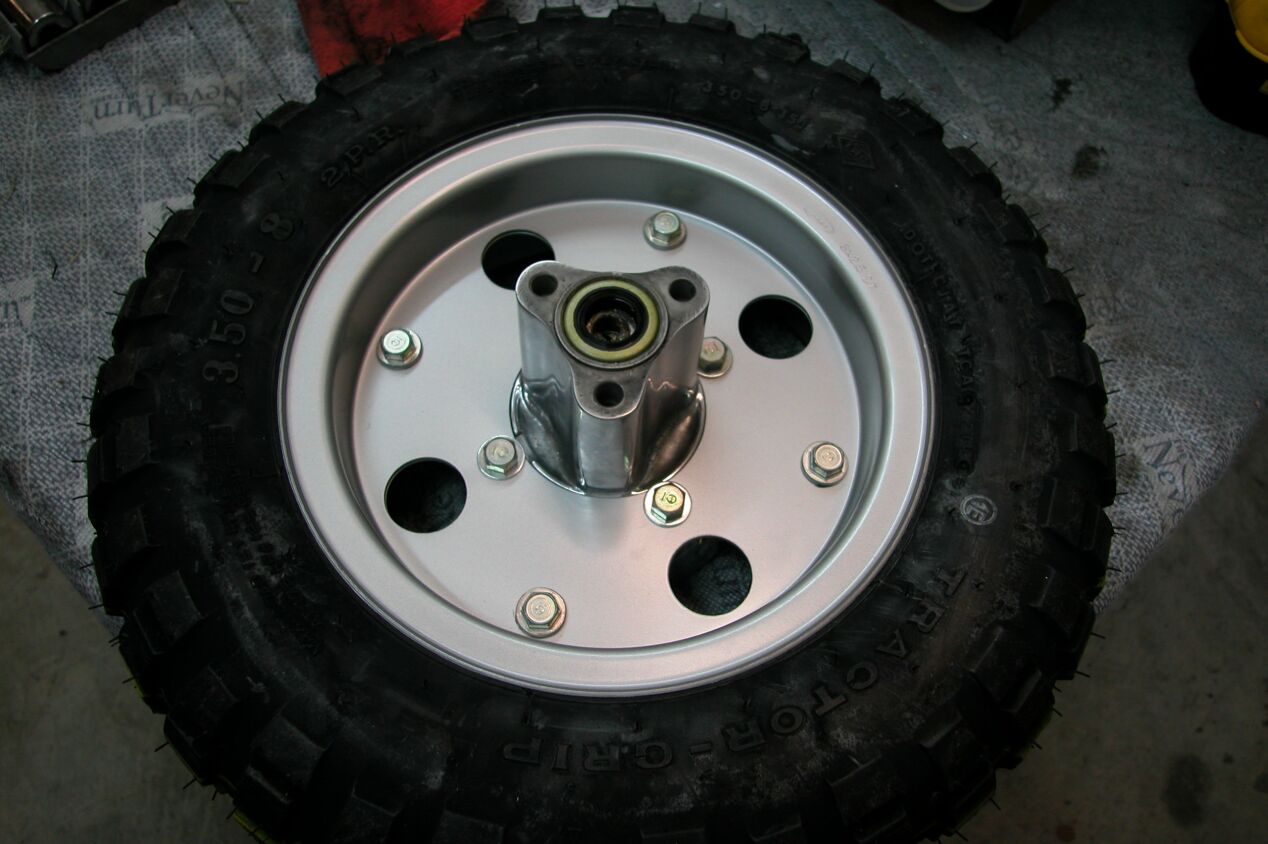
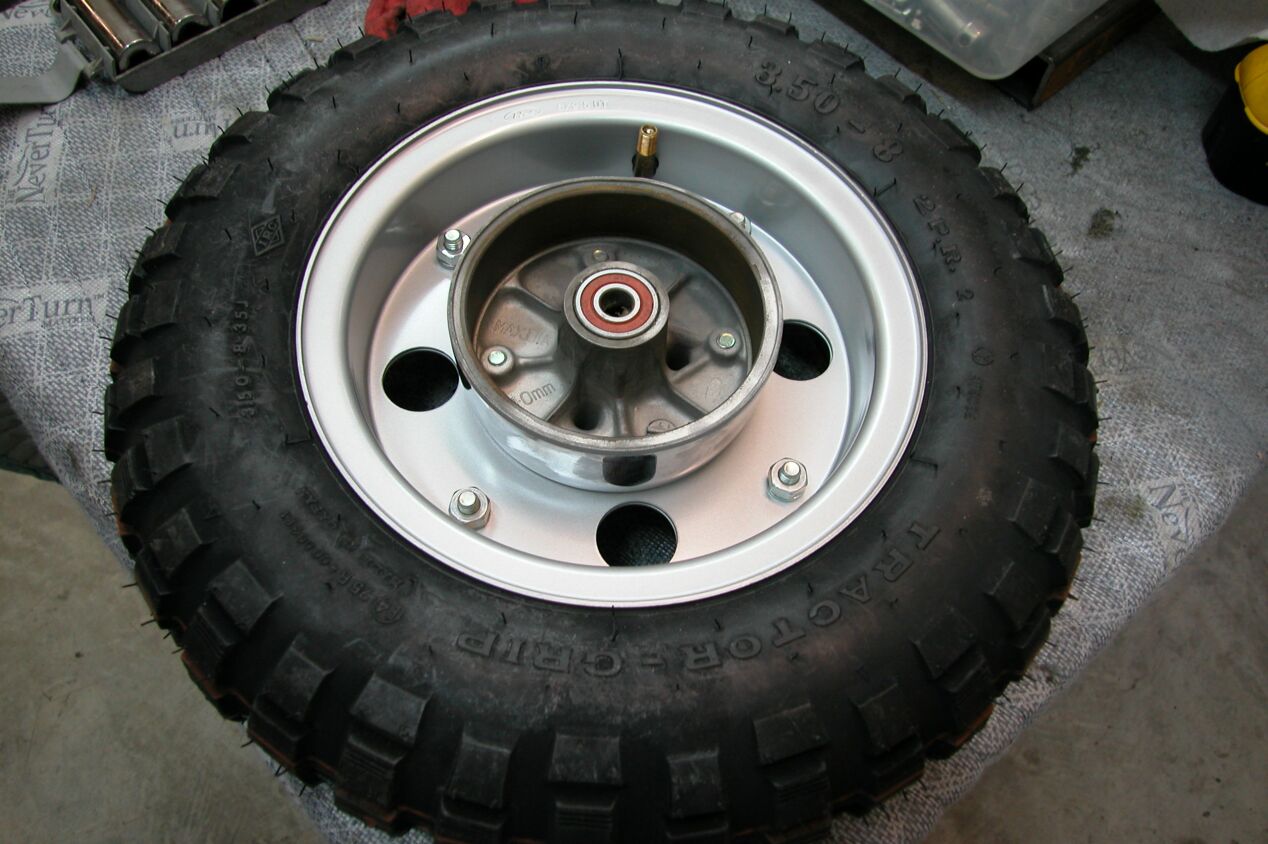
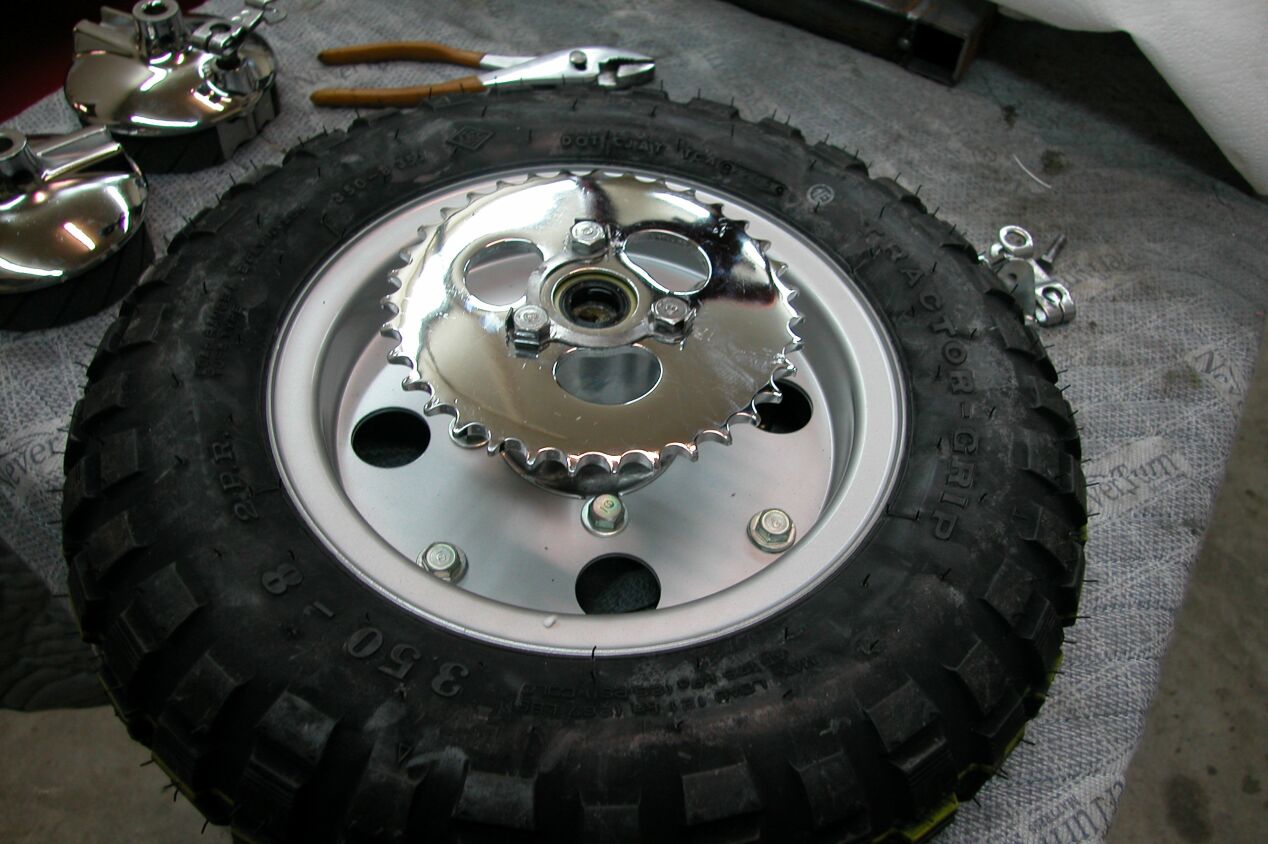
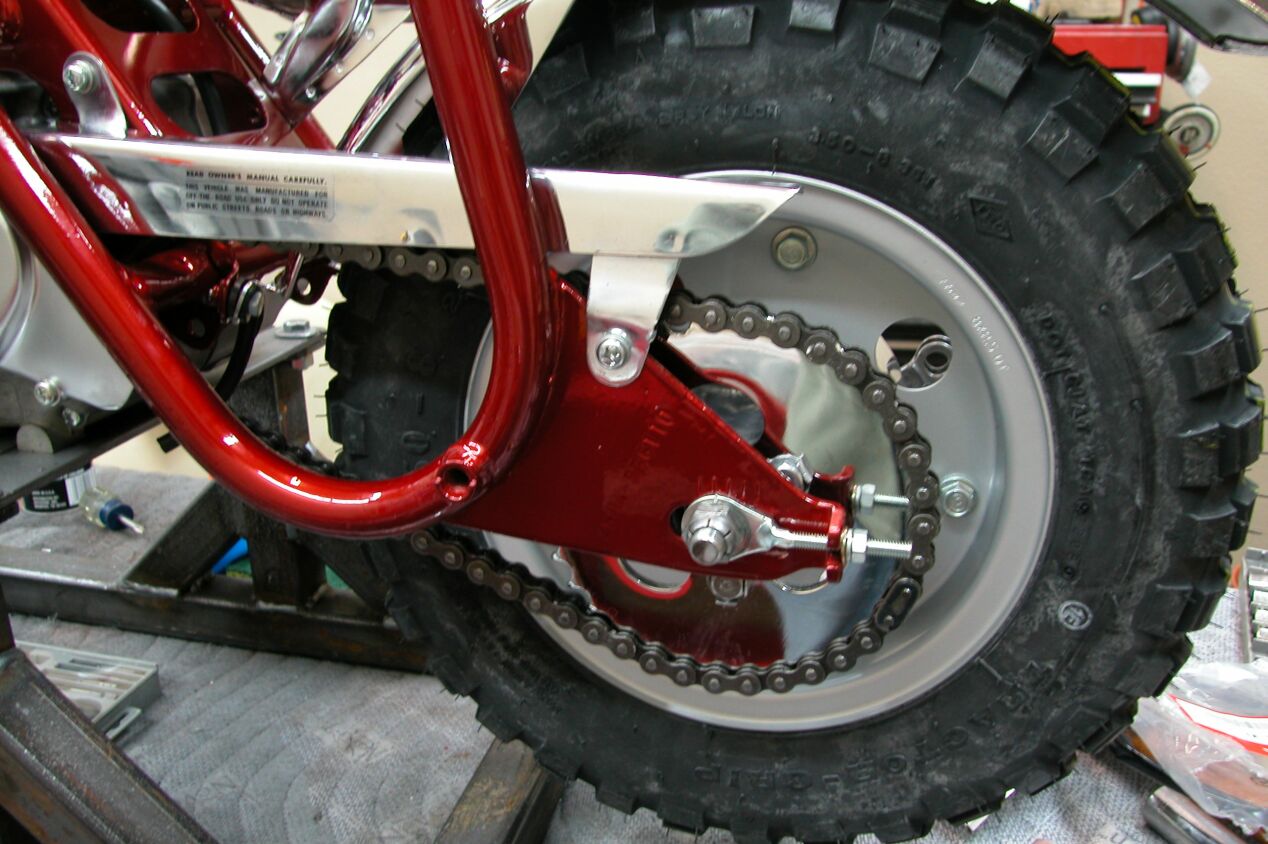
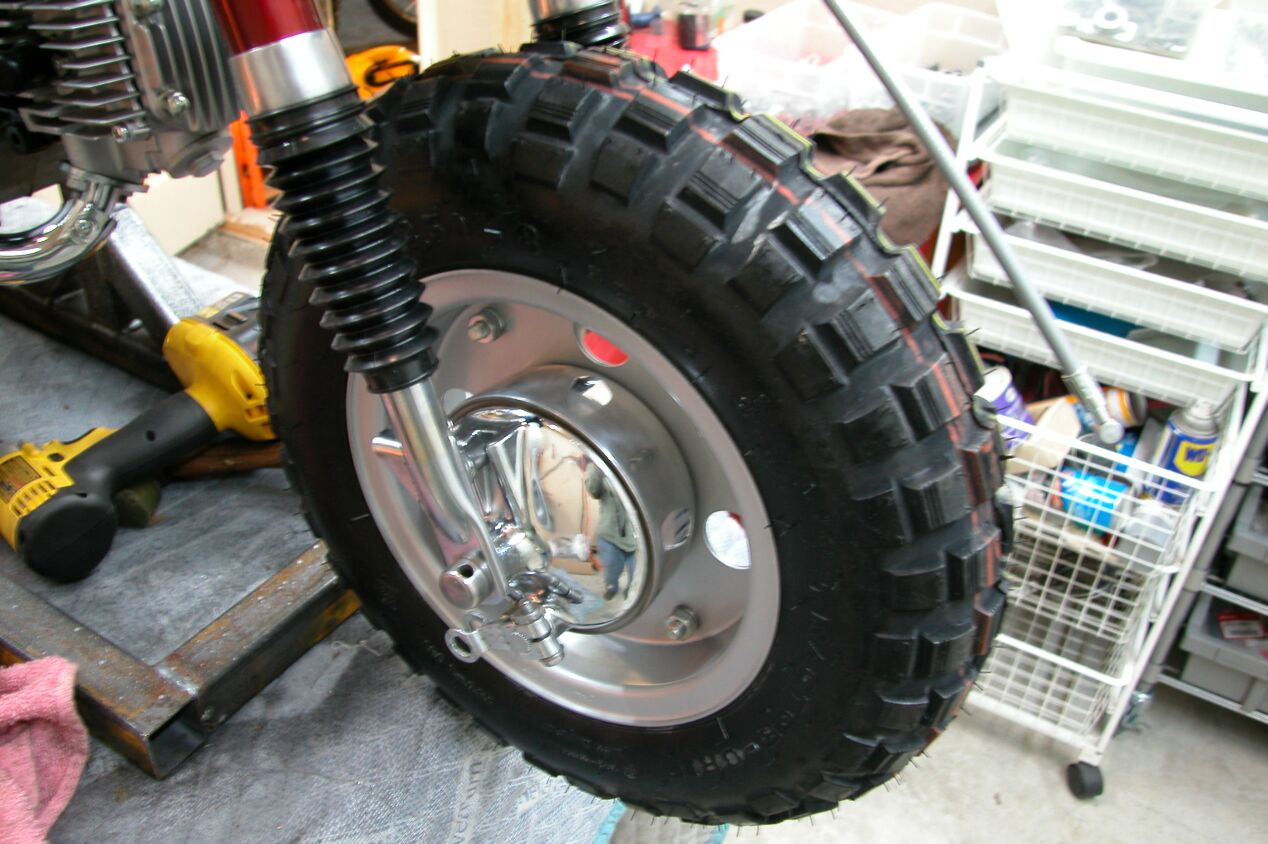
Rear wheel assembly all put together. New wheel halves, bolts, tube and tire.
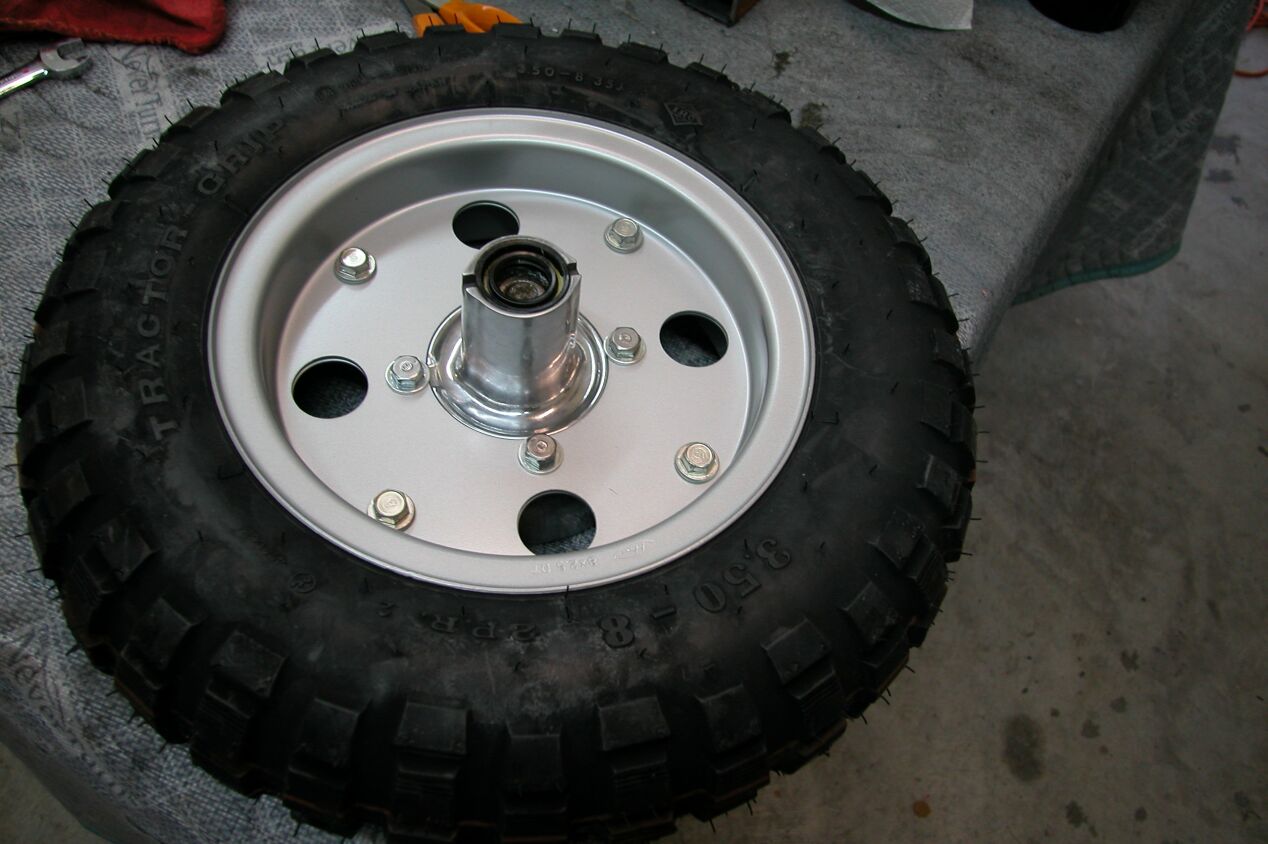
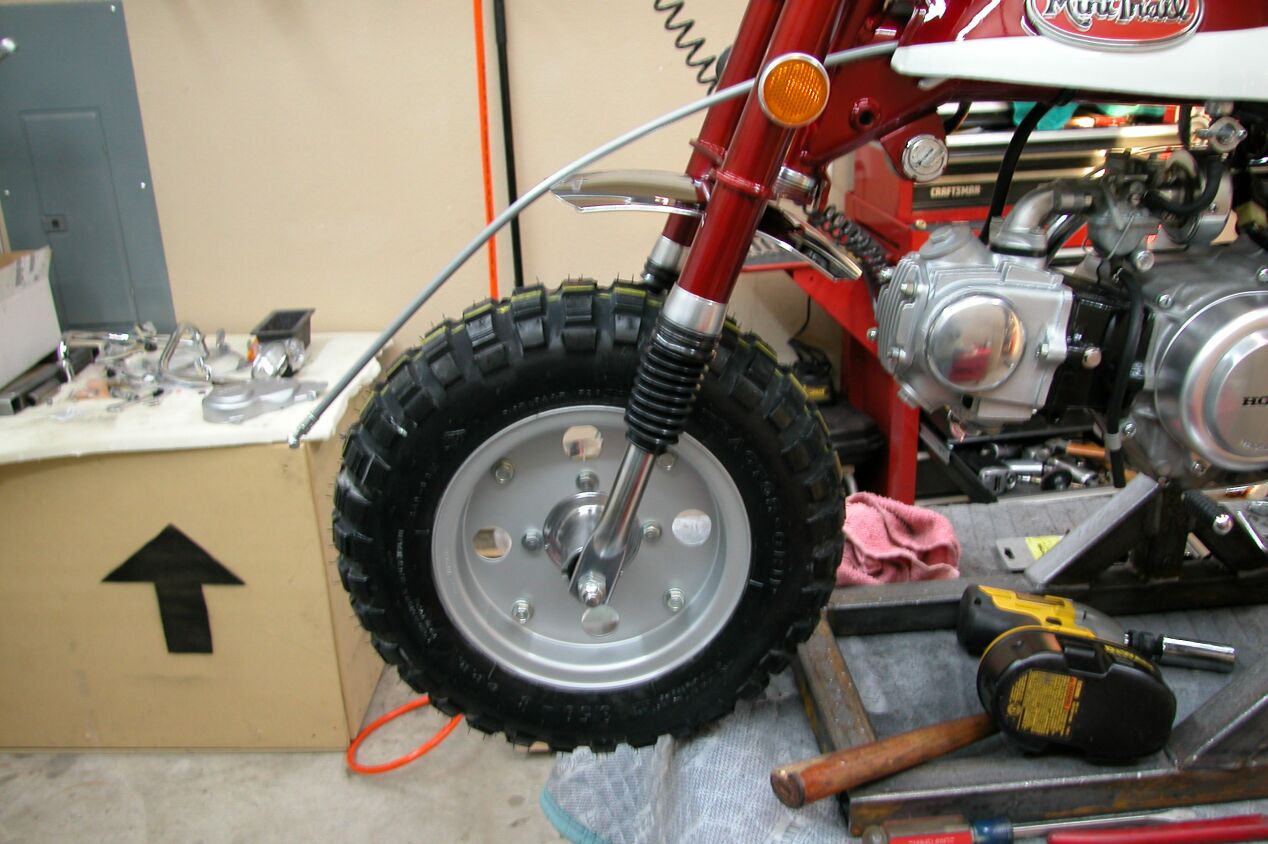
Front wheel assembly......same.
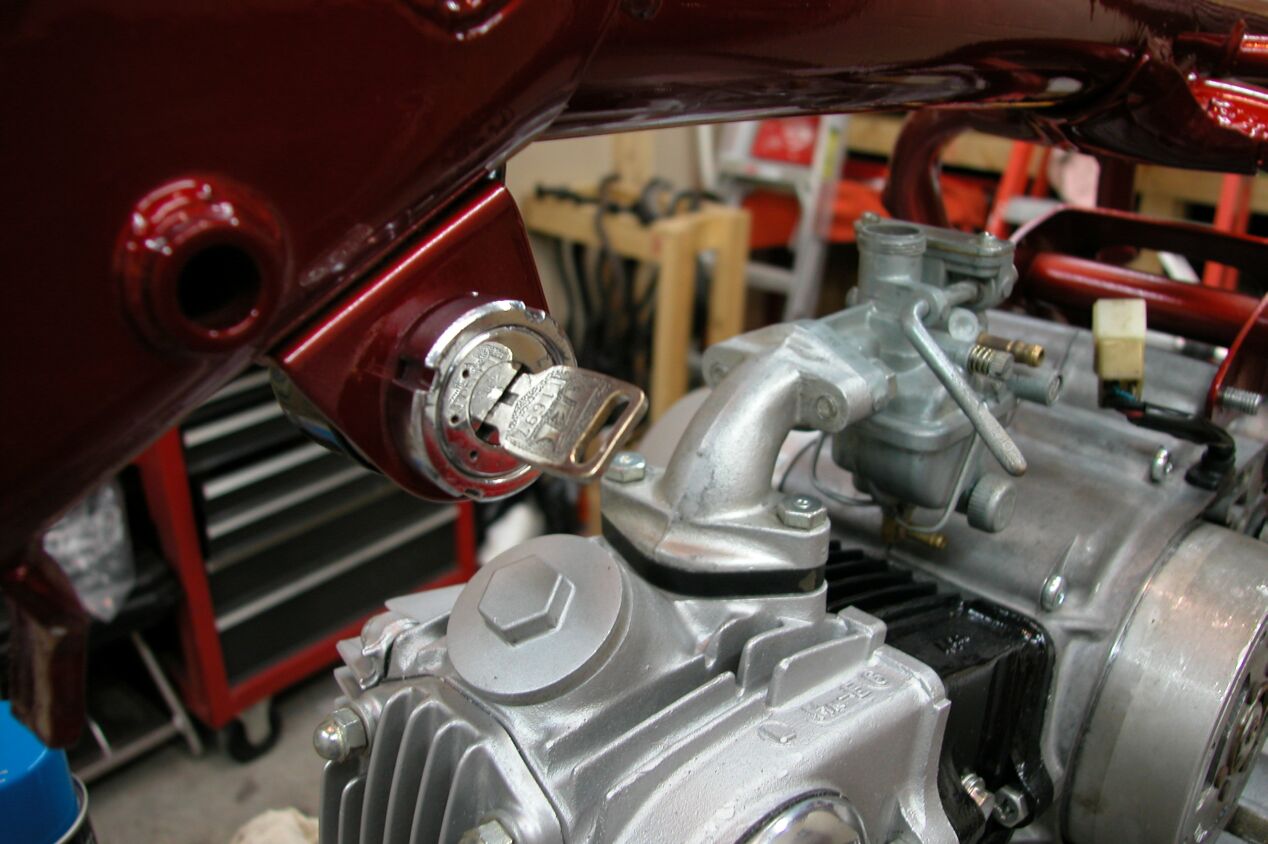
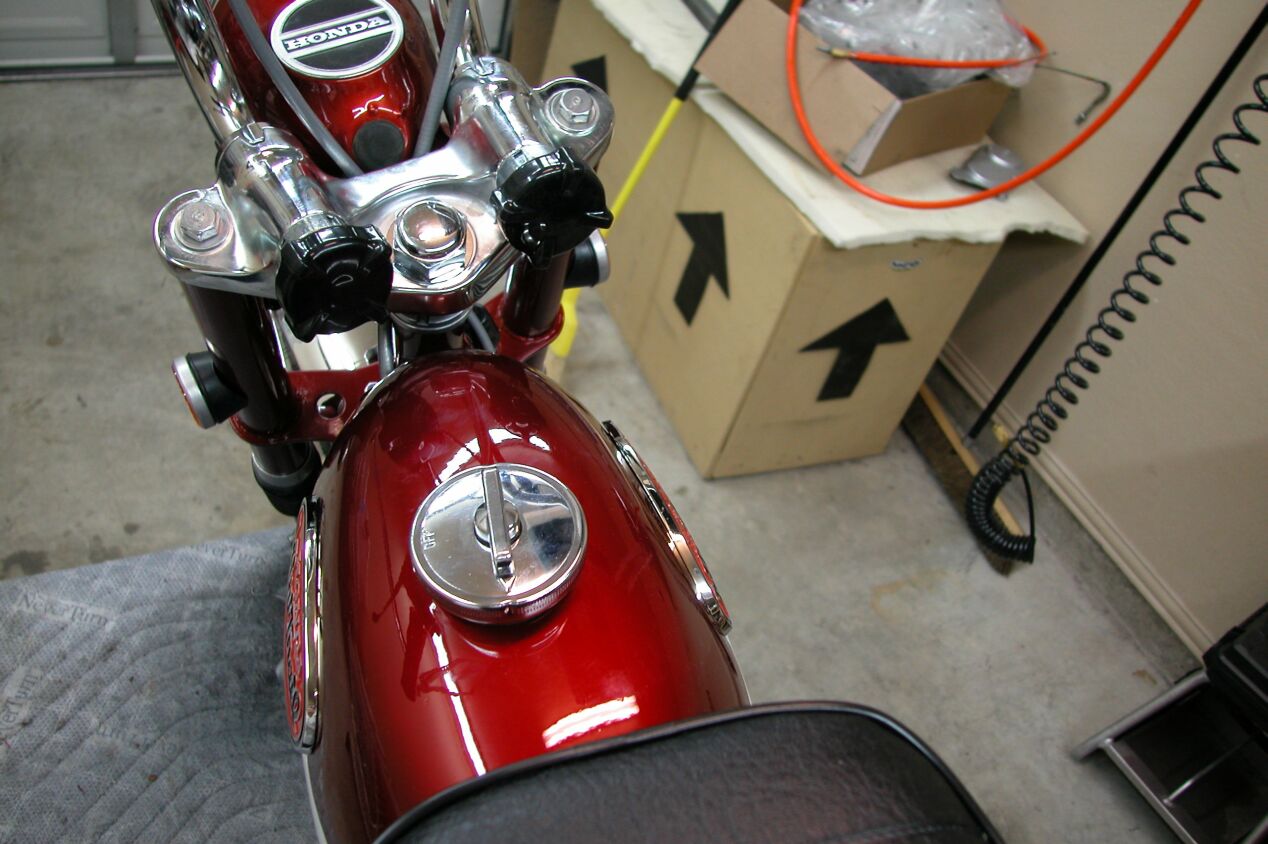
Original Key Switch ... polished and installed.
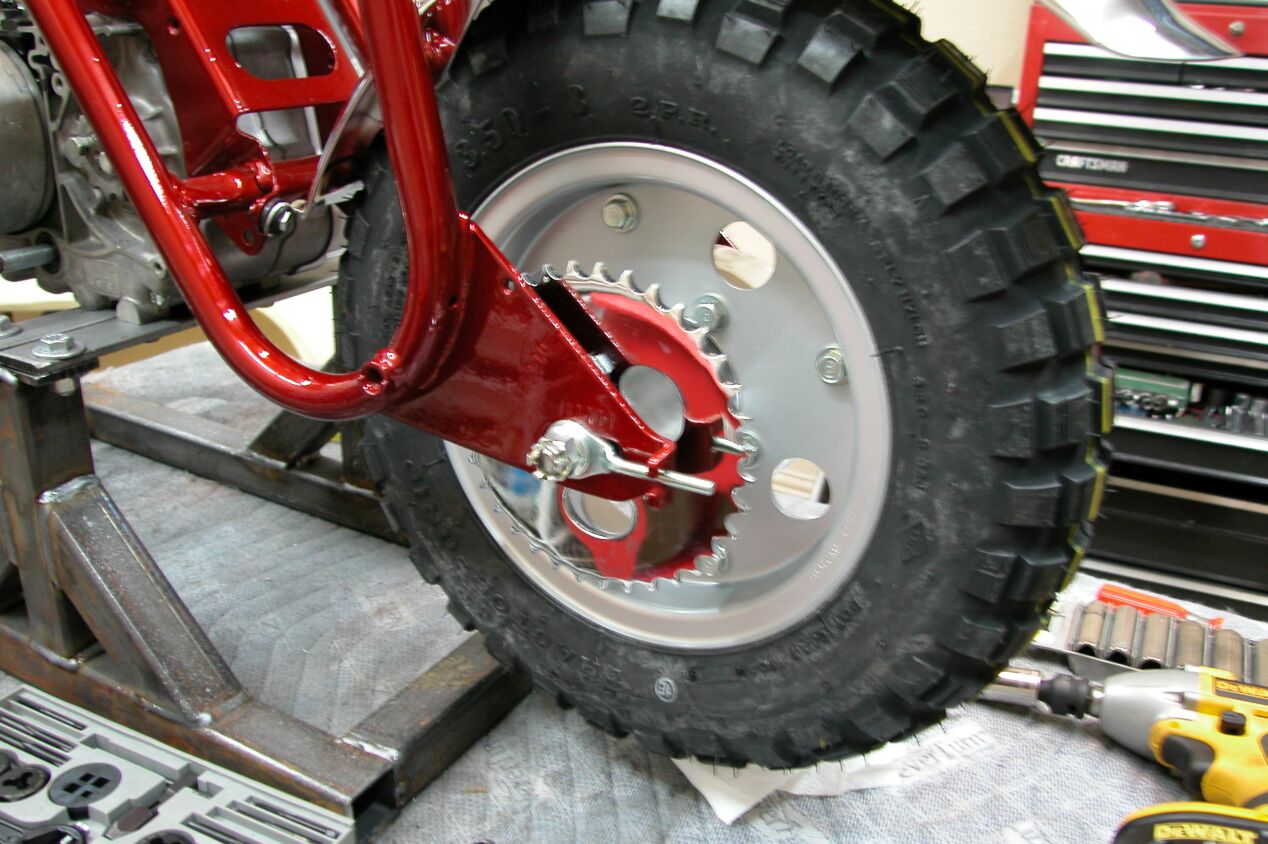
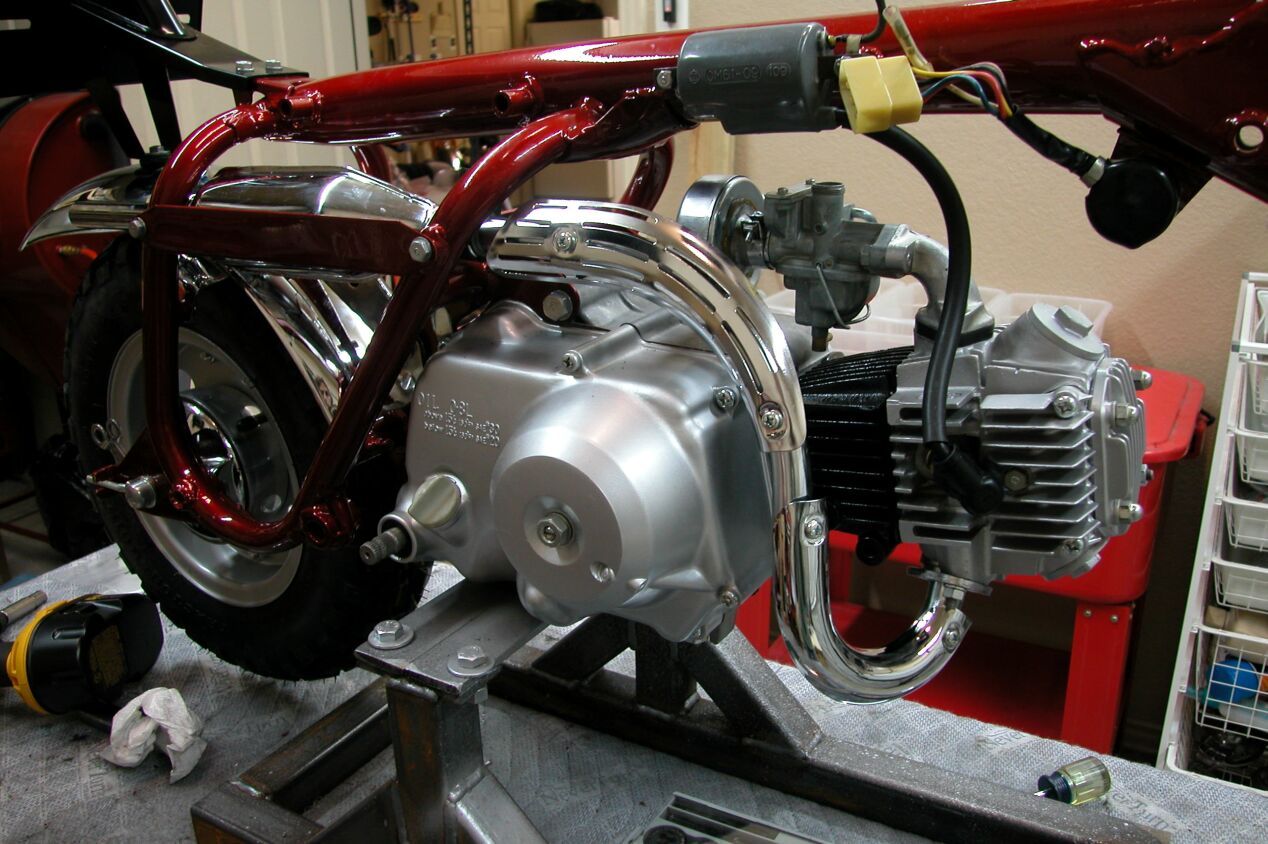
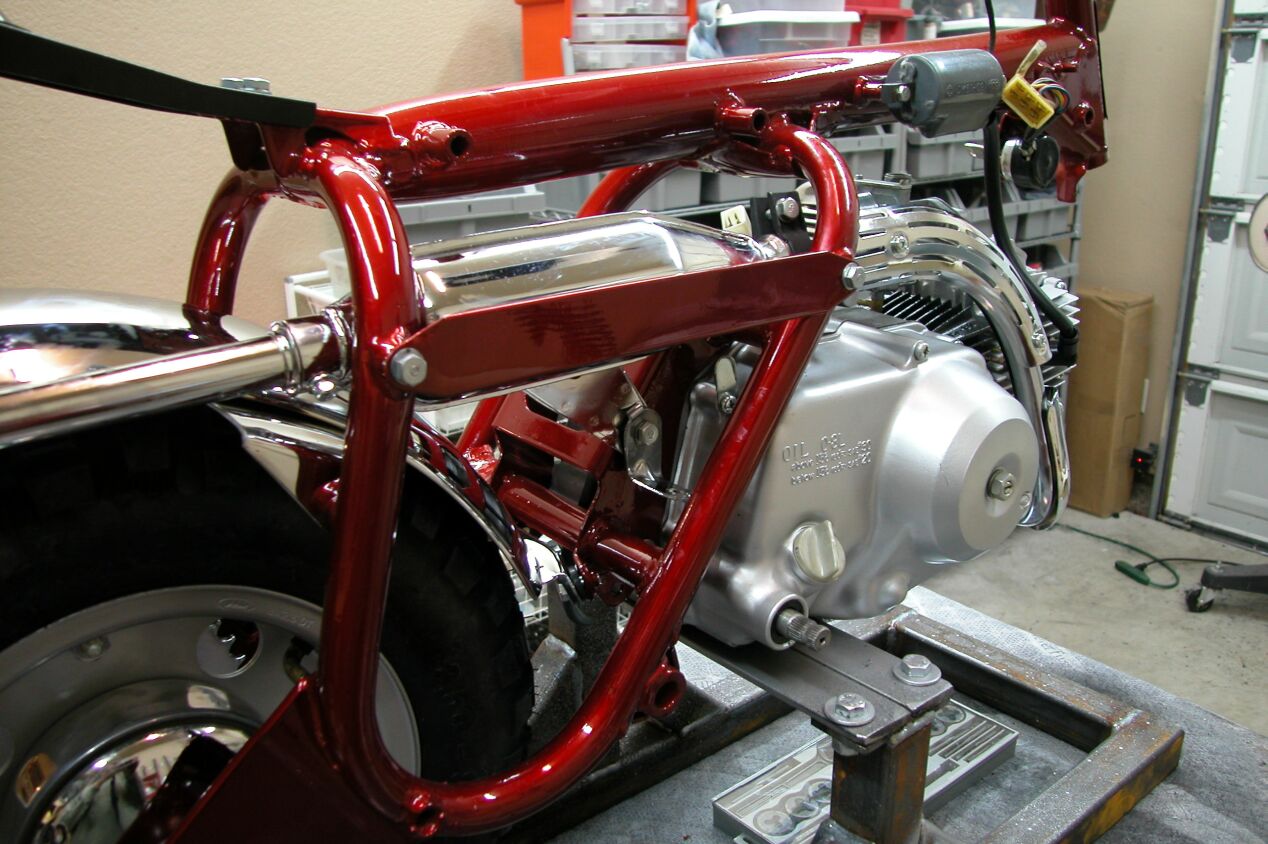
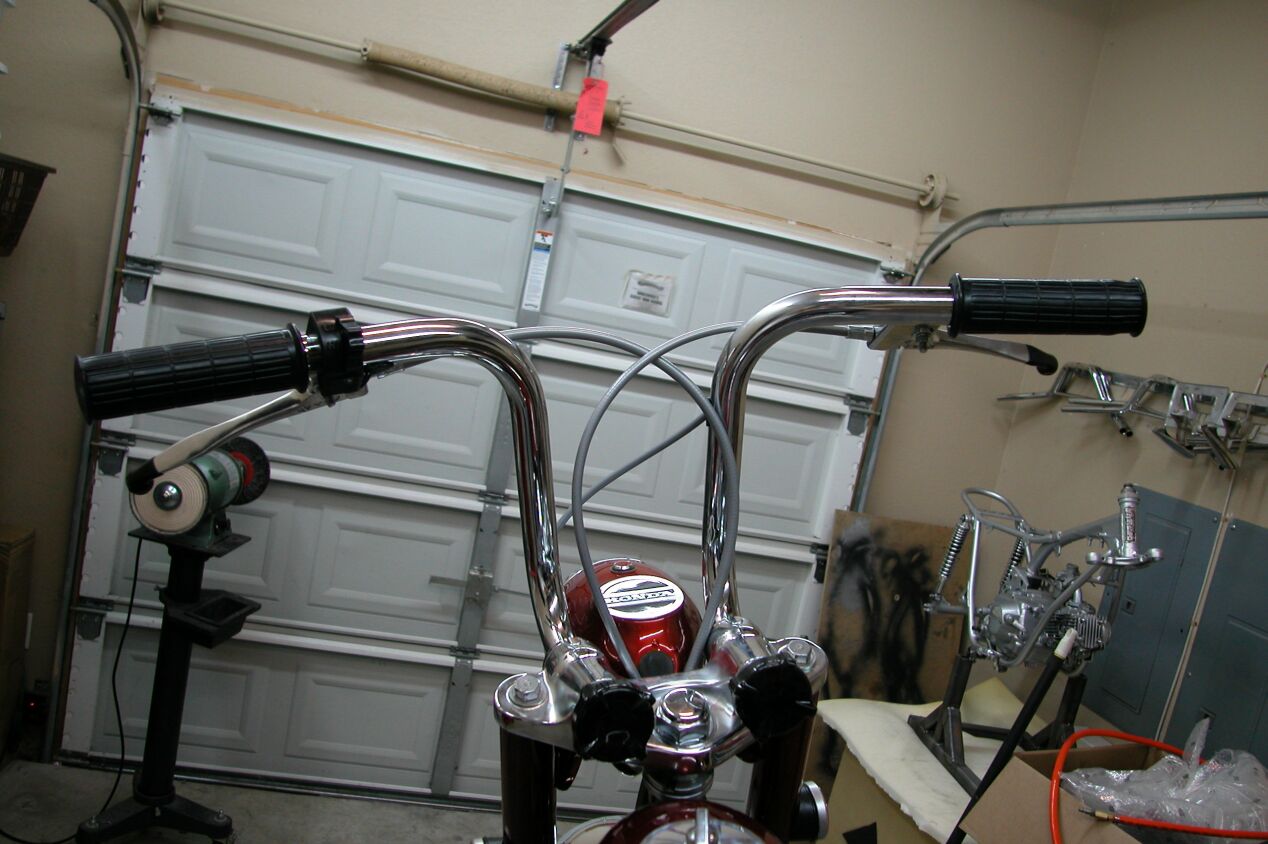
3/19/2006 Assembly of the bike begins !!! This is actually the fun part. Chrome sprocket.
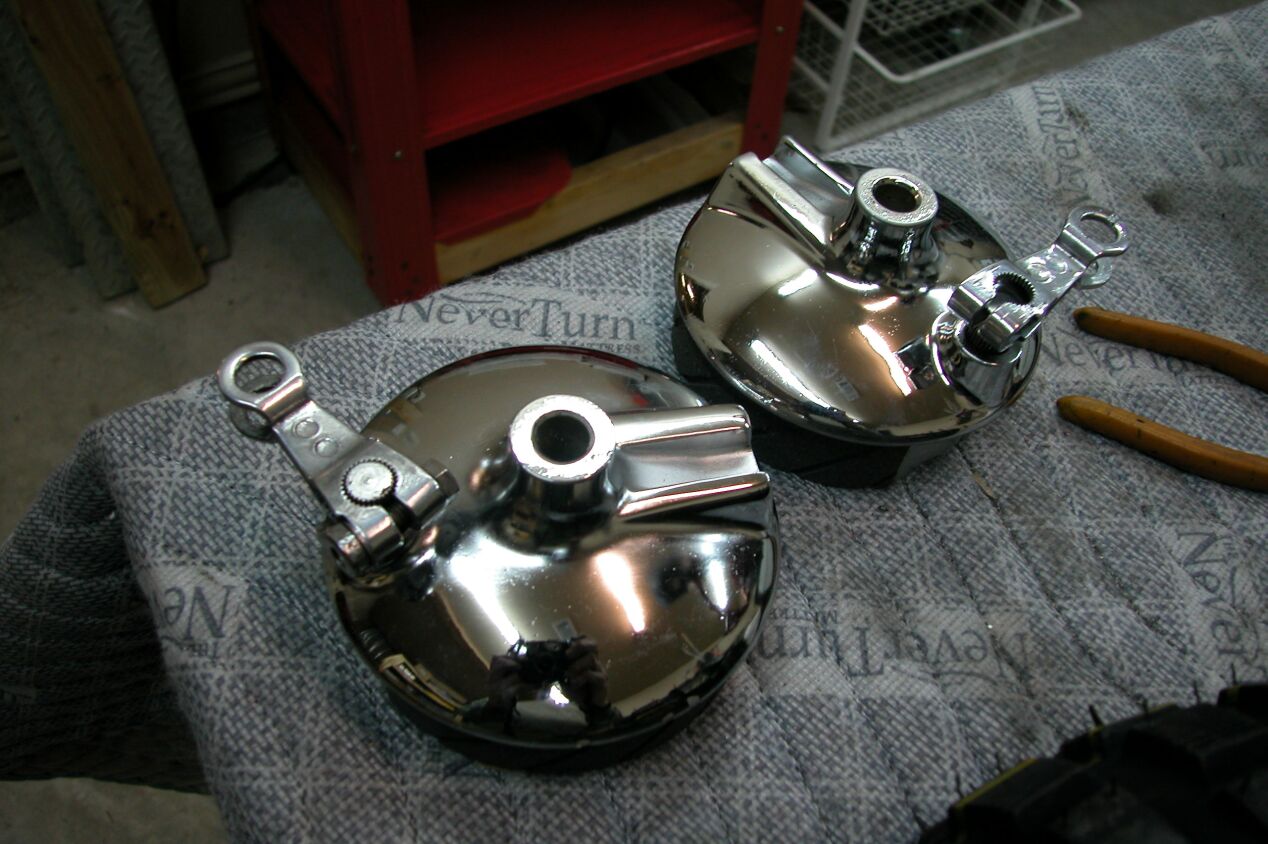
Brake backing plate assemblies chromed with new shoes and parts.
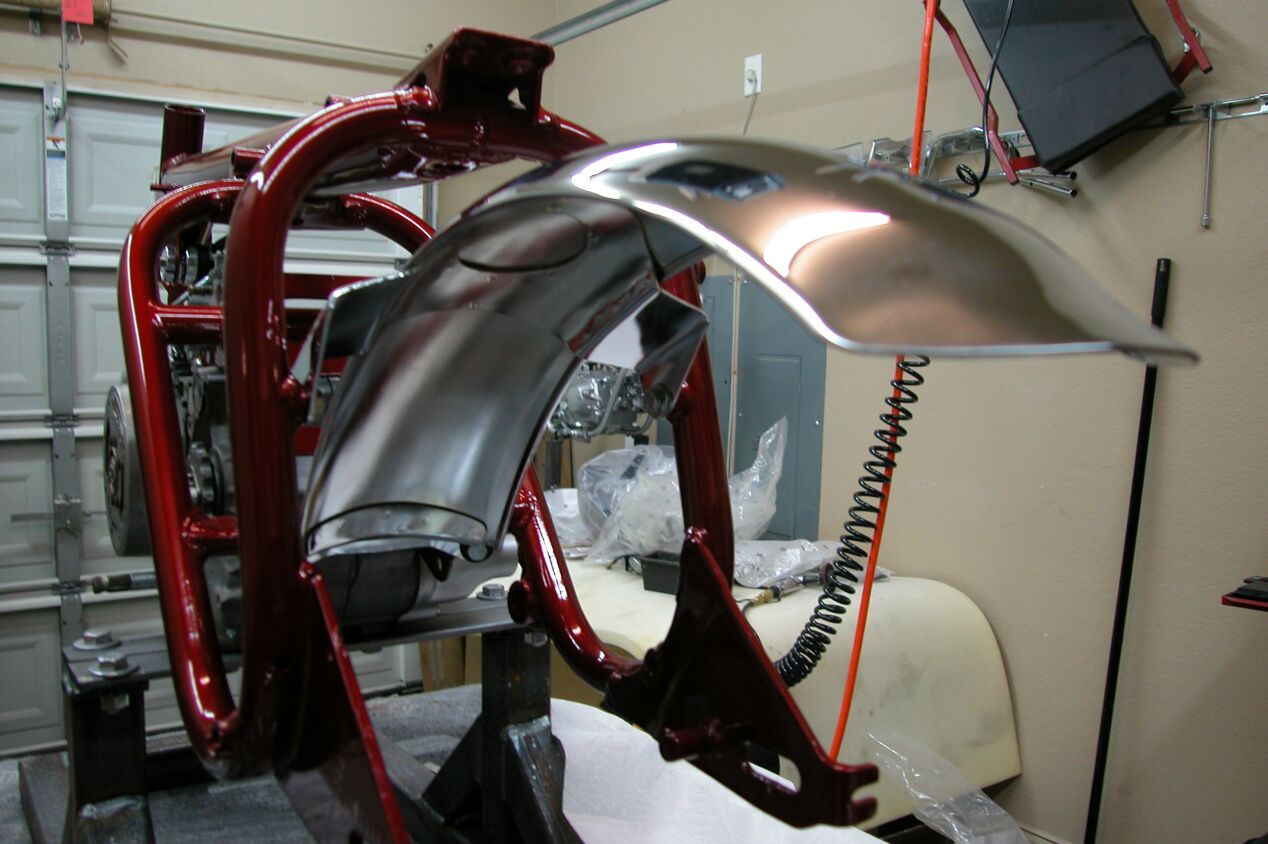
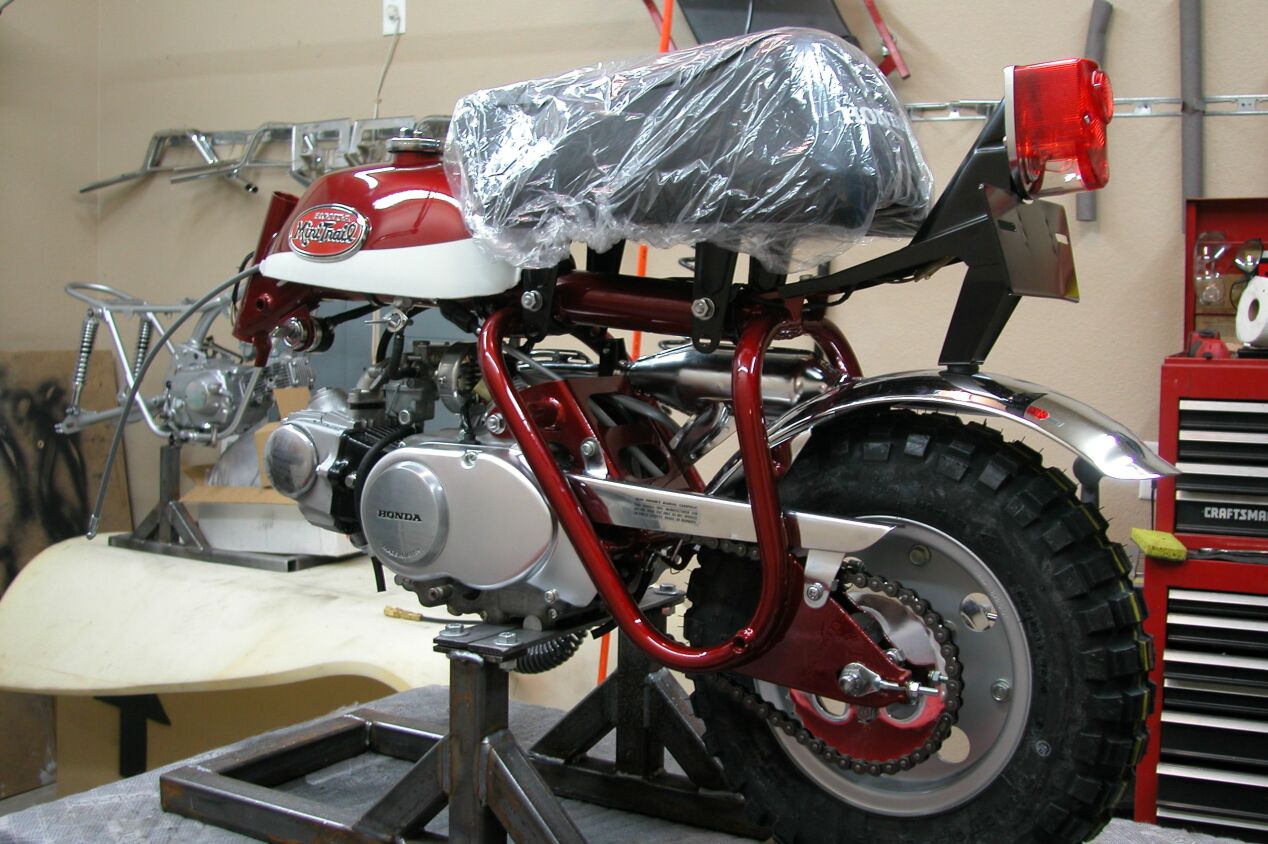
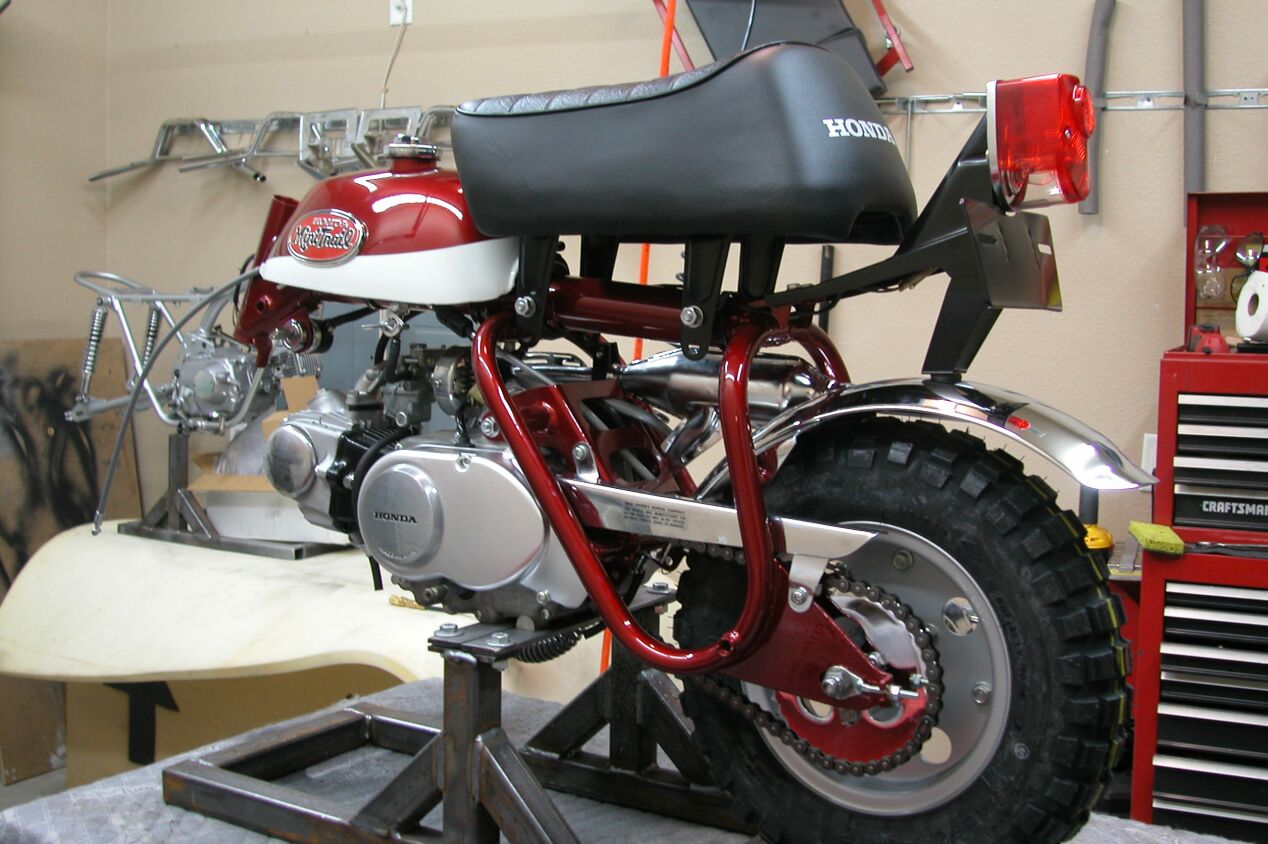
K2 Rear Fender Installed.
License plate bracket and taillight assembly.
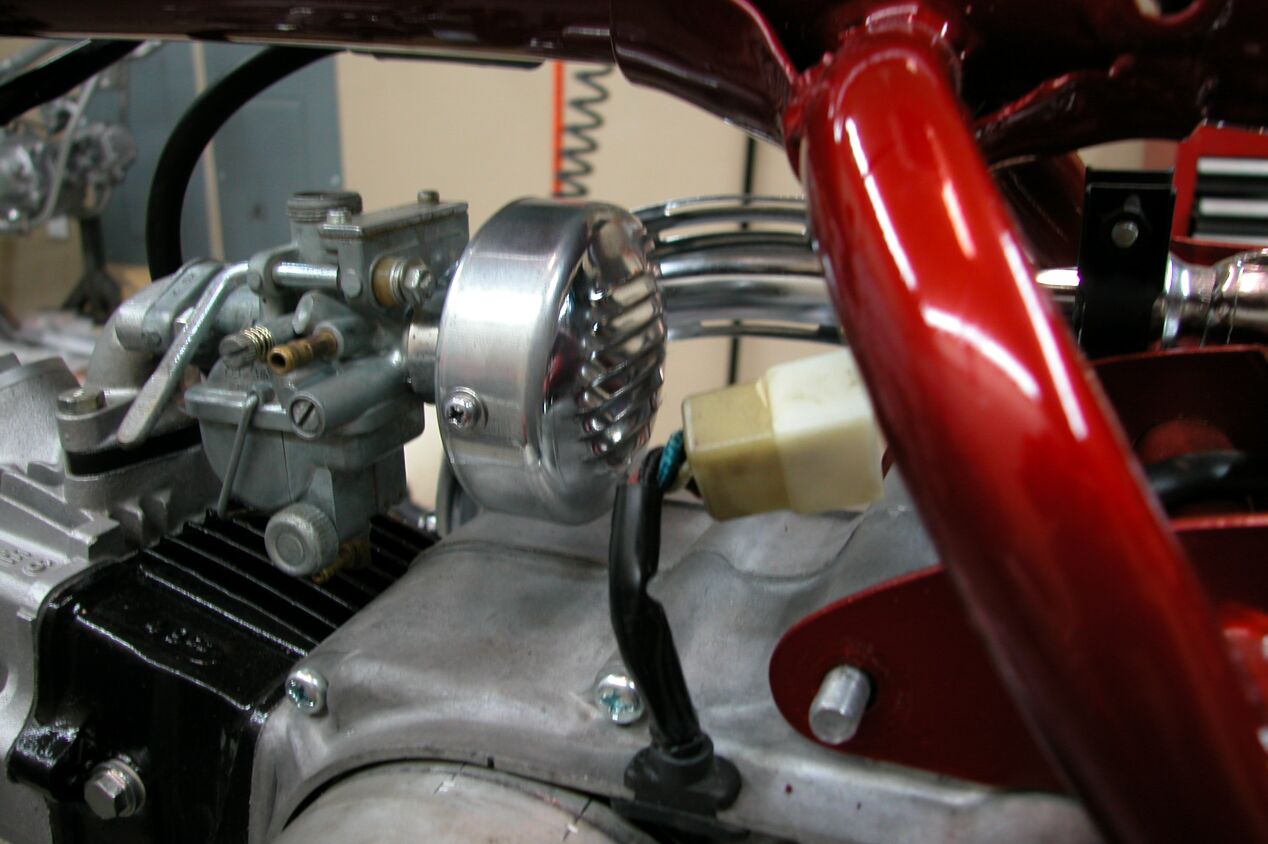
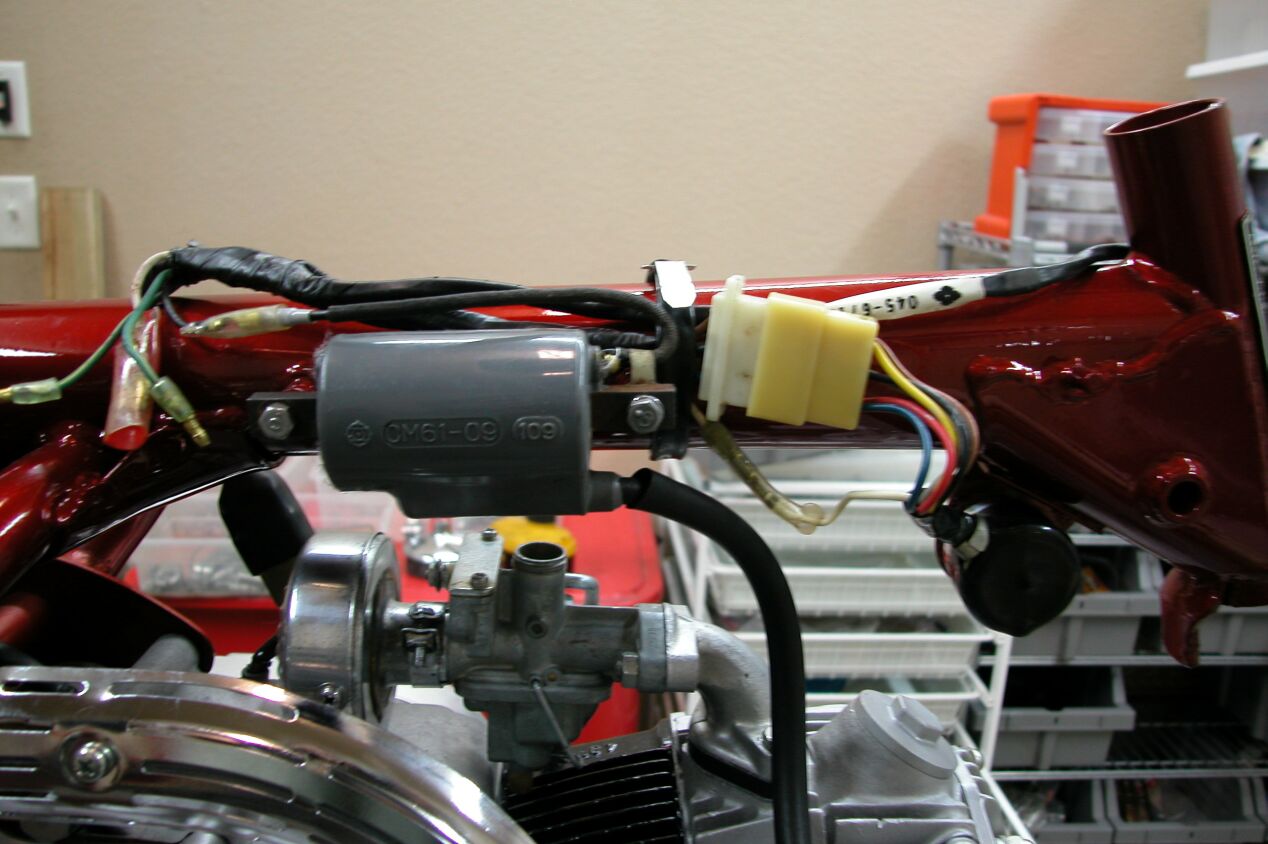
Coil.
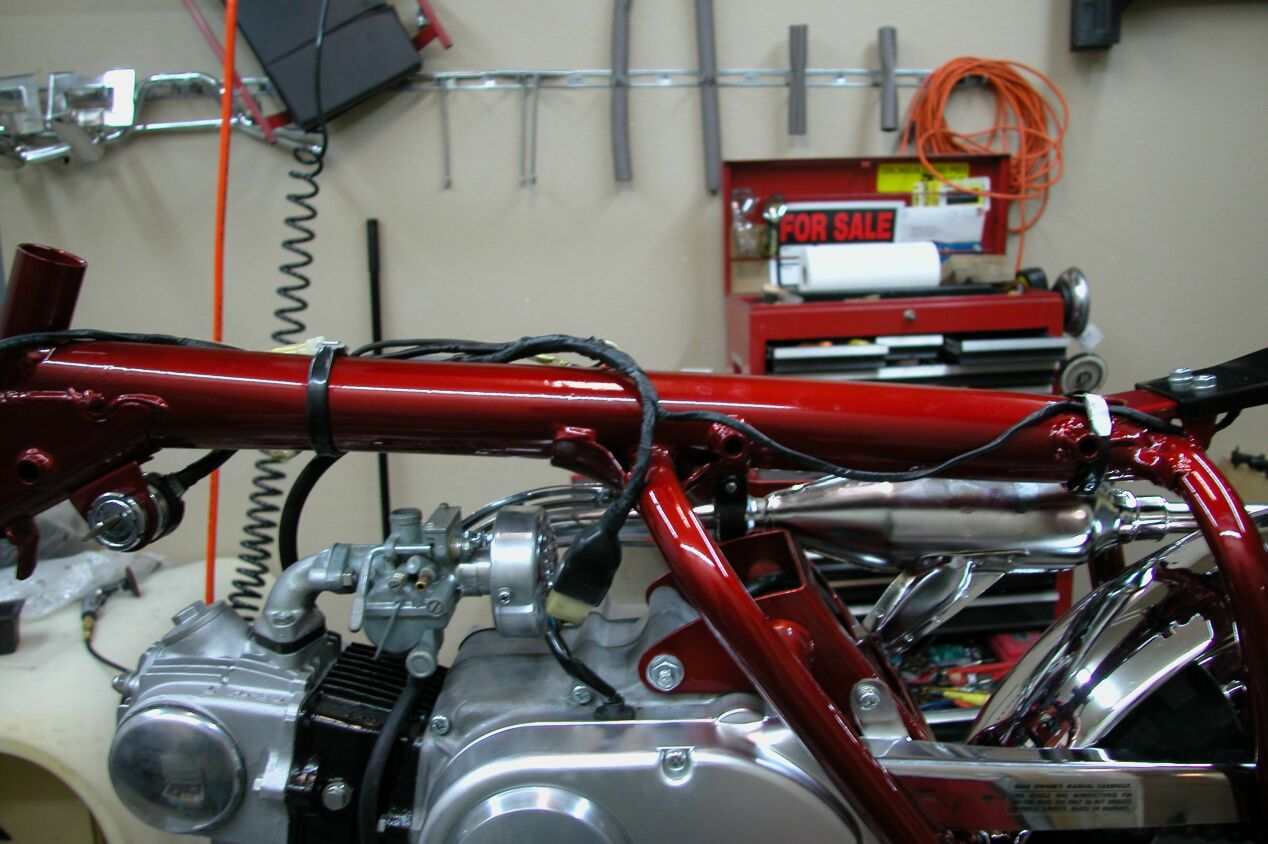
Exhaust system and guard installed.
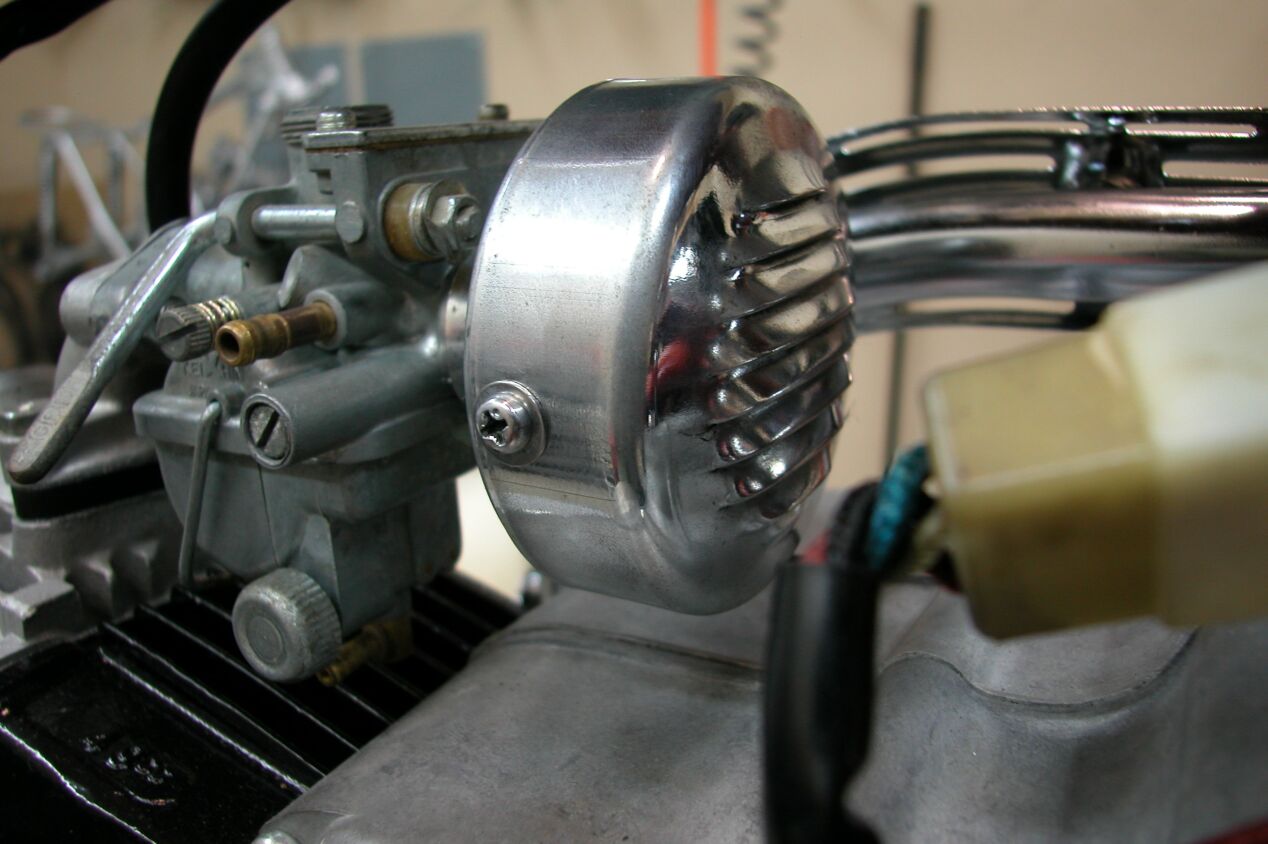
I polished your original Air Cleaner assembly and installed new foam element.
I polished up your original chain guard because I still do not have new ones. New chain and master-link installed.
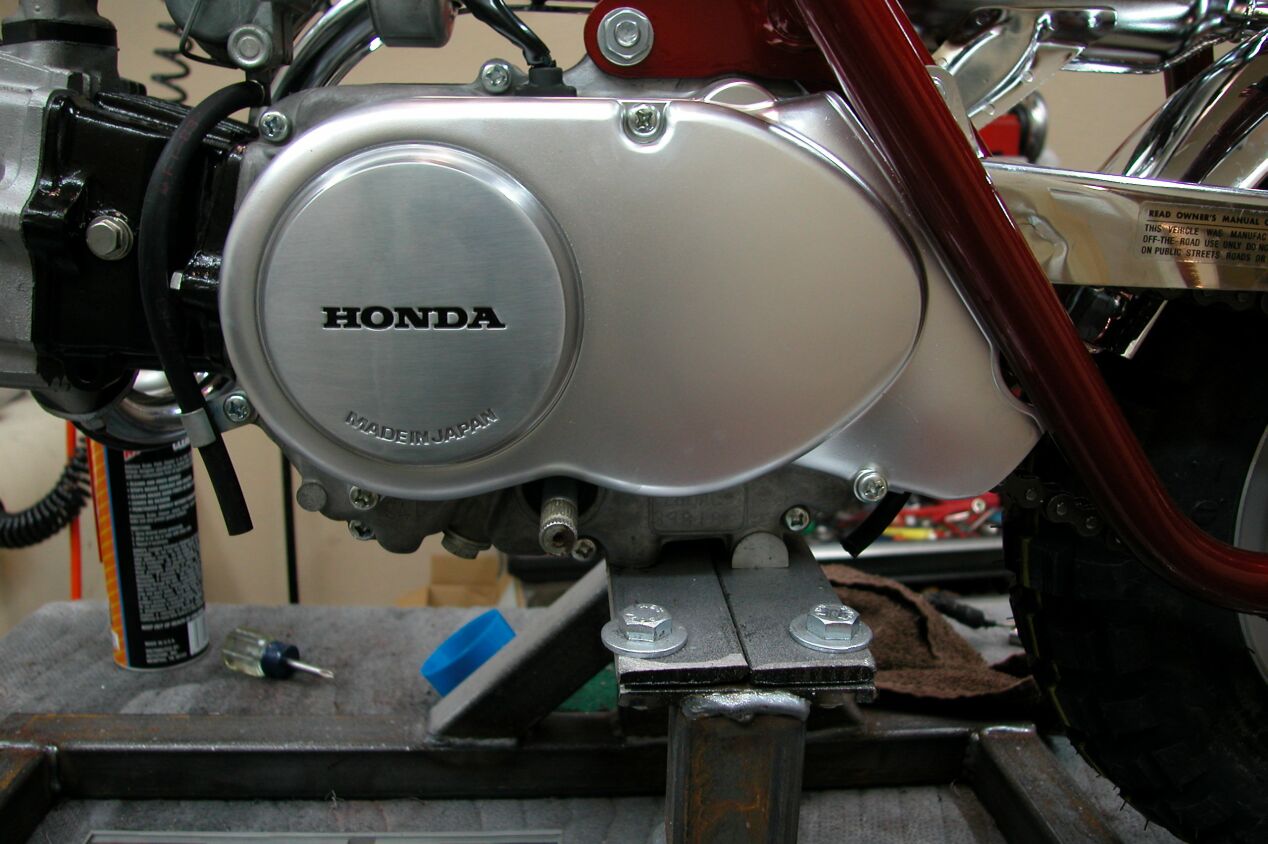
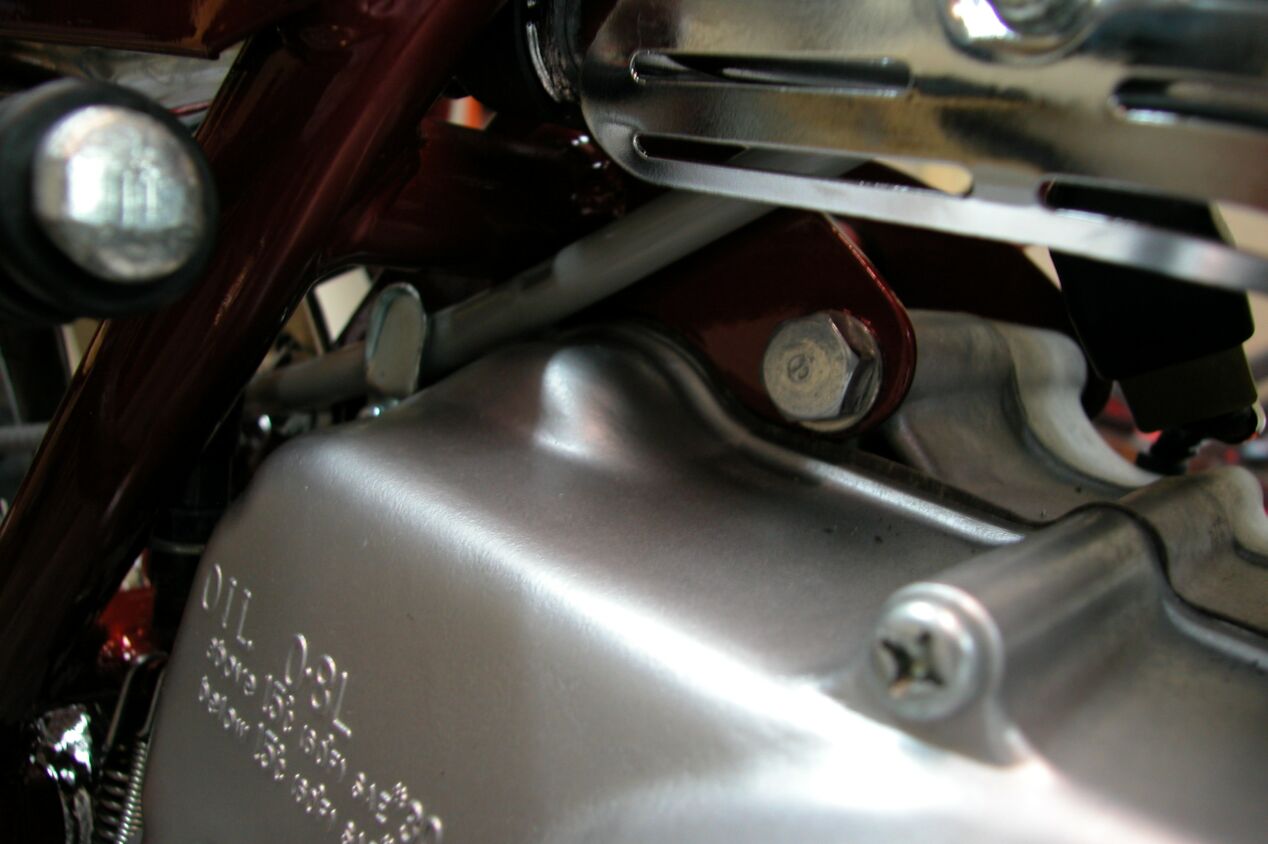
New Engine cover in place.
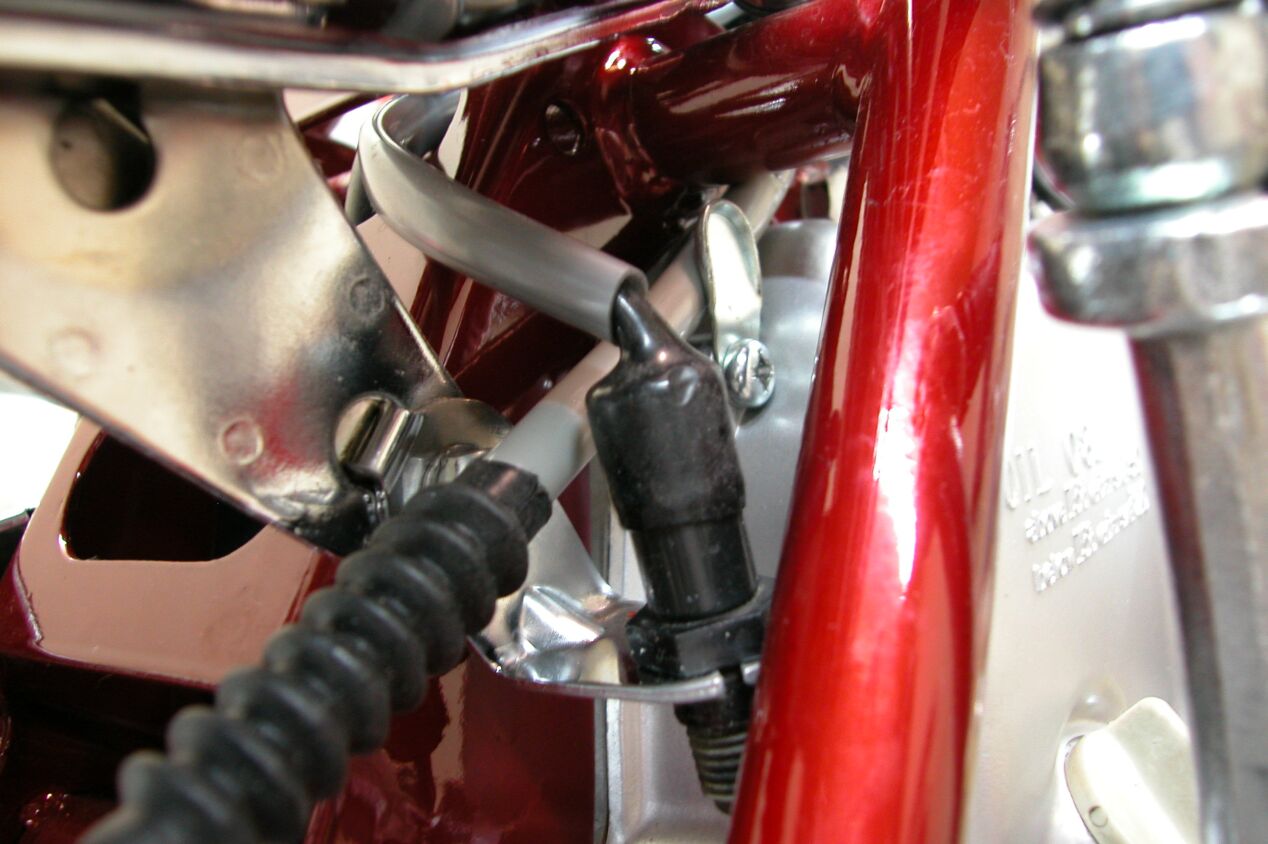
Wiring harness pretty much in place.
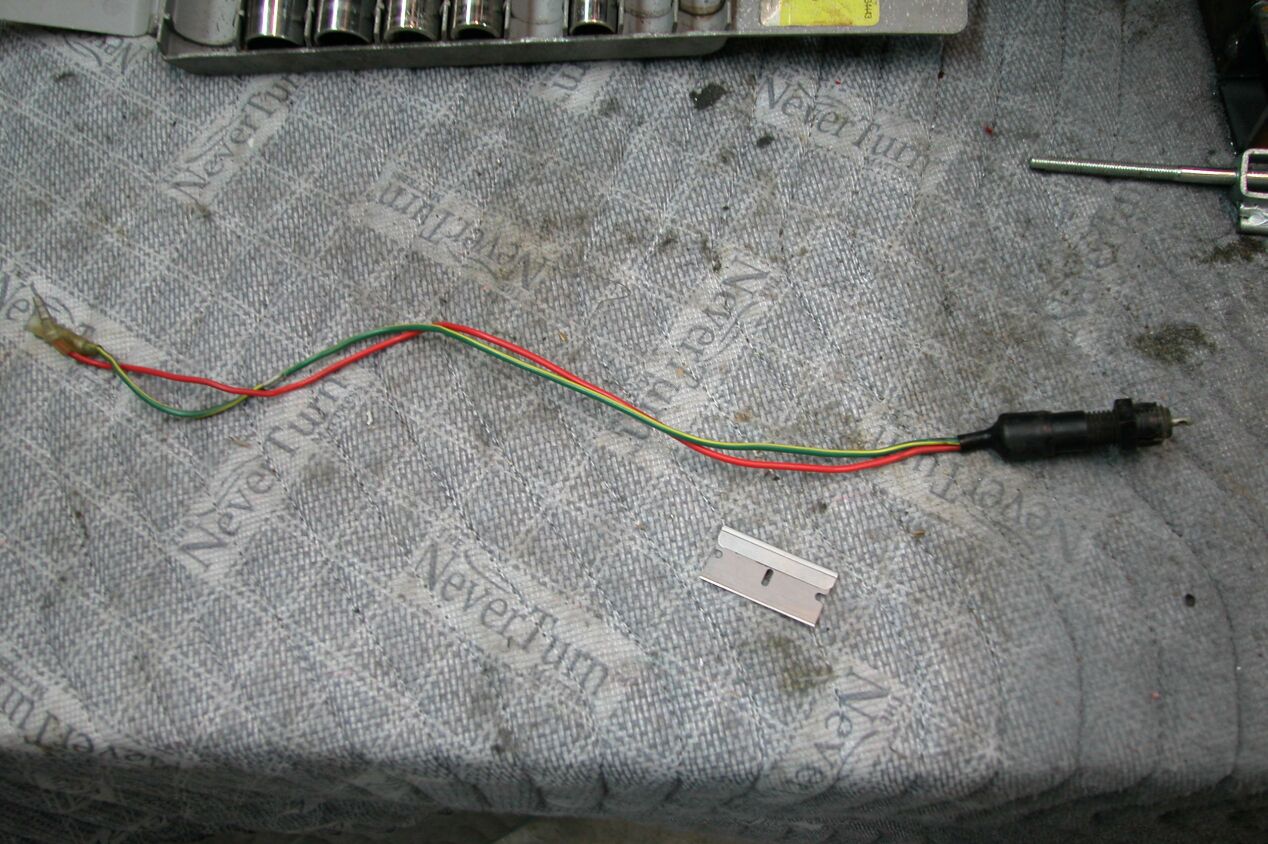
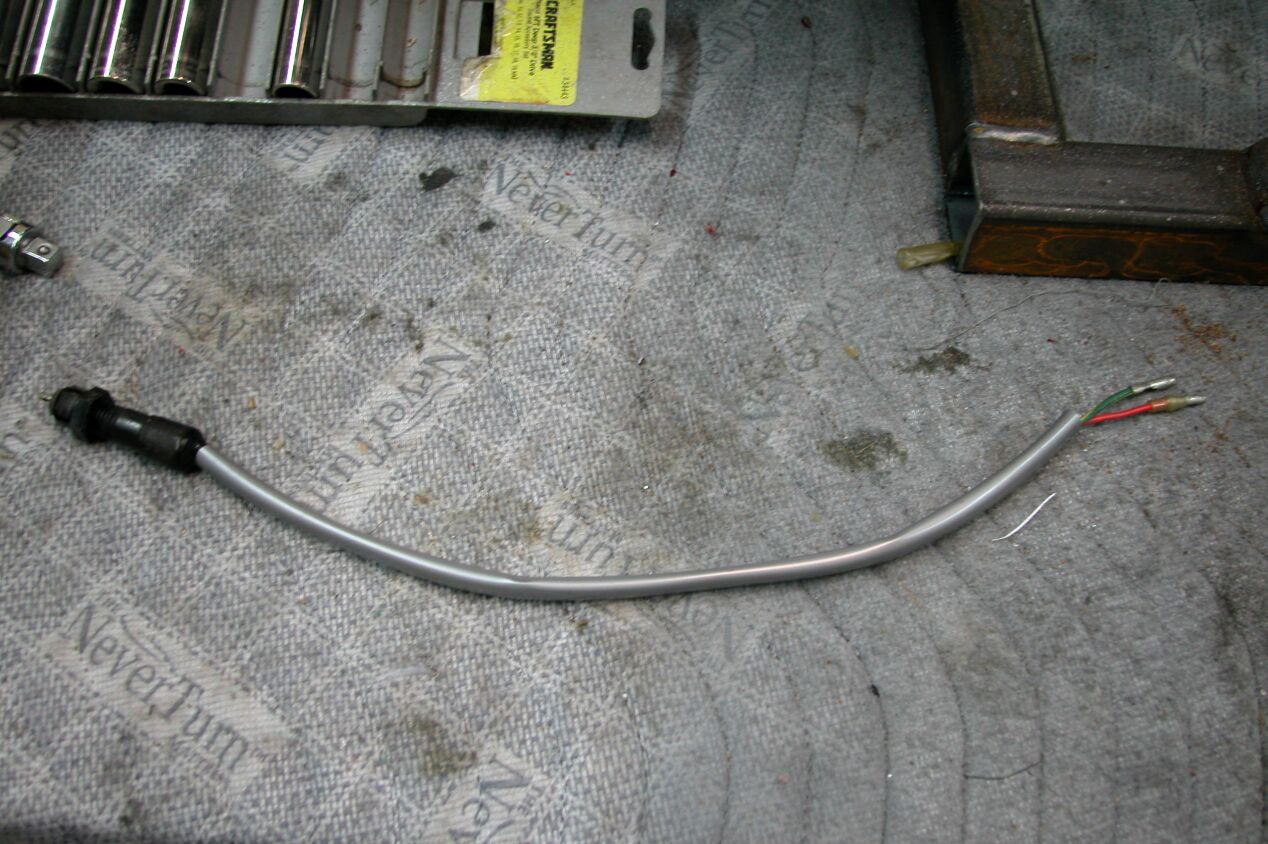
The original rear foot brake switch had broken sheating. I took it off and put on new.
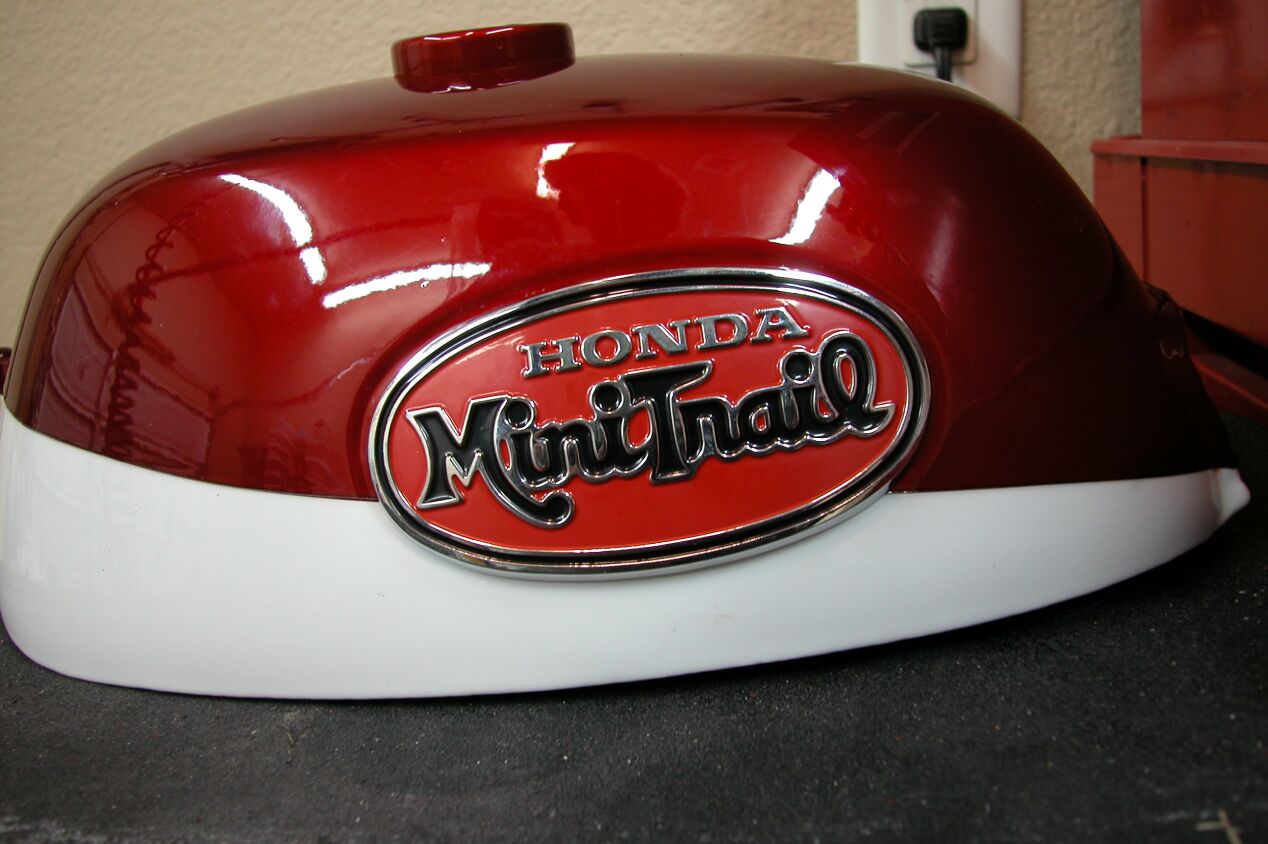
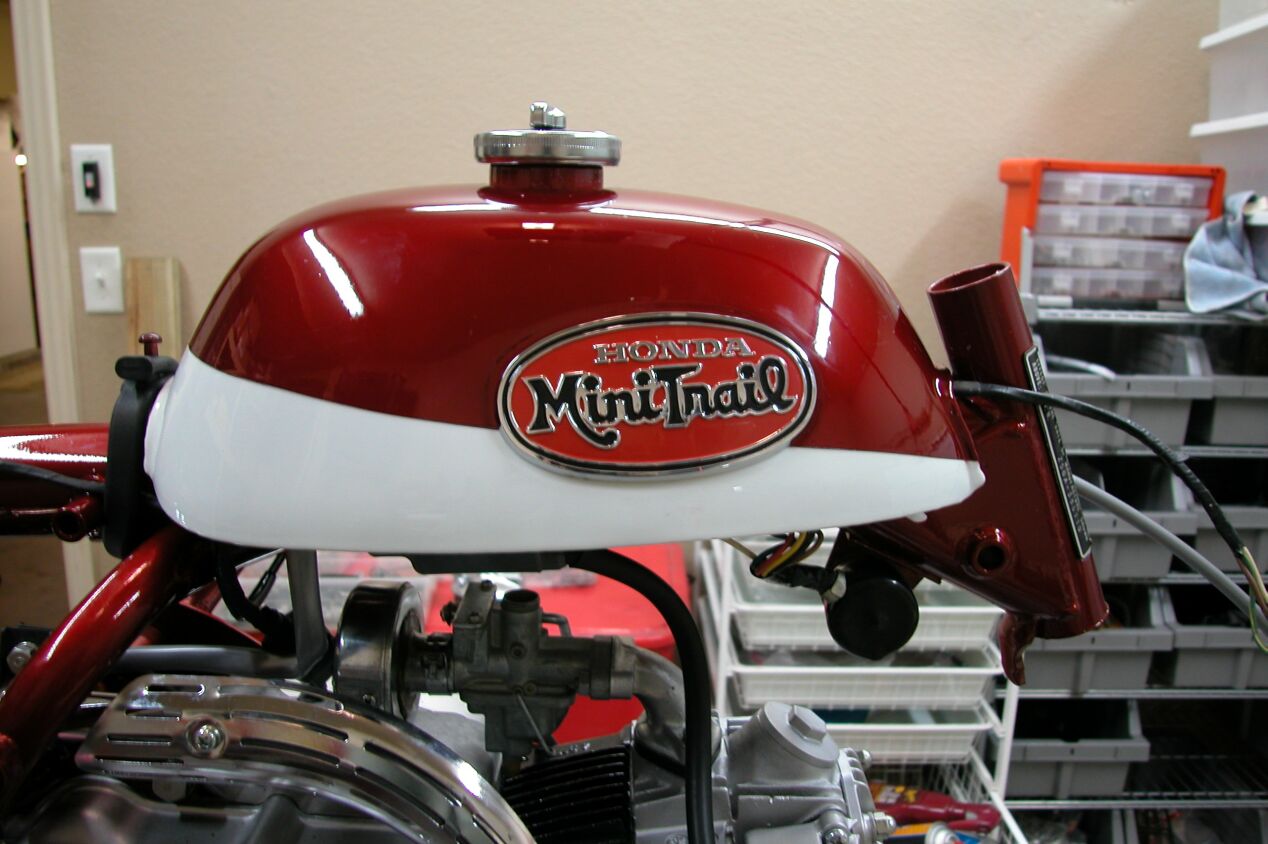
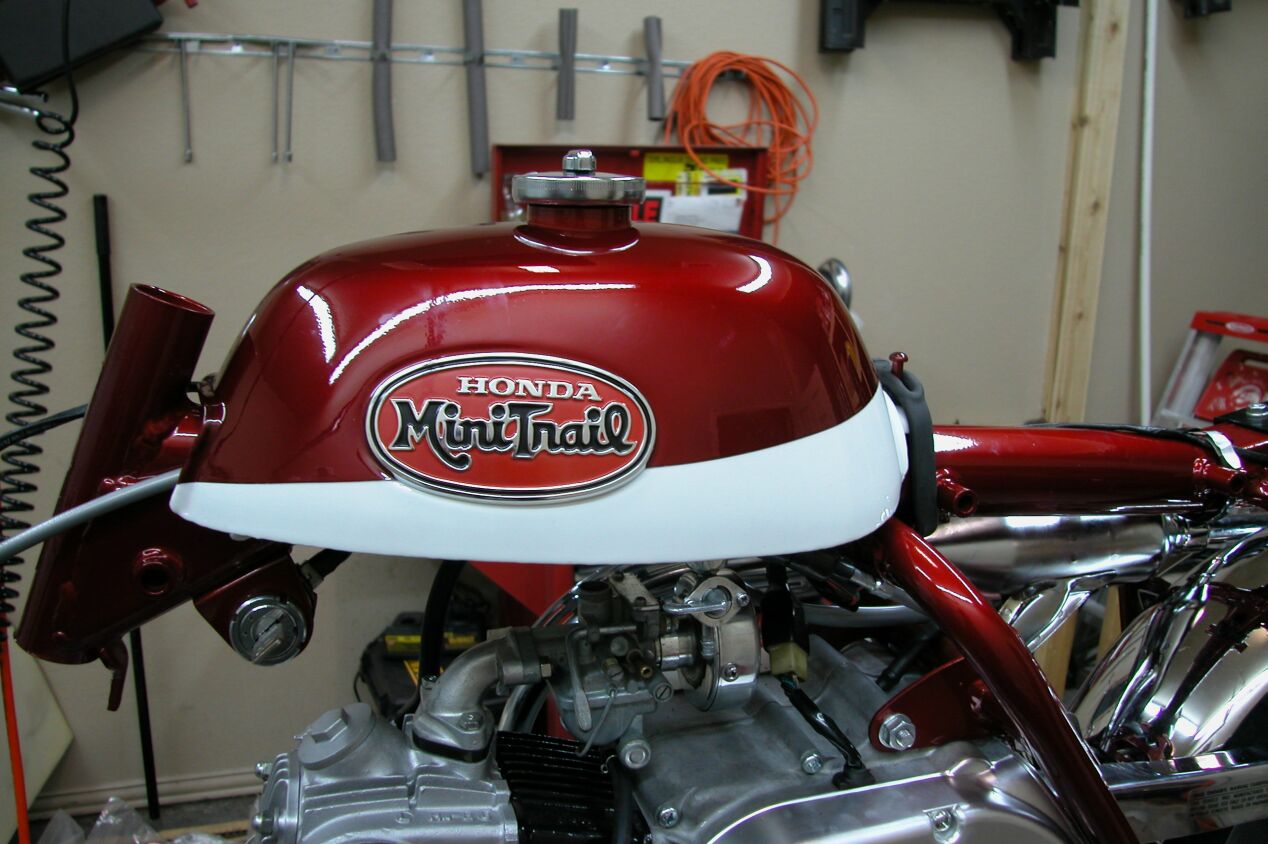
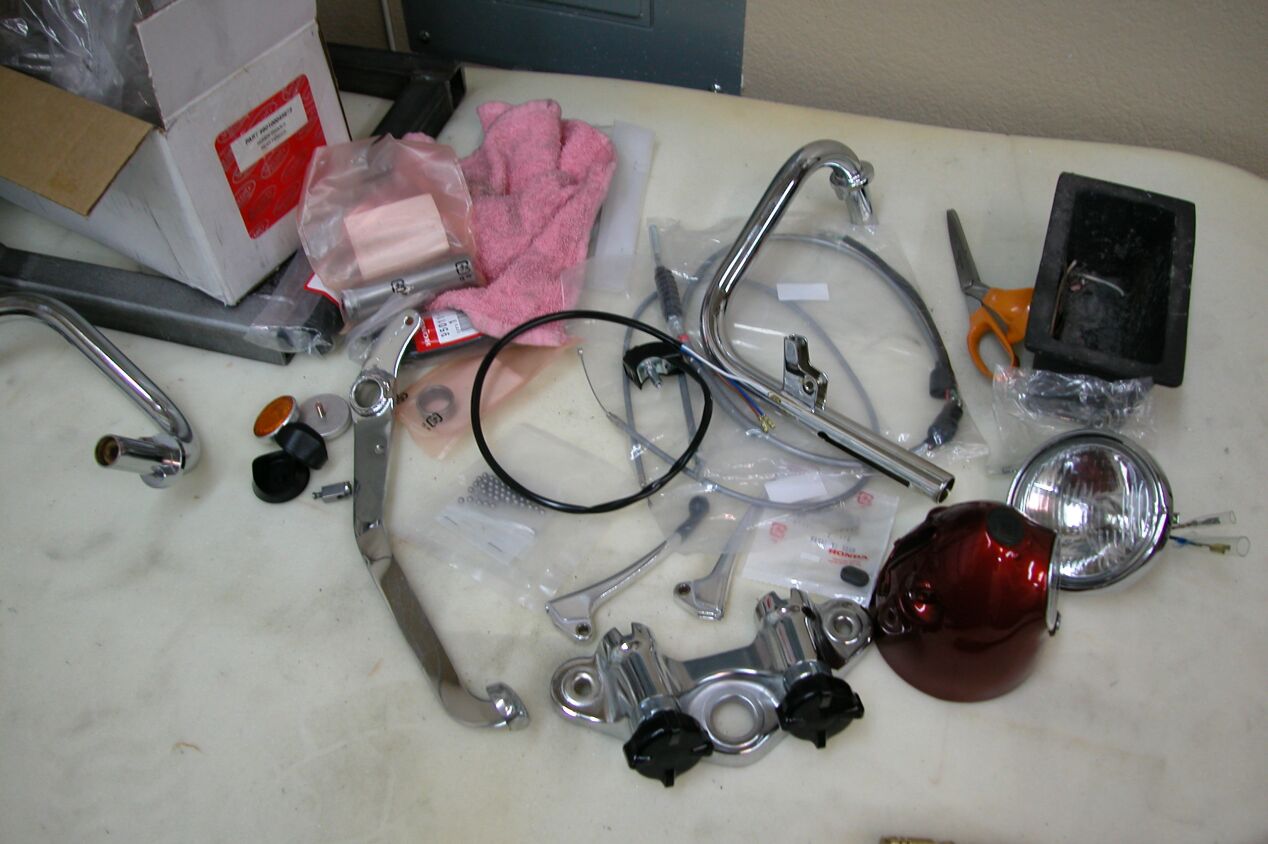
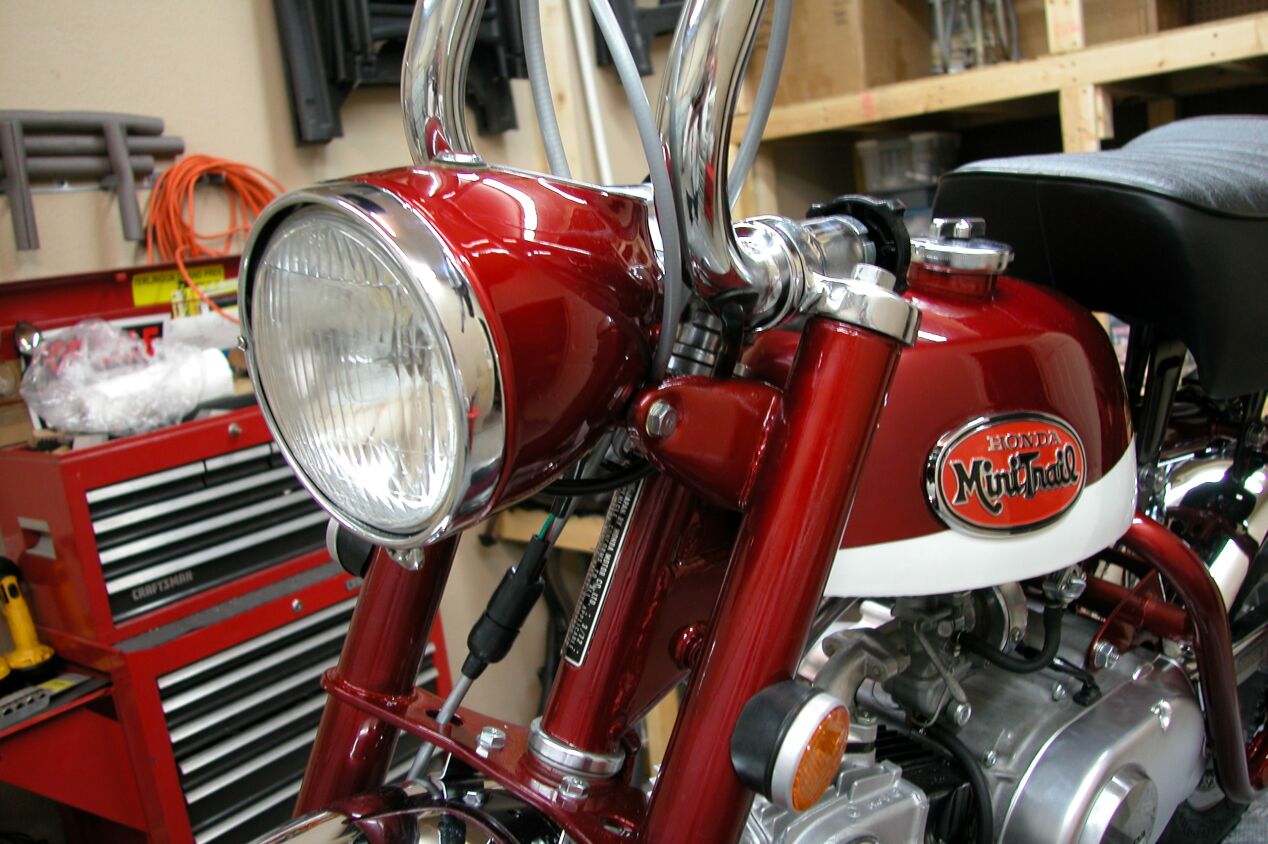
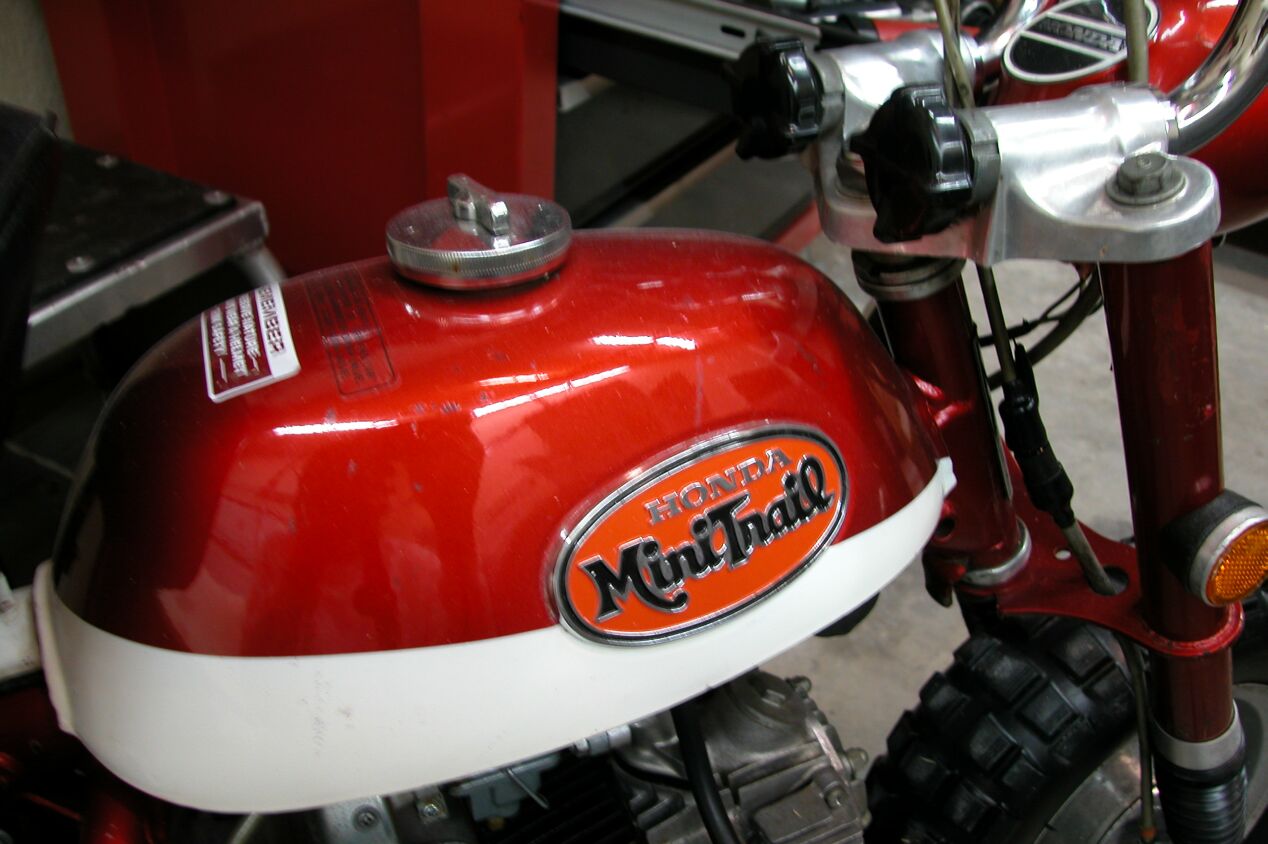
Fuel Tank with new Badges.
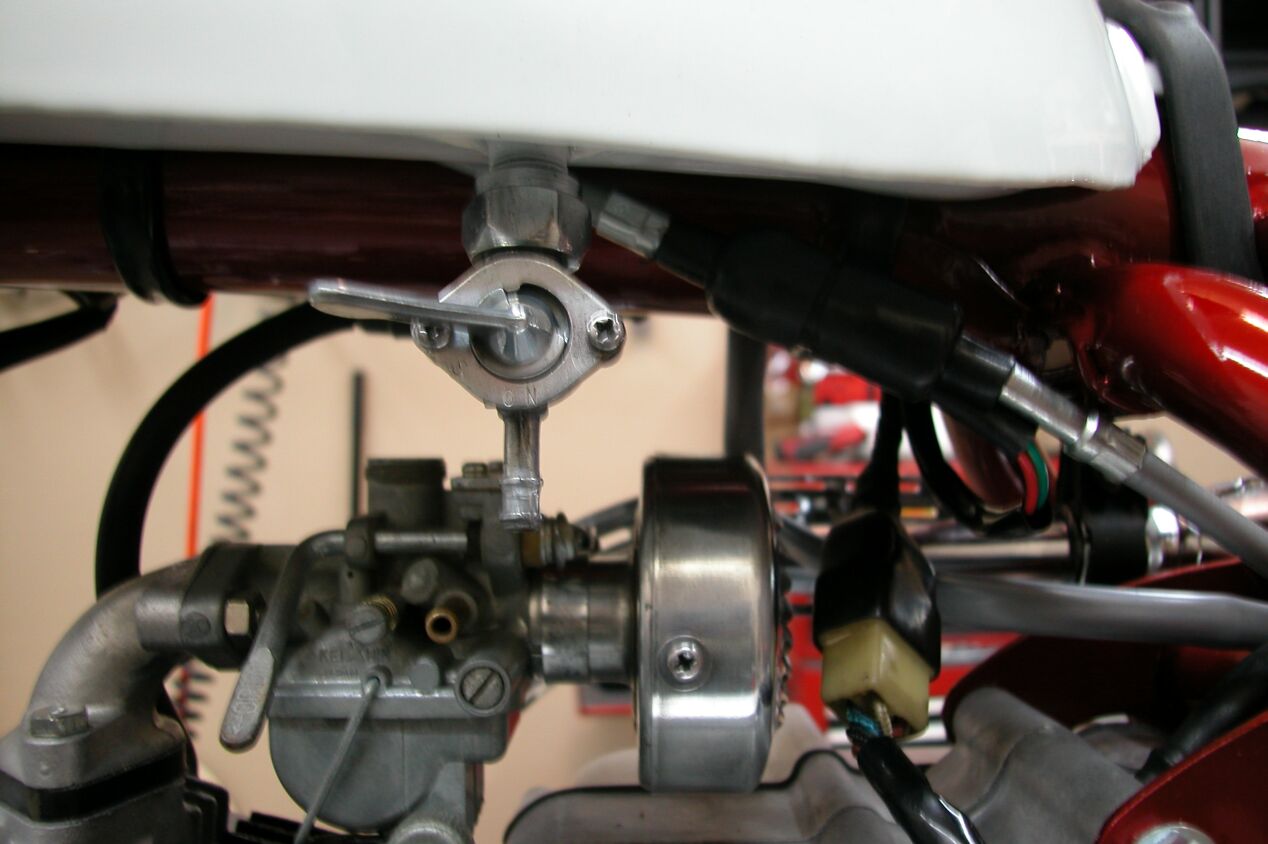
Original Petcock - Polished and Rebuilt.
Honda Fuel Line with Clips.
New Honda Seat.
Shiny new shifter installed.
This is pretty much what is left to put on the bike. Probably another 1 day effort.
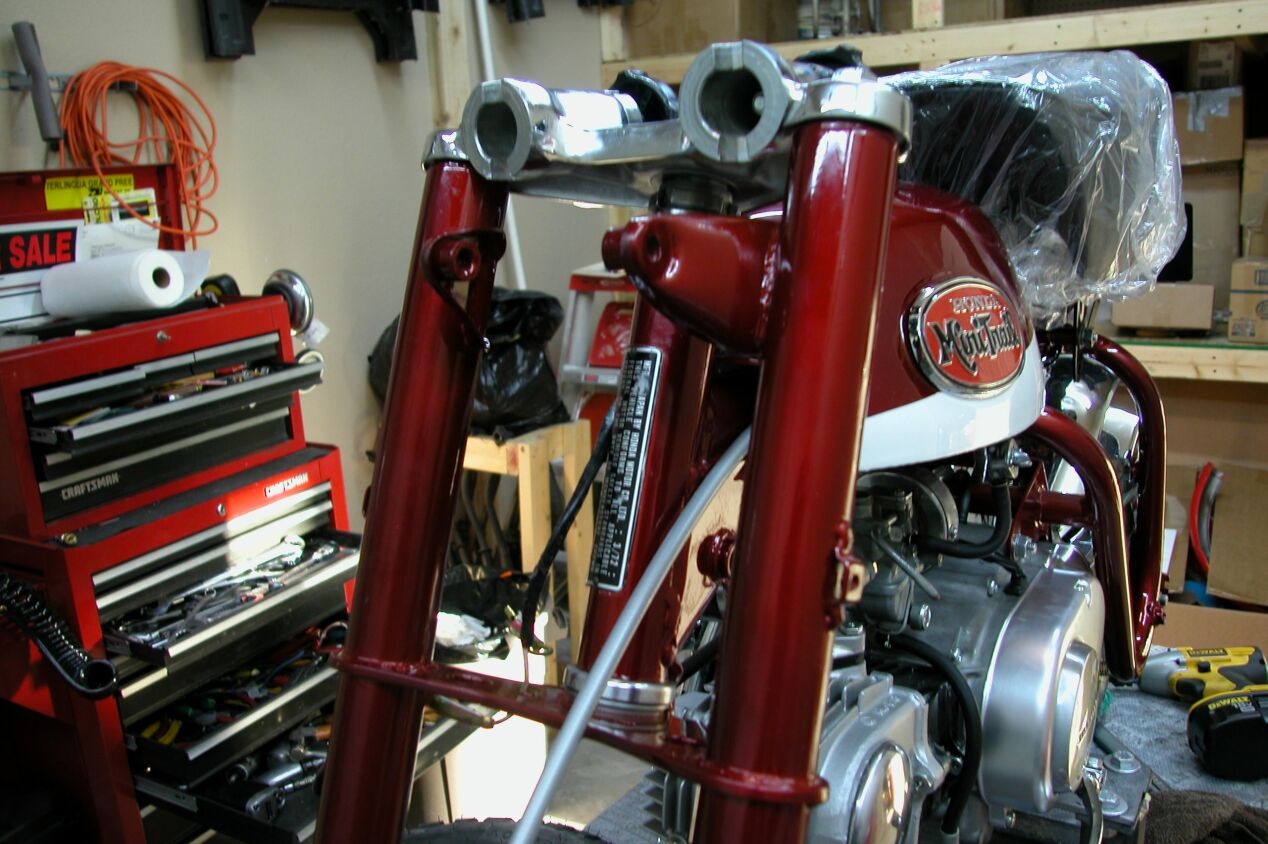
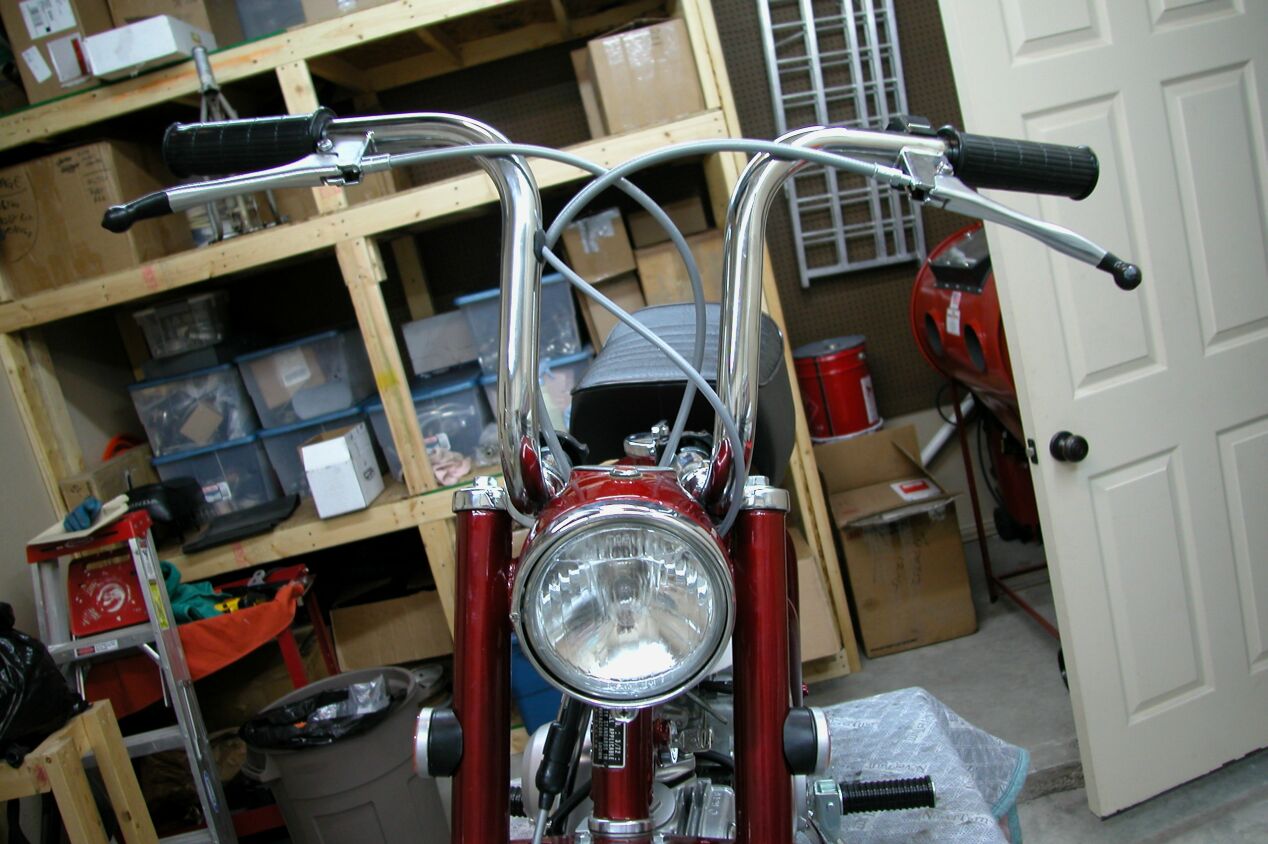
3/21/2006 Got the front forks back from the painter, assembled the shocks and installed the front end on the bike.
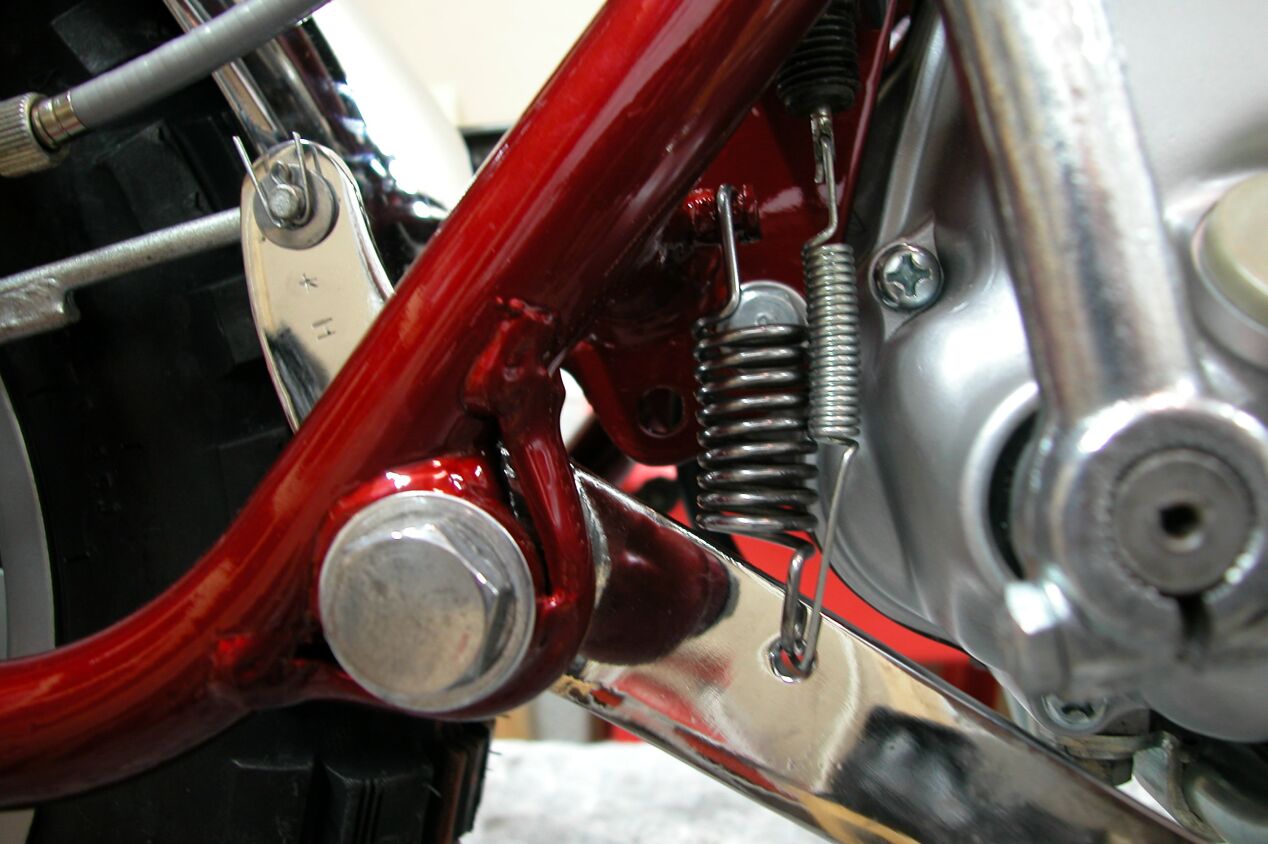
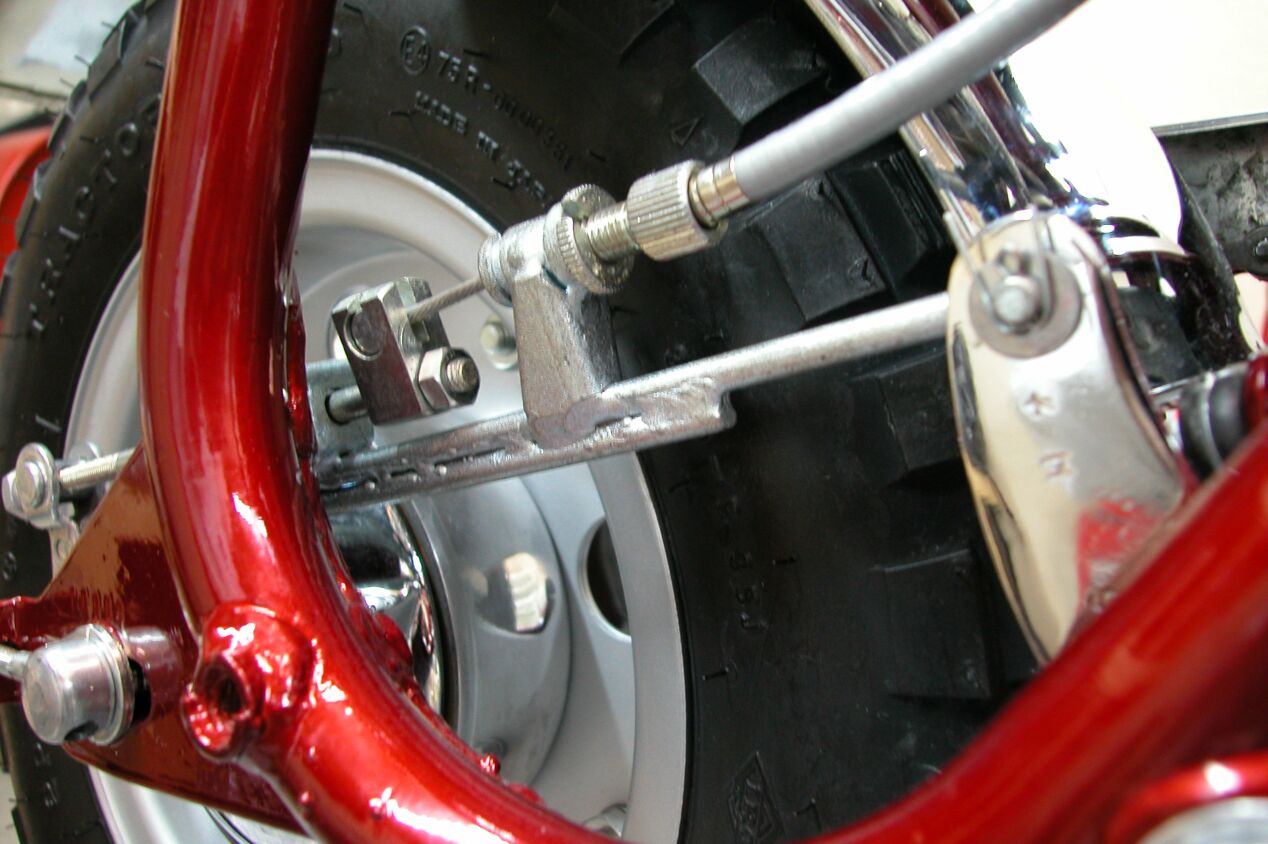
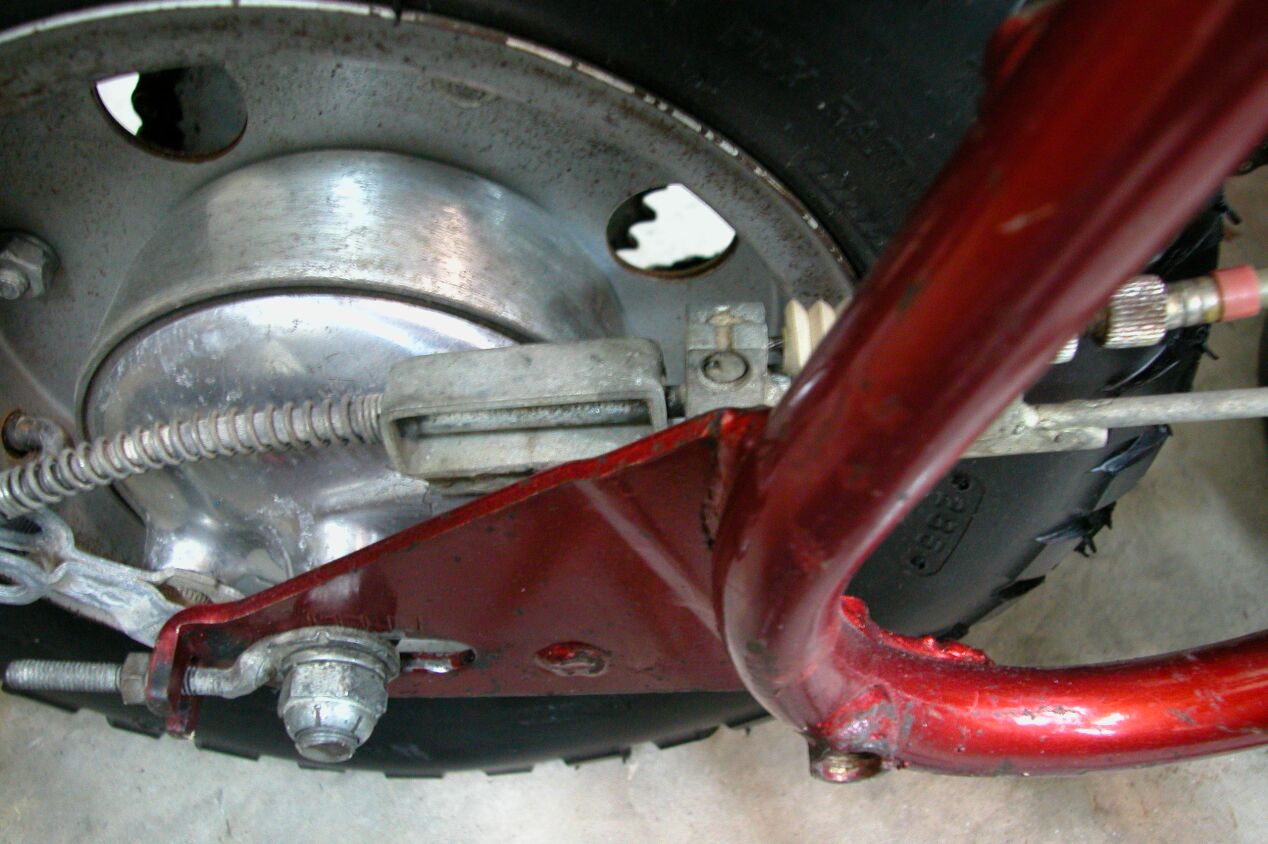
3/22/2006 The day of completion! The following pictures show the detail of the back brake assembly including the retaining tab, rear brake switch holder, springs, brake rod assembly and cable.
Honda chrome on brake lever was never this good!
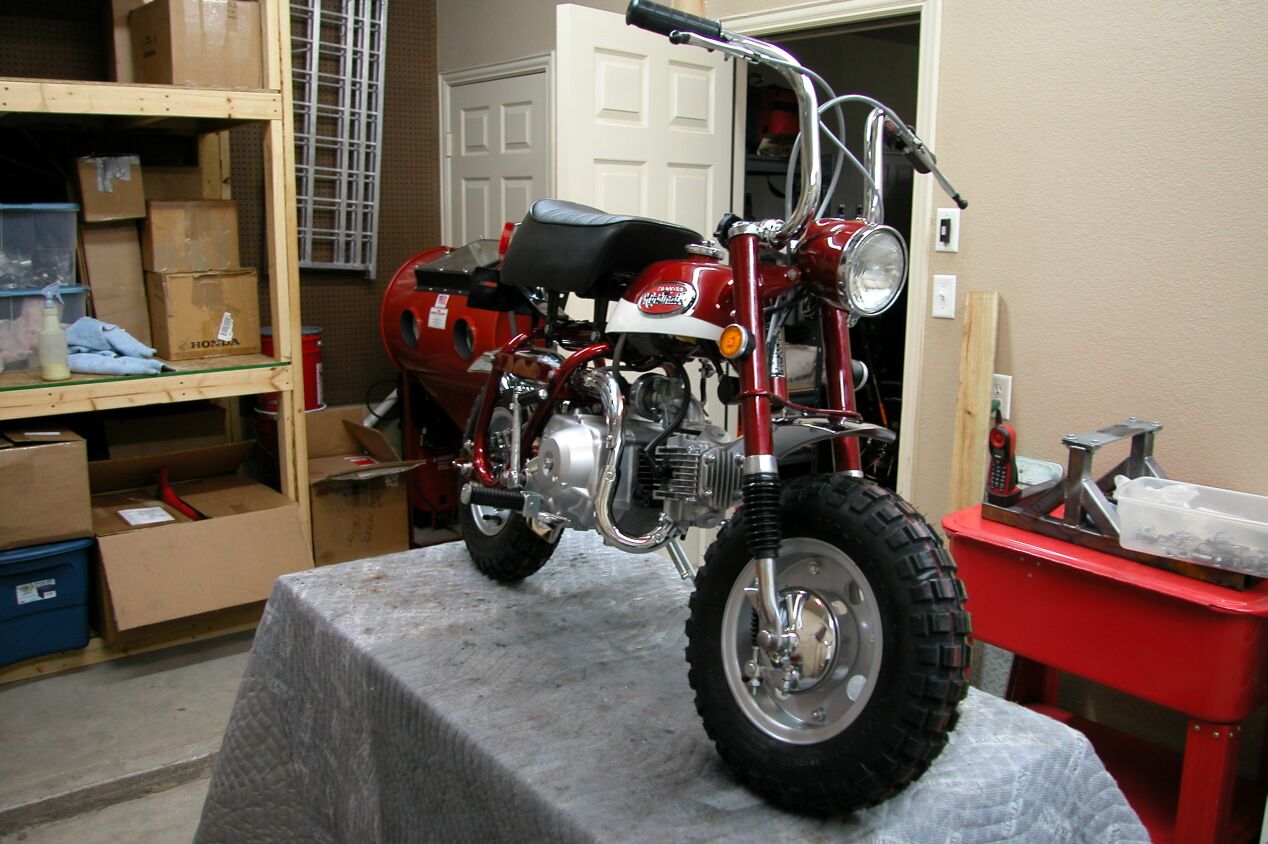
First shot of the finished product! I'll take more pictures once I get it down off the stand.
_______________PRE-RESTORATION PICTURES BELOW______________________________ Mike, 02/13/2006 I'll put a bunch of pictures out here to keep you informed of progress. I'll post questions along the way. A bunch of the pictures are taken just for reference for reassembly. If I'm trying to send you a message, it will be posted above the picture. The frame, forks and tank will go to the painters later this week. I have to degrease and clean them first. The polish parts and rechrome parts are going to the platters tomorrow. The rear fender that you sent me is not for the K2 model, it is for a K1. The K2 has a duck-bill at the end. I can get a new one. Within a few days, I'll have an accounting of all the parts needed and then checked off against the parts that you sent.
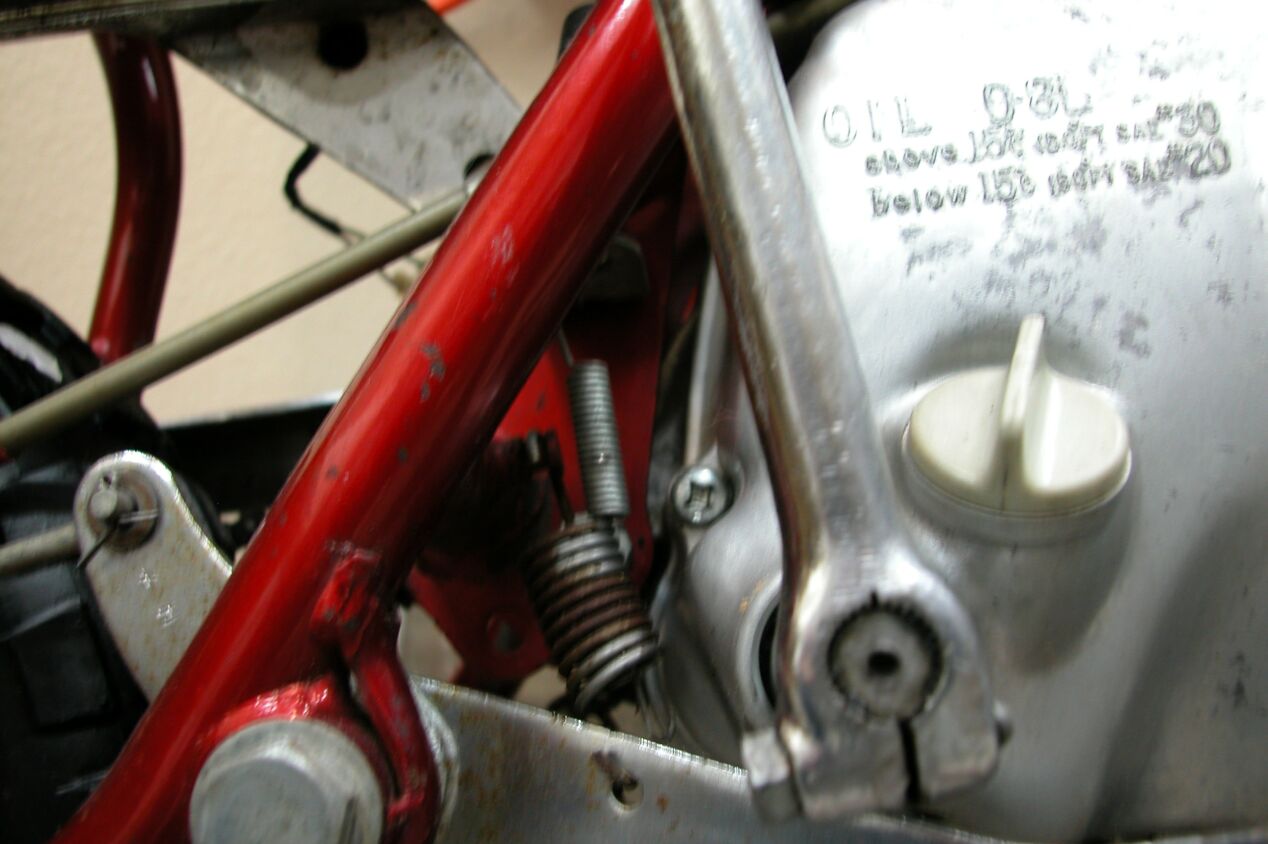
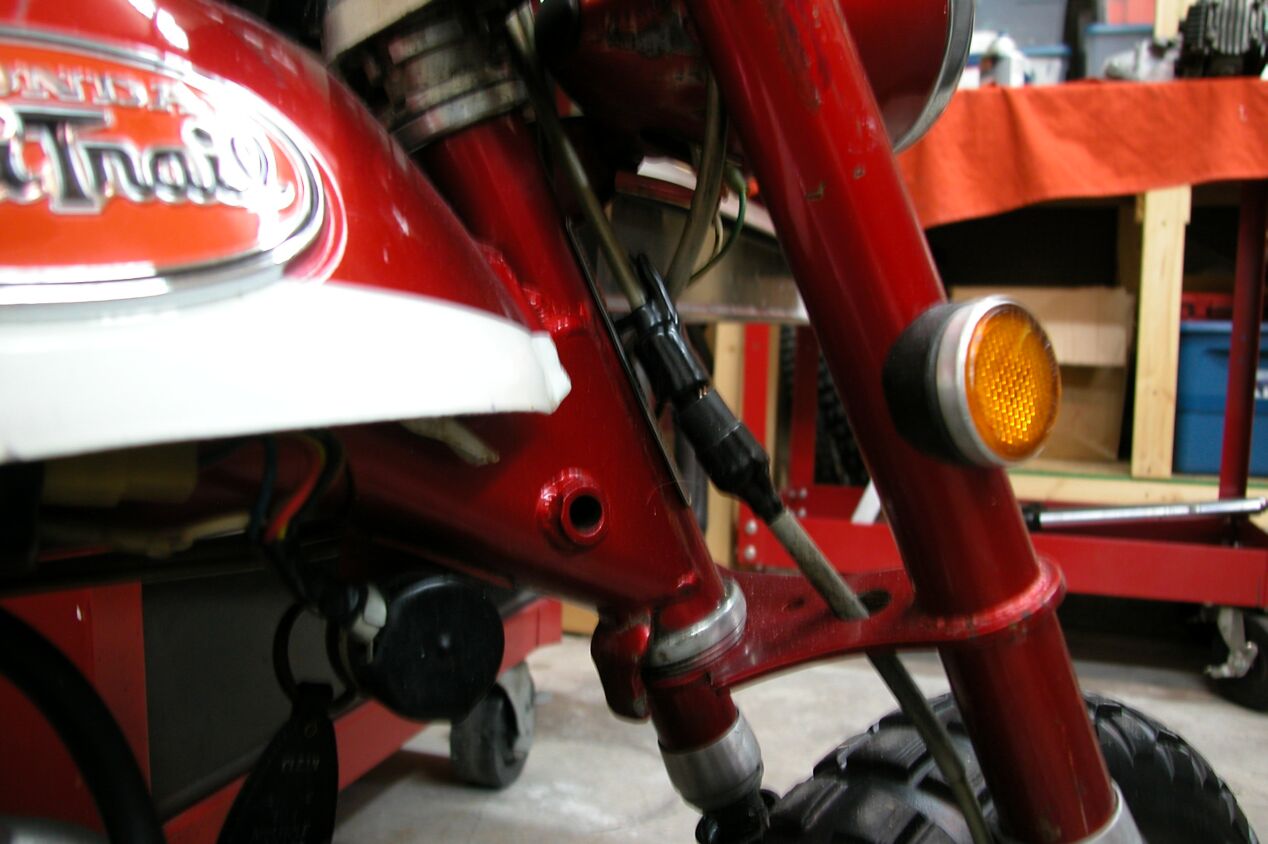
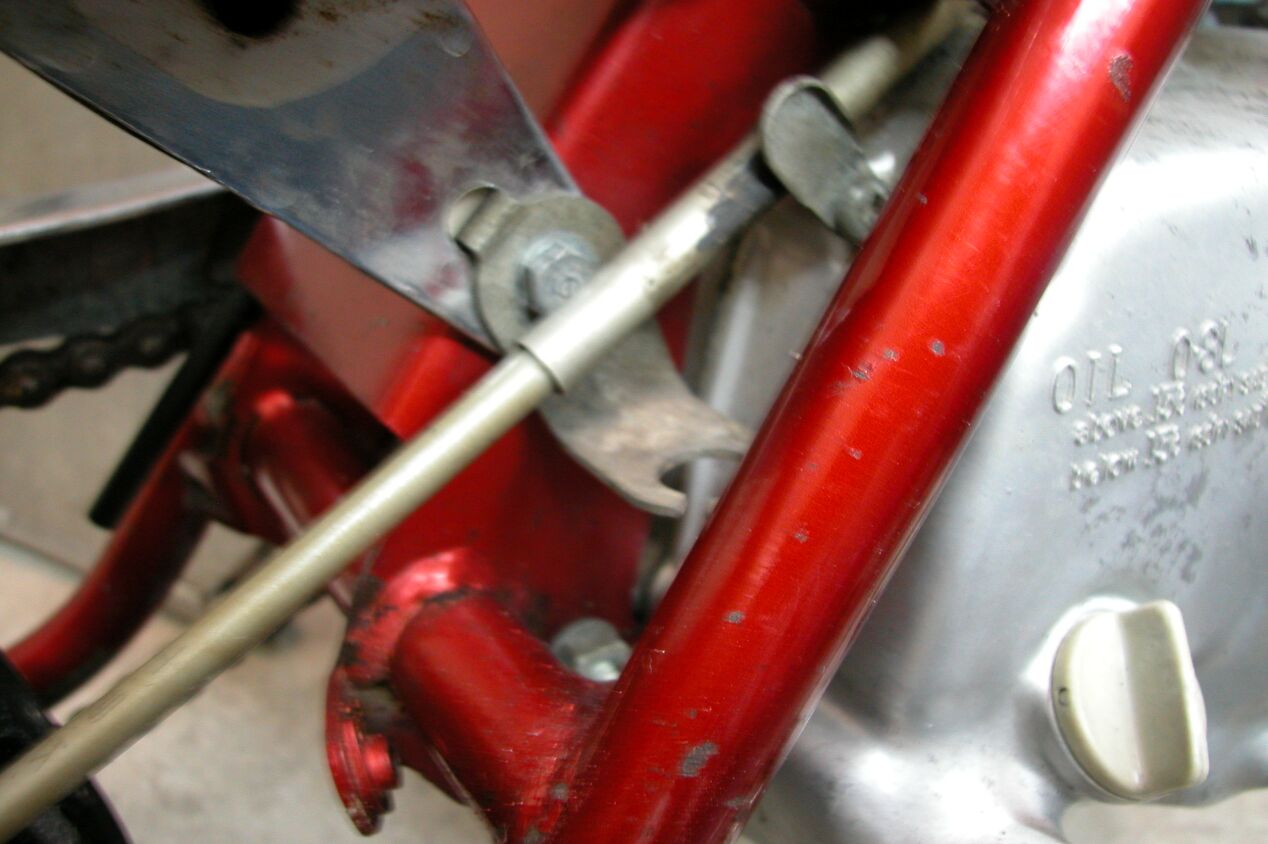
Reference
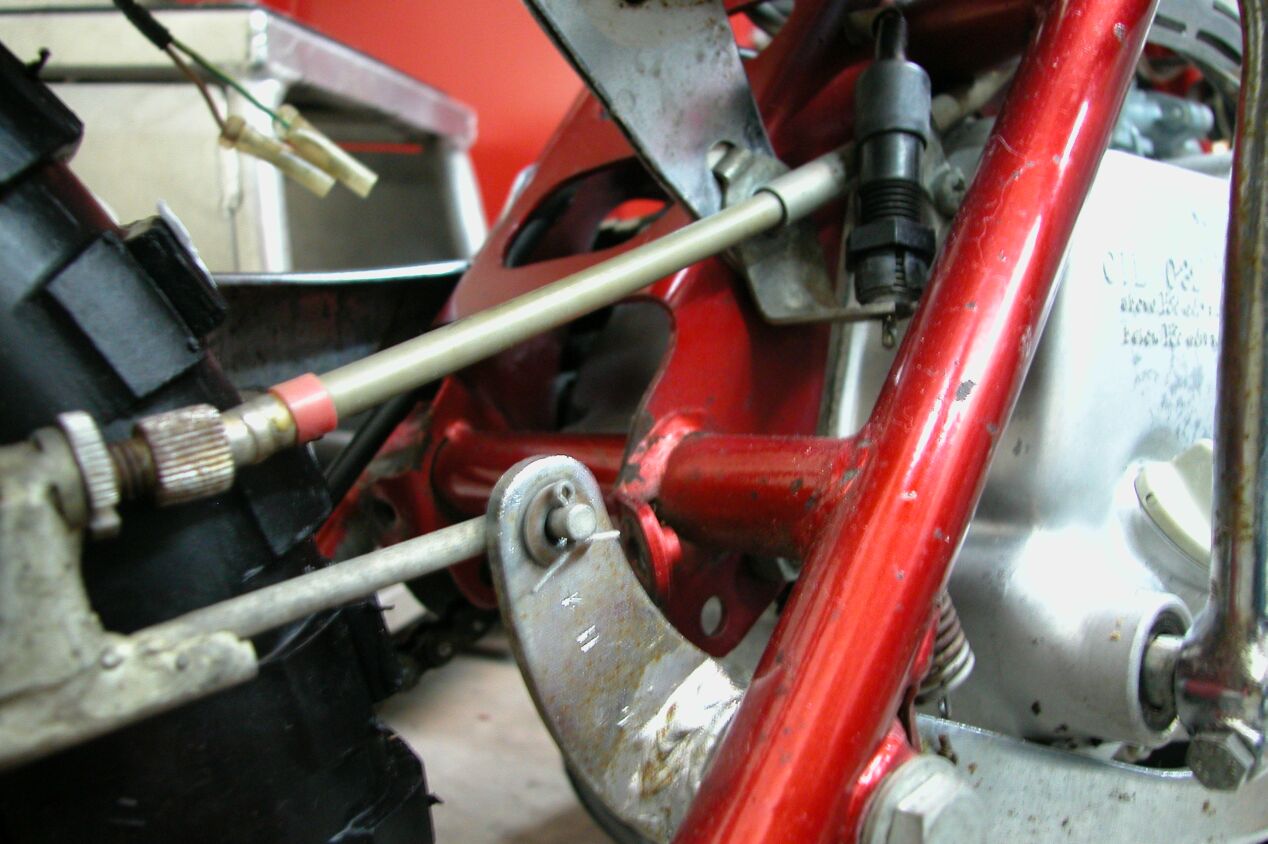
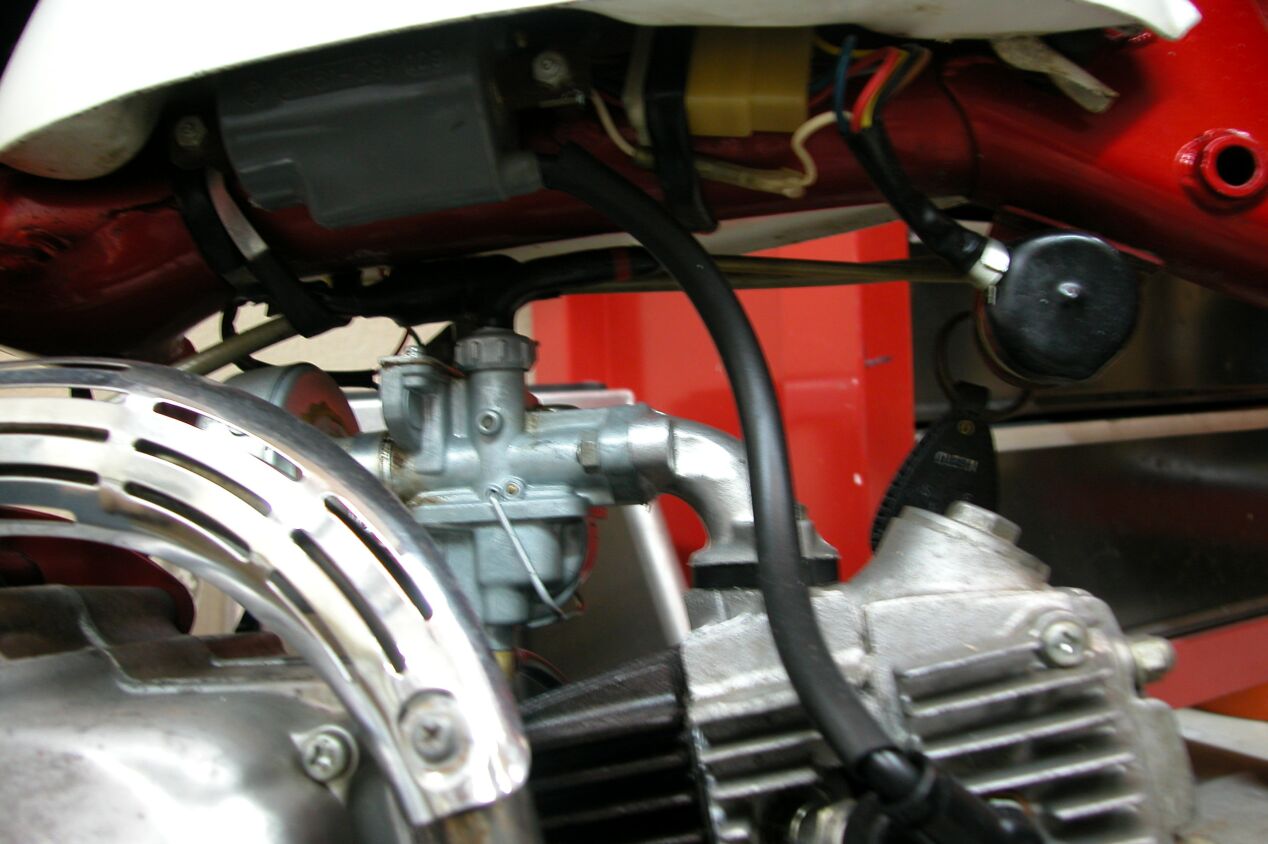
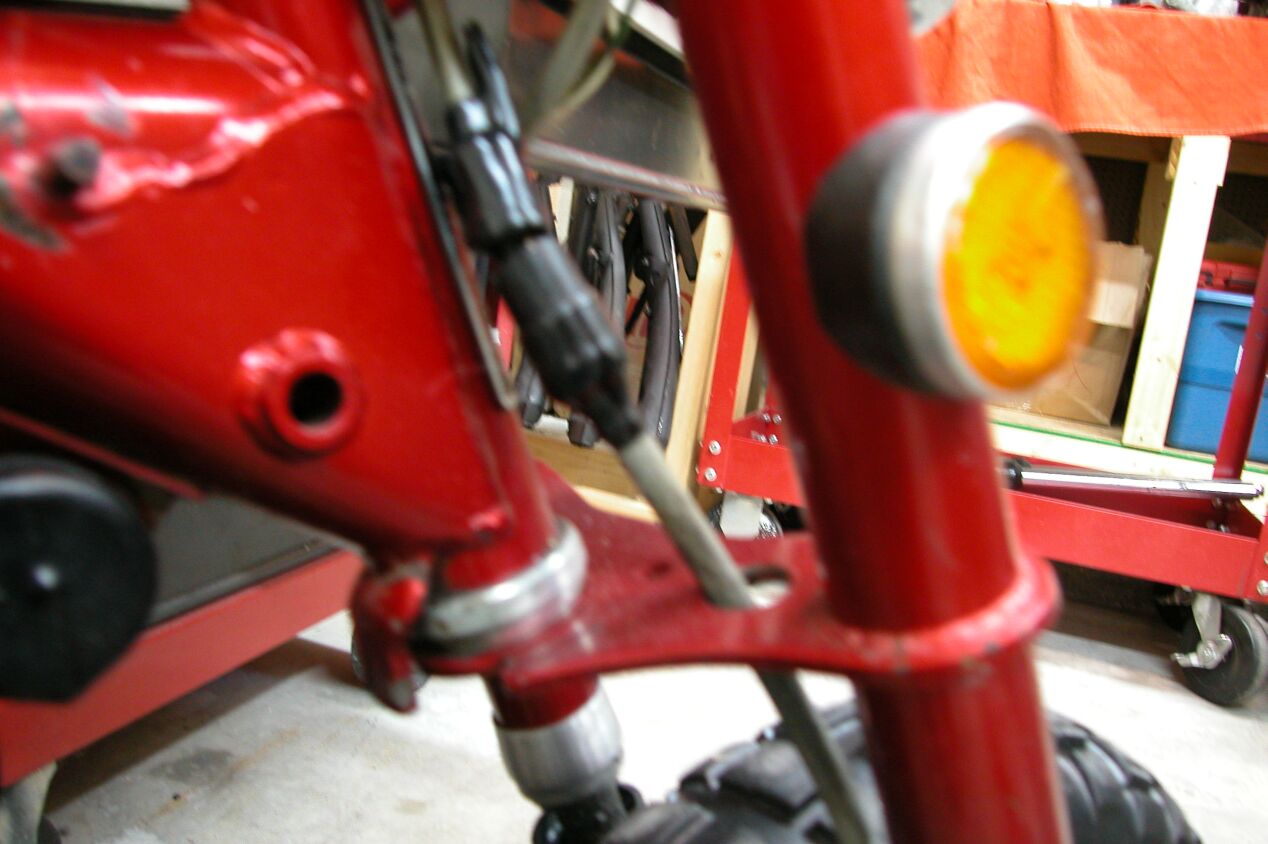
Reference Reference
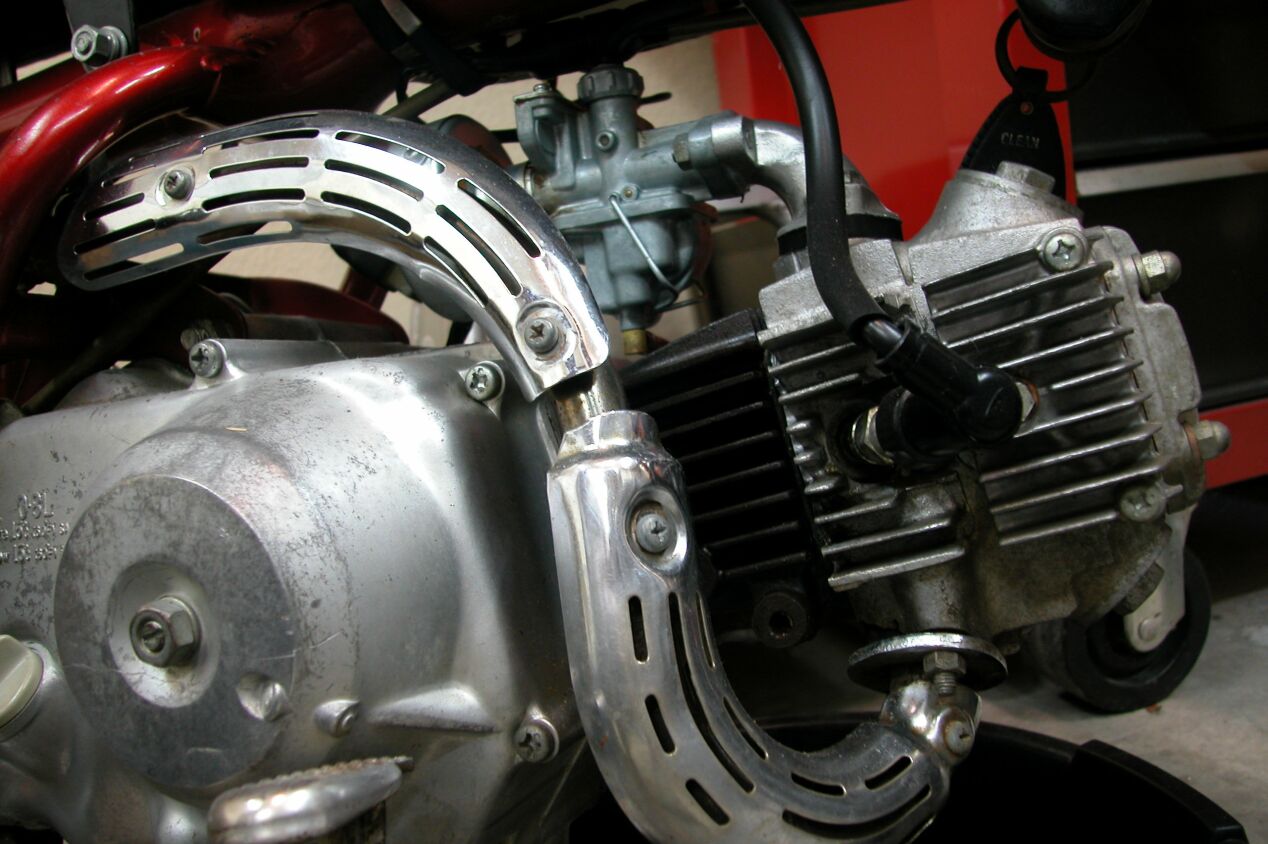
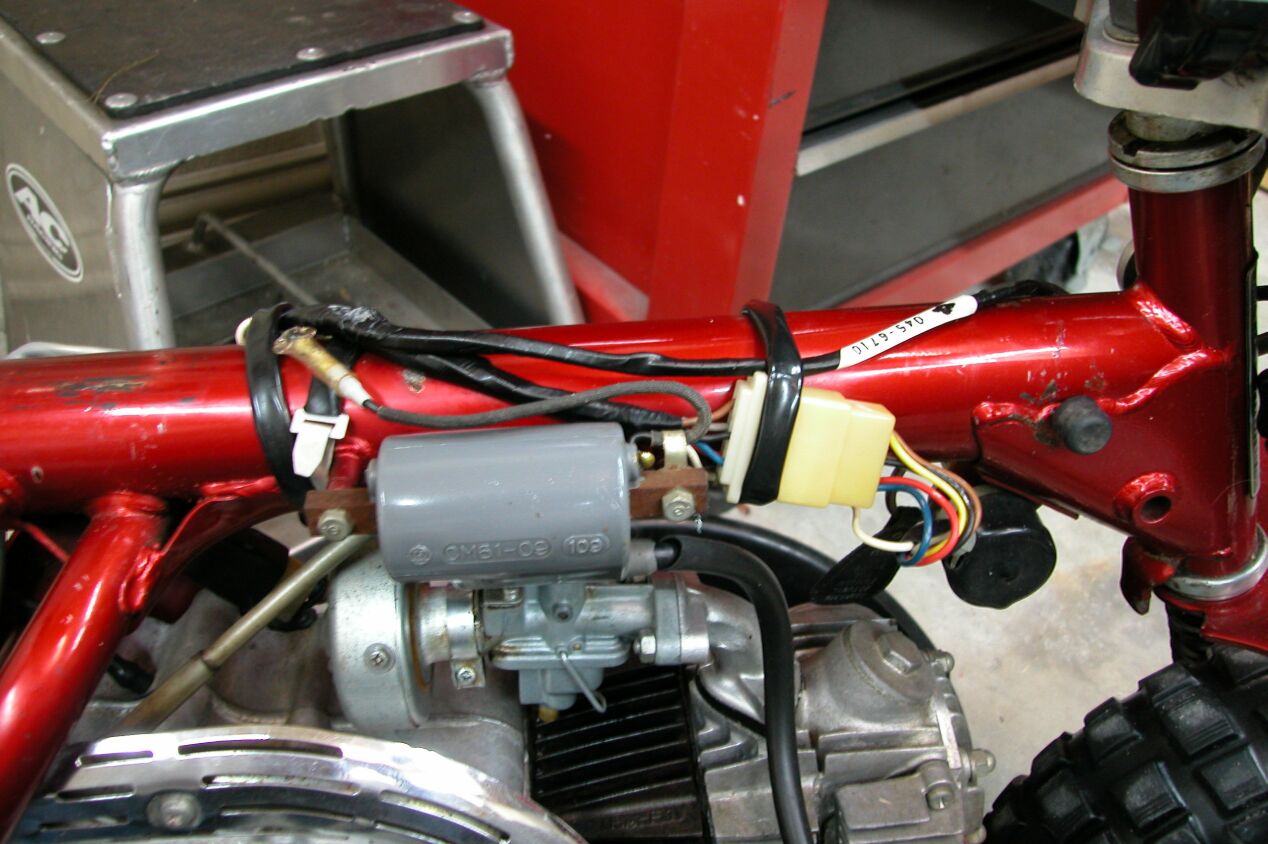
Reference
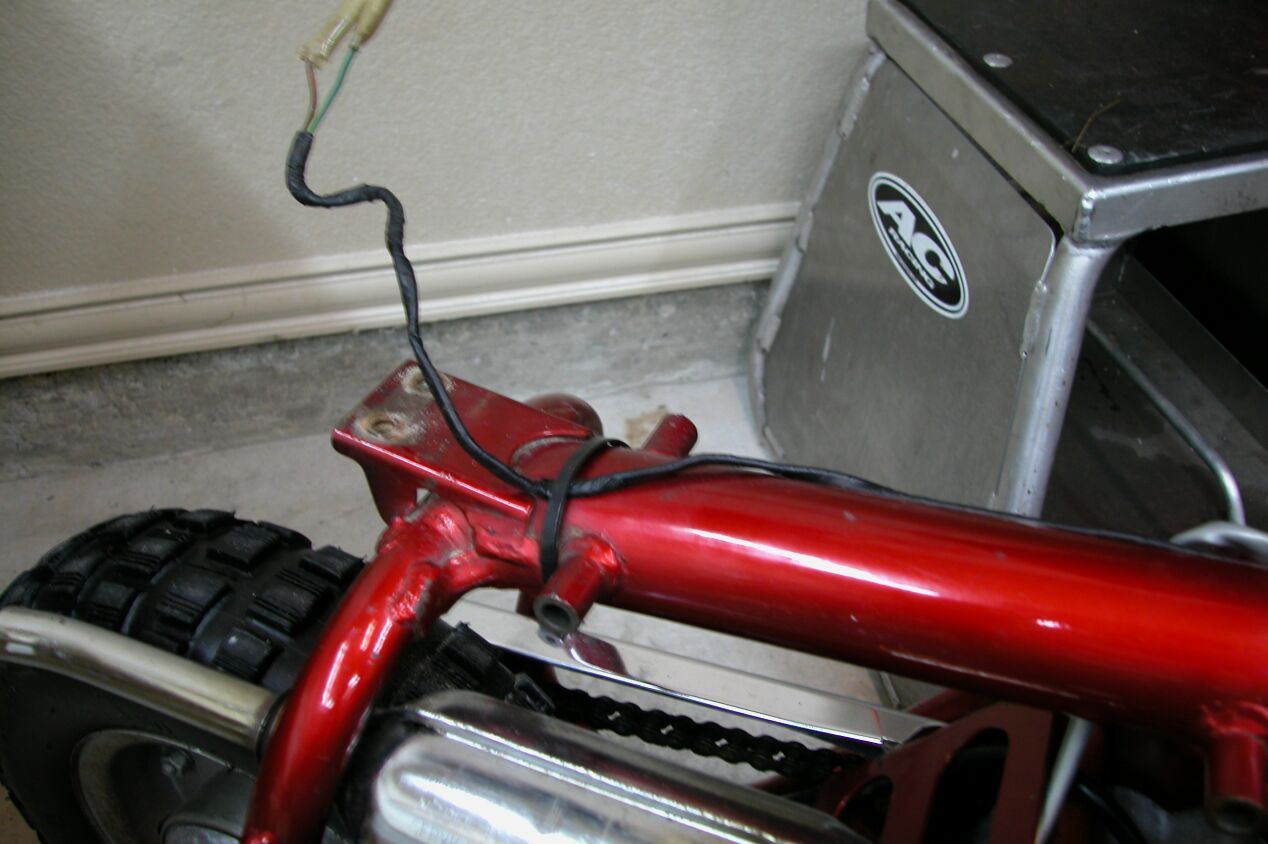
Reference
Reference
Reference
Reference
Reference
Reference
Reference
Reference
Reference
Reference
Reference
Reference
Reference
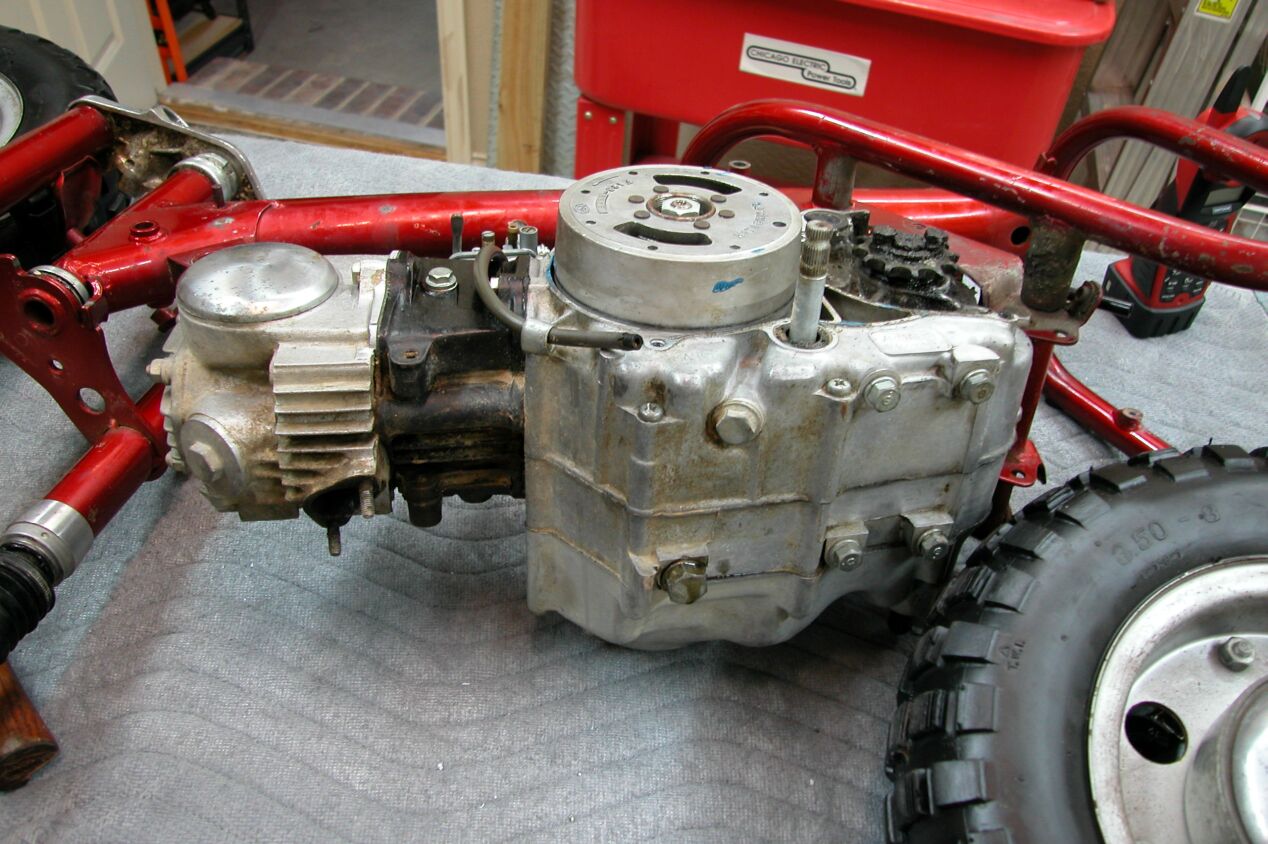
Just about ready to take the engine off.
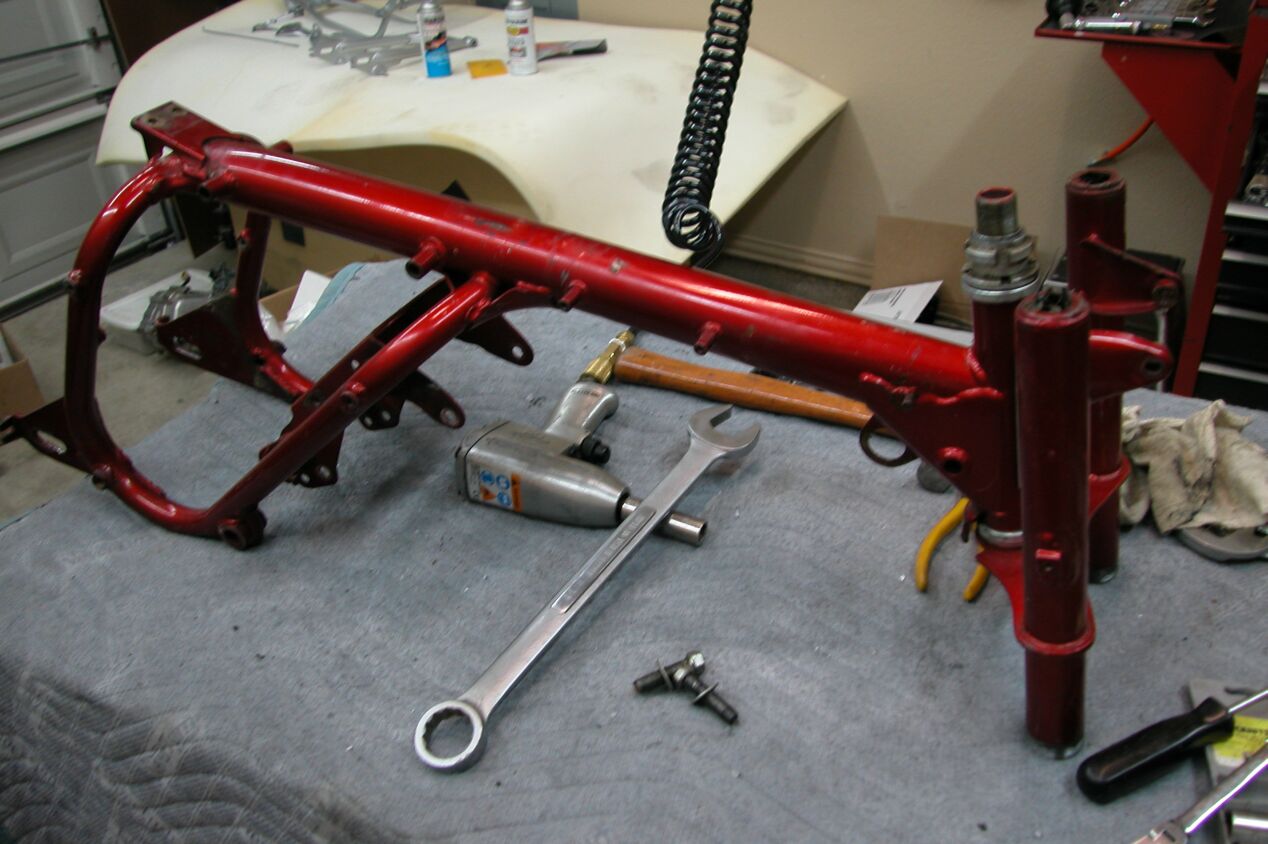
Here we are down to the frame and forks.
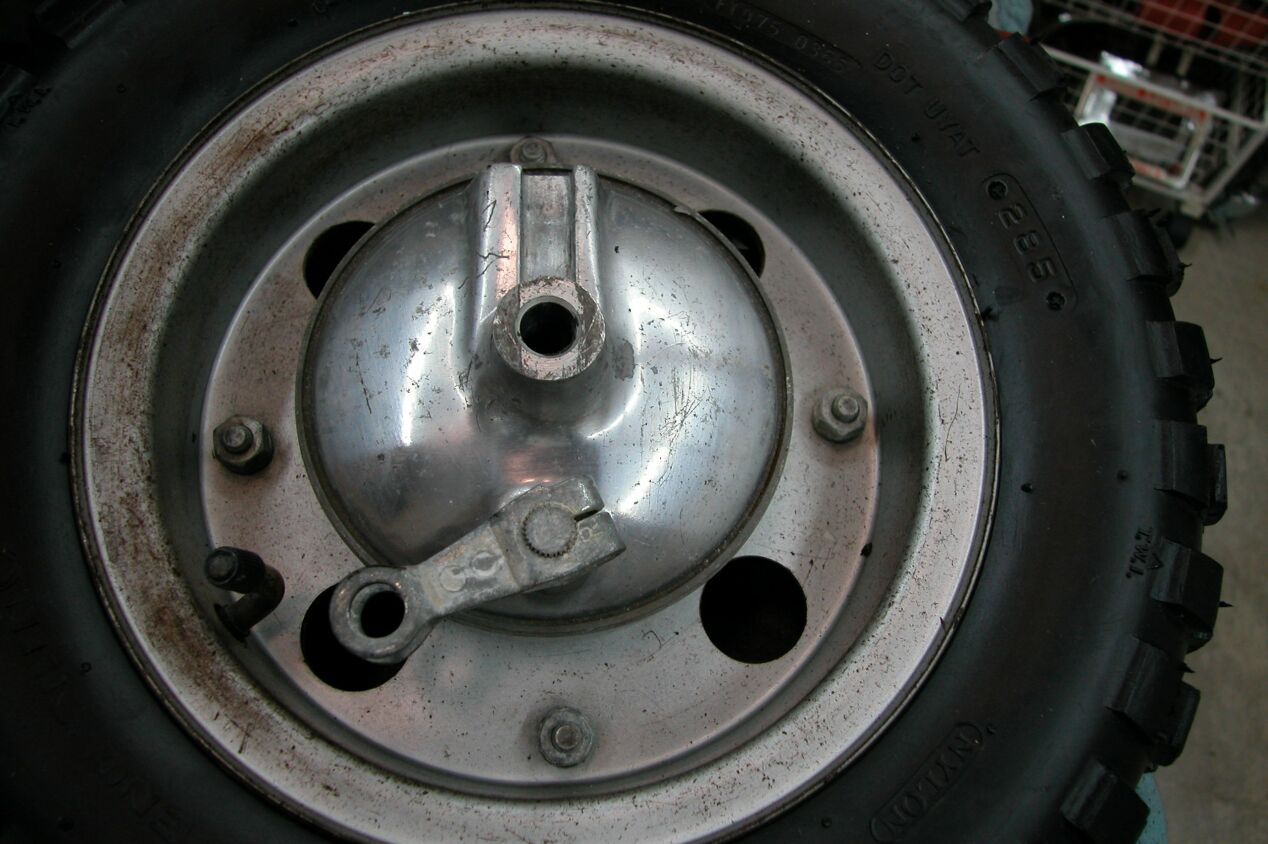
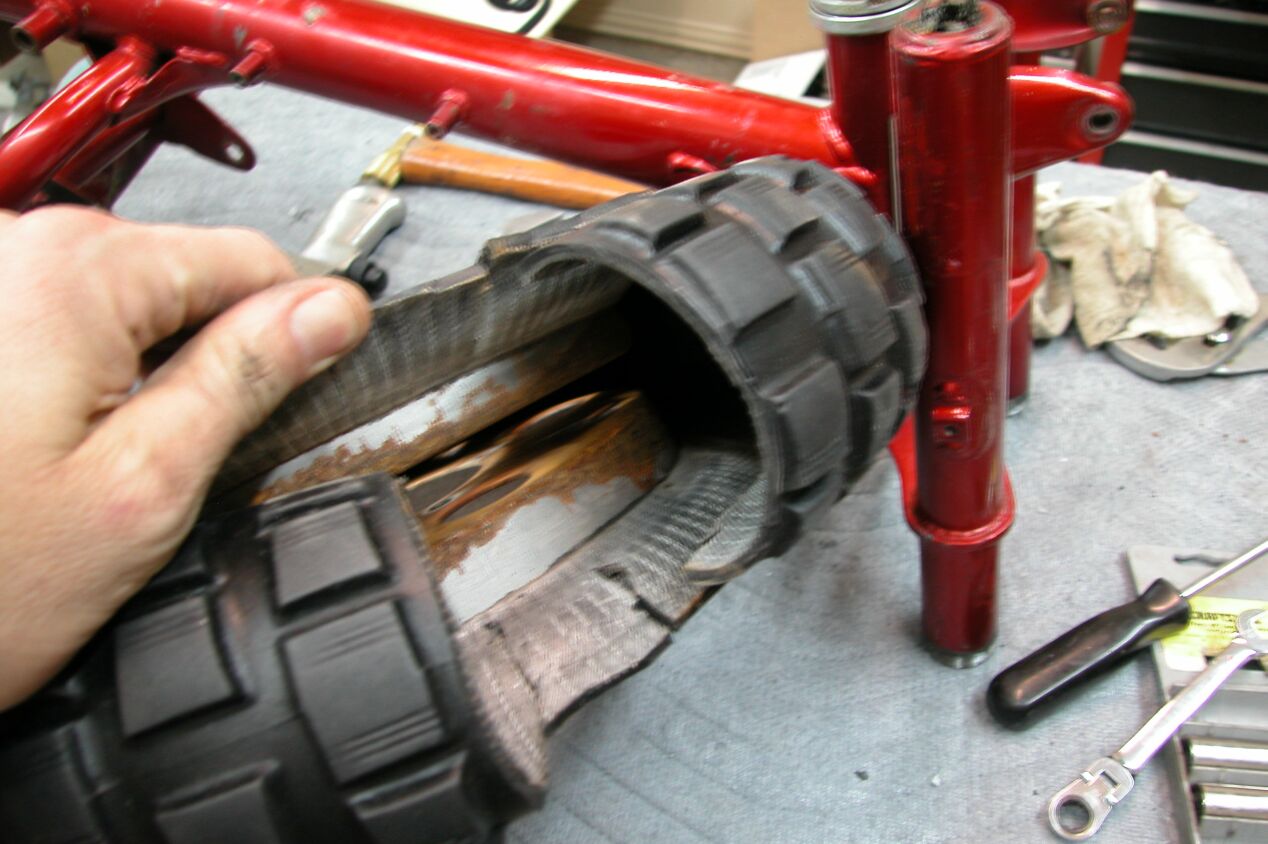
You are going to get new rims.....these are rusted together and I couldn't even get the tires off !!!!
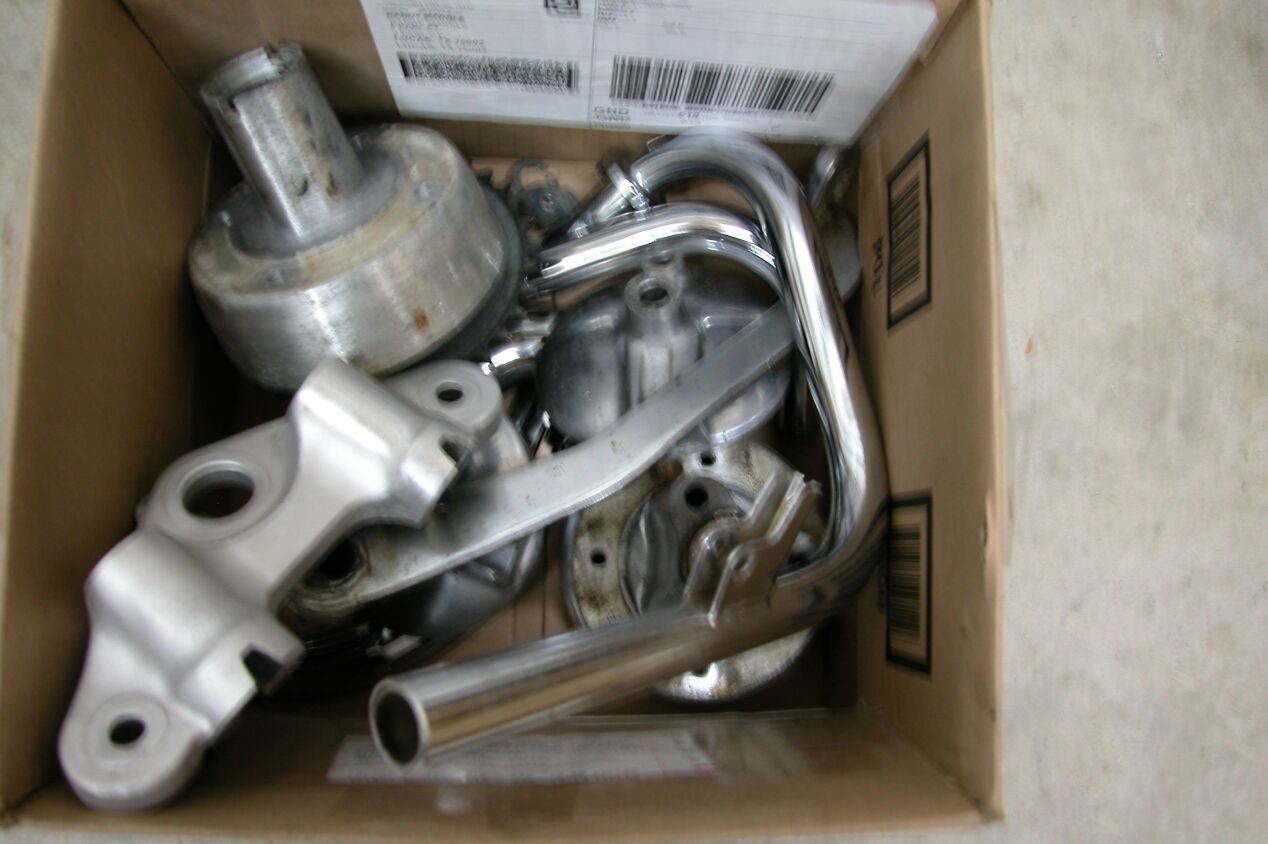
These parts go to the chrome / polish shop
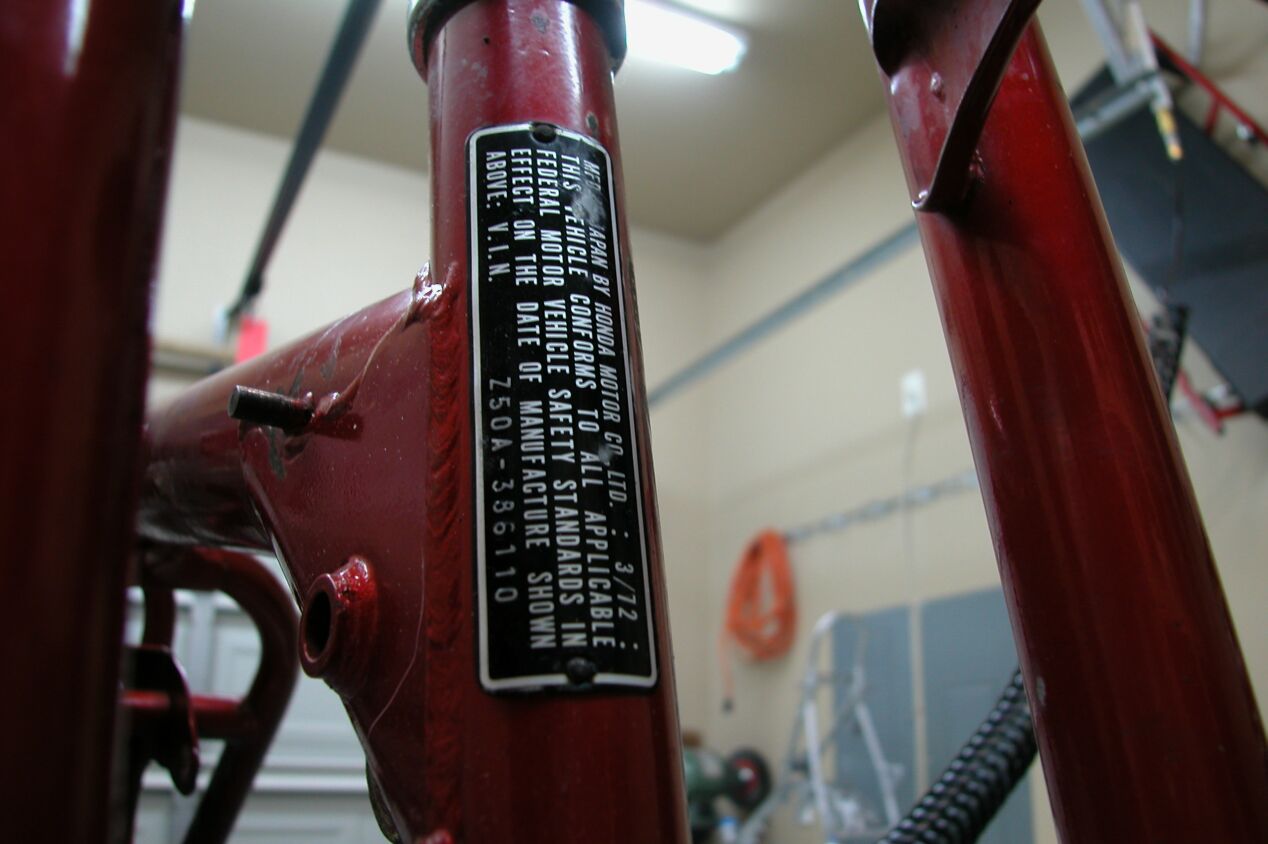
Your VIN#
Reference
Reference
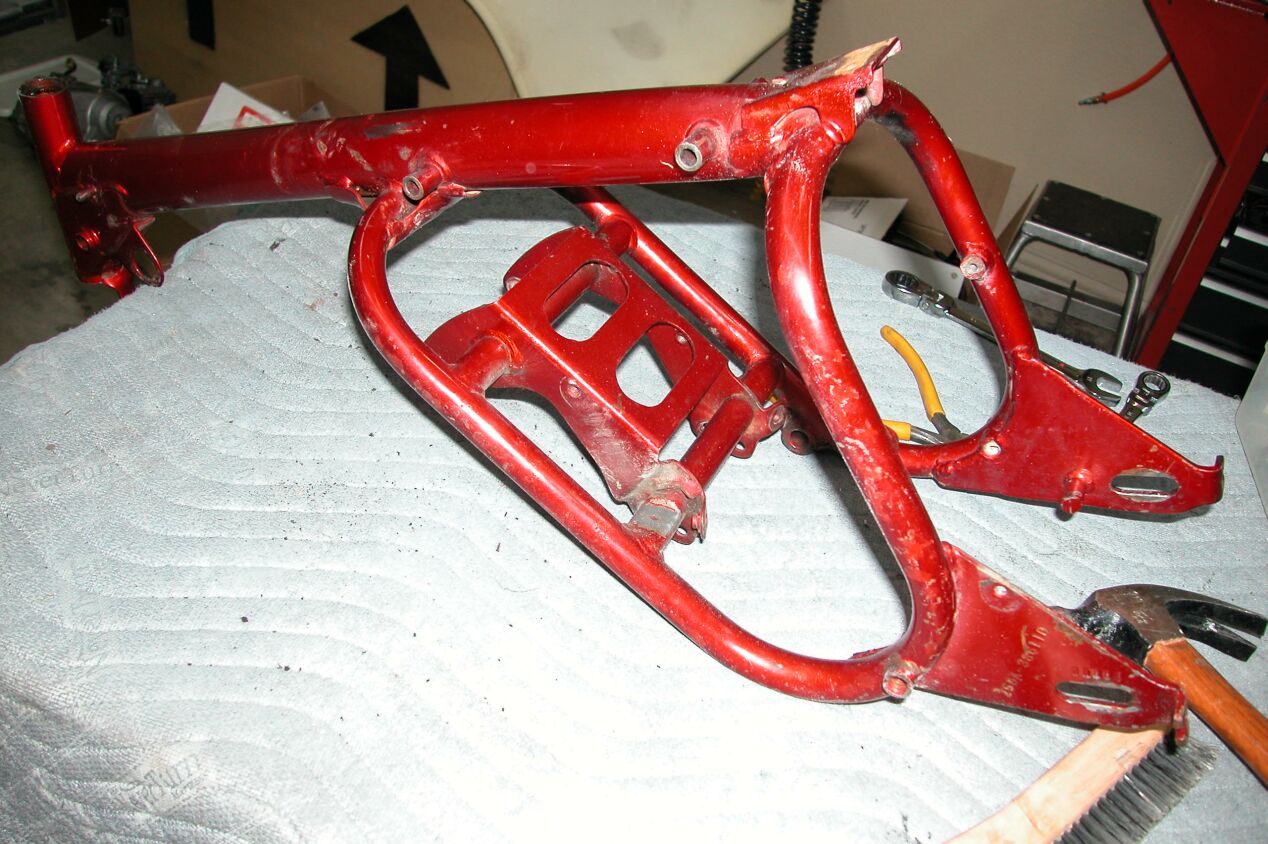
Just the frame. Next comes the glass beading and then it is ready to take to the paint shop.
Marbles Motors ©2004 |
|
|